
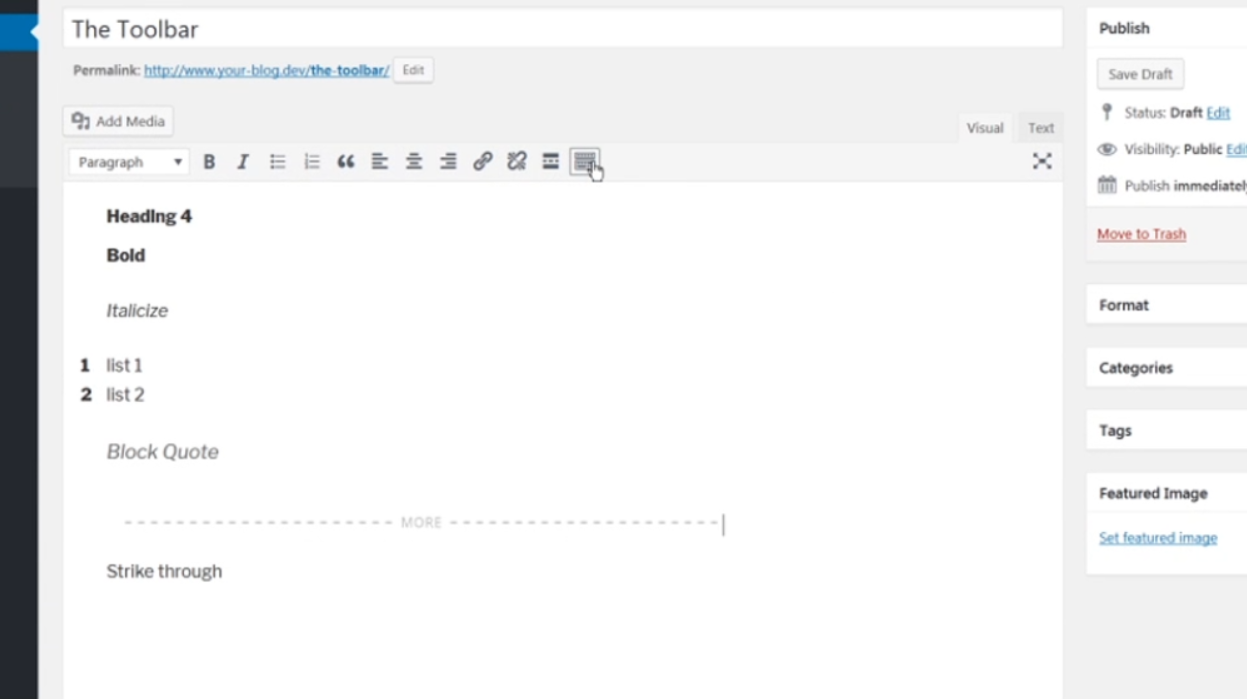
In this tutorial, we’ll take a brief look at all the tools listed in the visual editor toolbar.
1. The first tool is the styling dropdown menu located at the top left of the toolbar. Click on it to adjust the style of your post content.
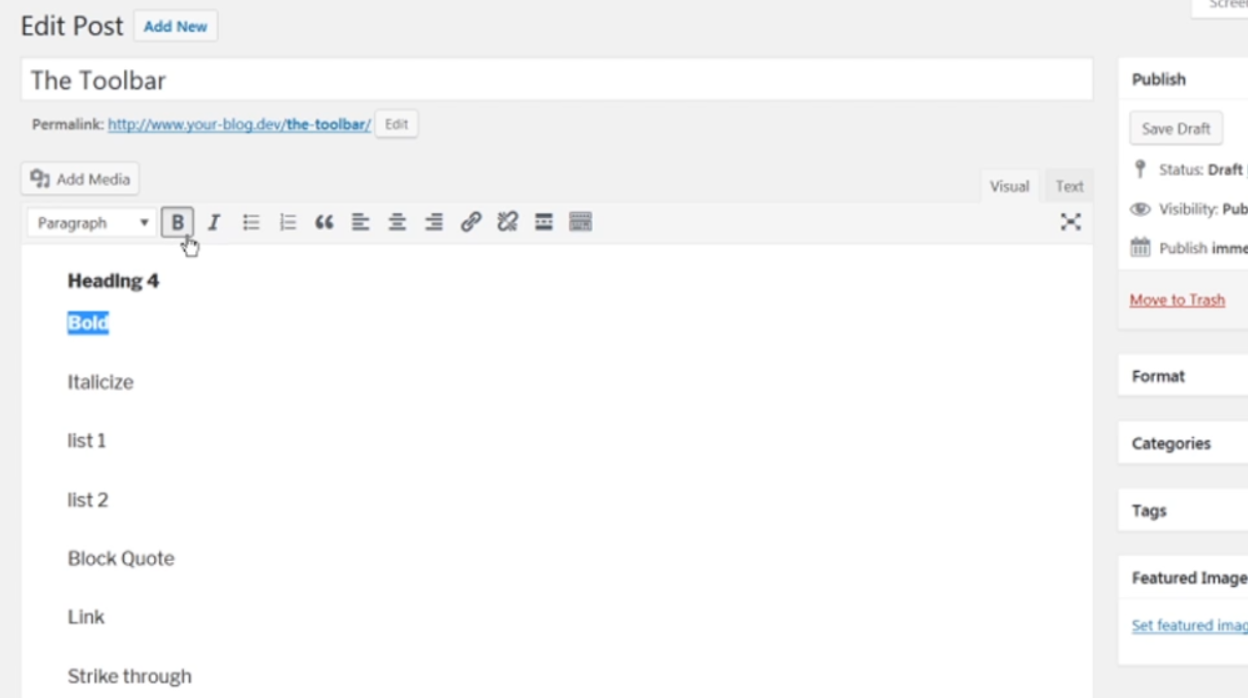
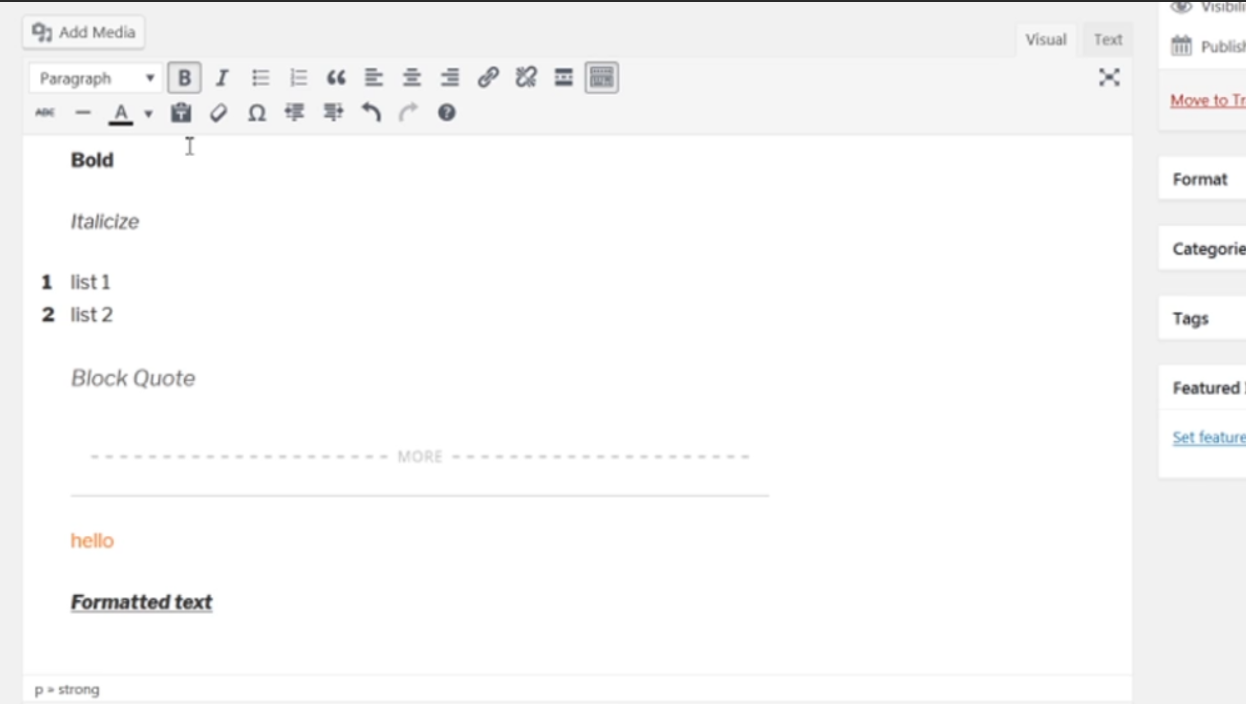
2. Next, we have the bold icon. To make your text bold, simply select the text and click on the bold icon.
3. The next tool is the Italic icon. To italicize your text, select the text and click on the Italic icon.

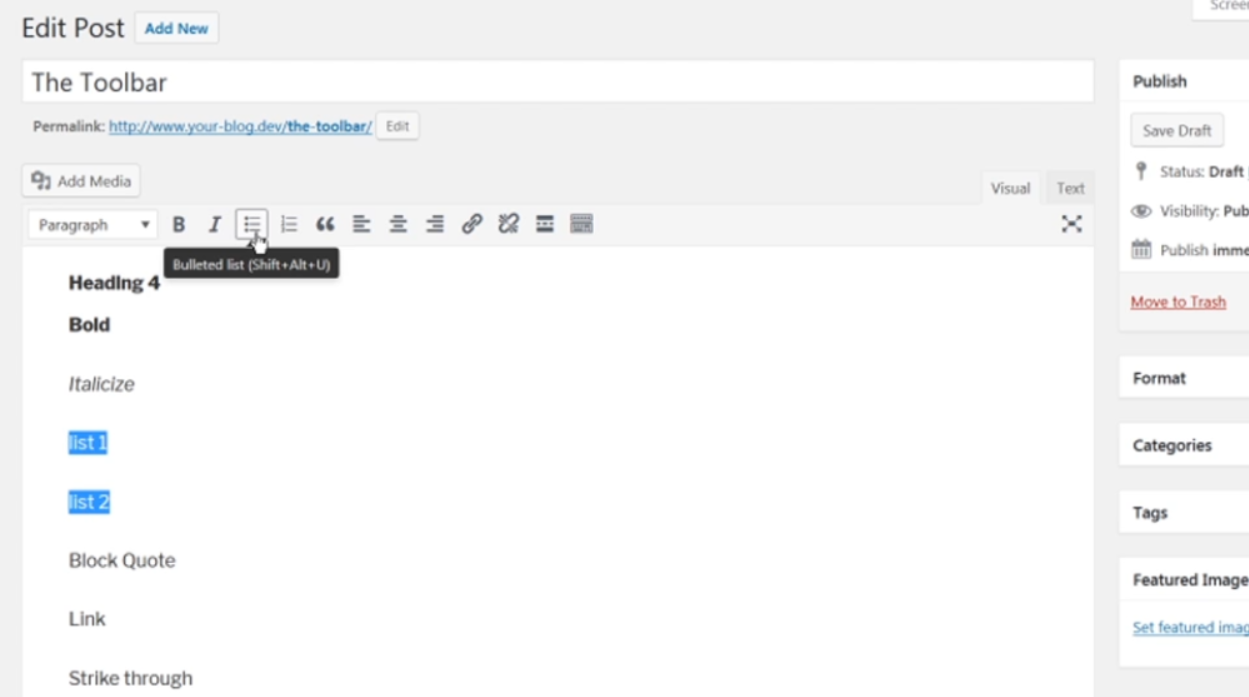
4. The bulleted list icon will create an unordered or bullet list. To create a list, click on the icon and start typing your list items.
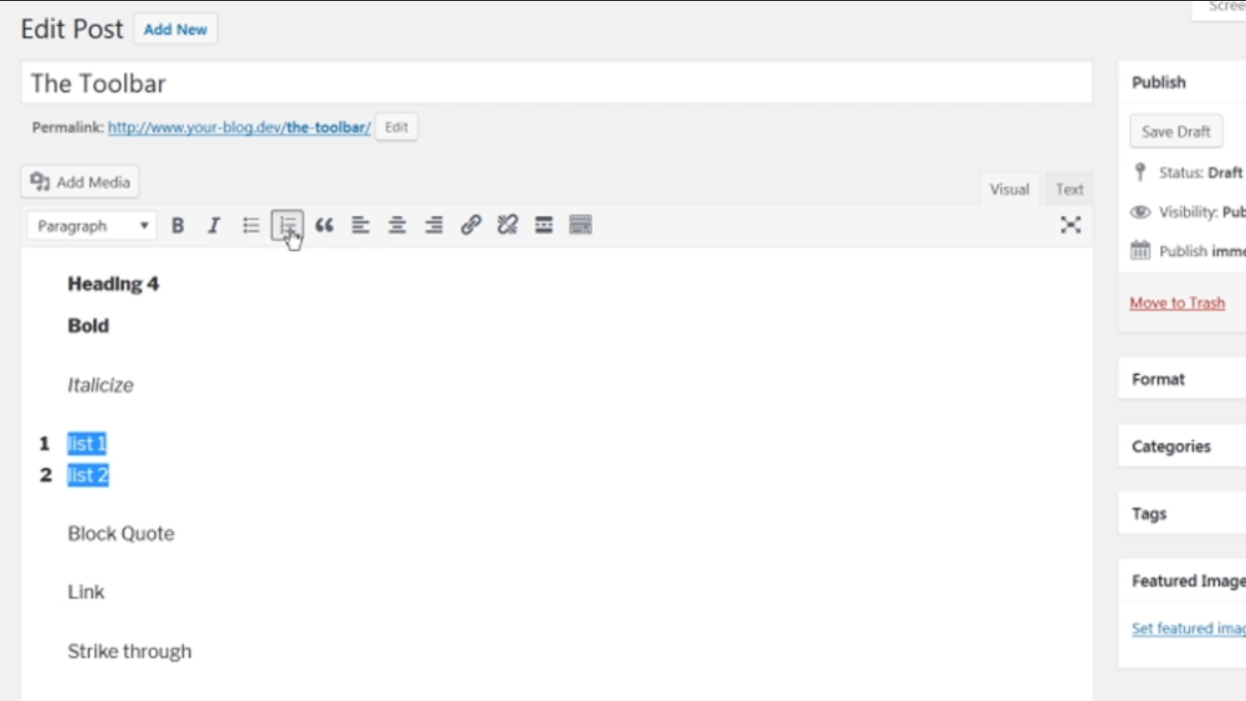
5. The numbered list icon represents an ordered or numbered list. Click on the icon and start typing your numbered list items.
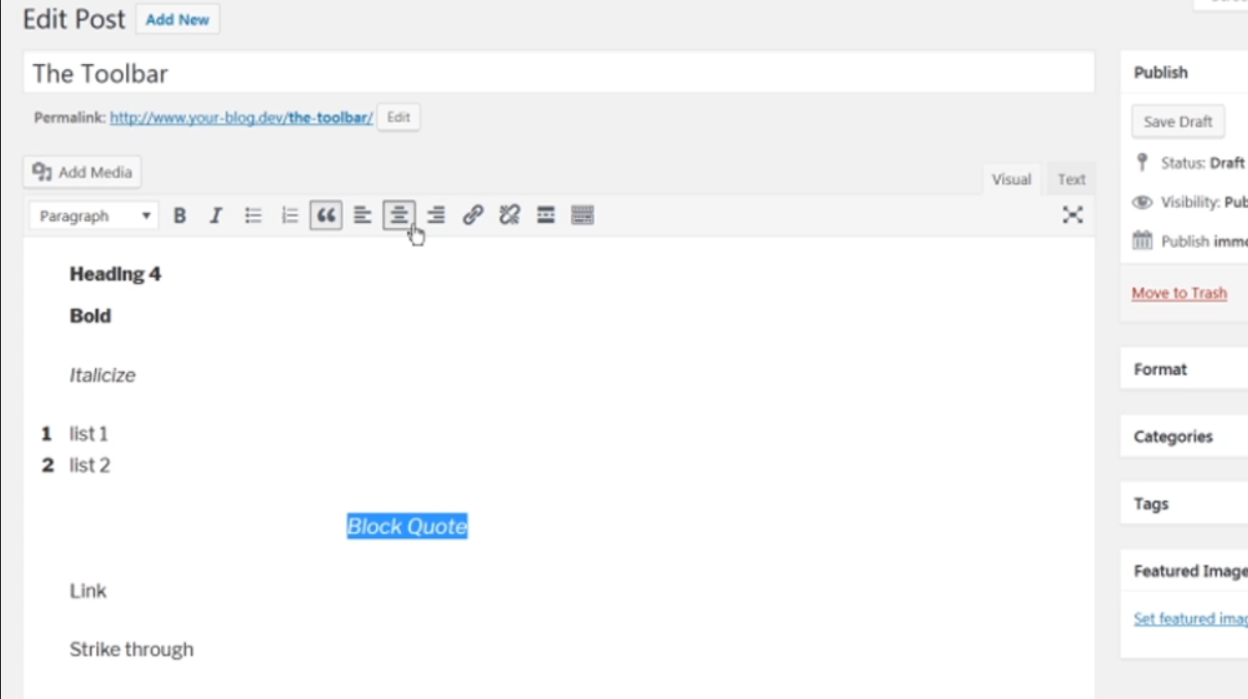
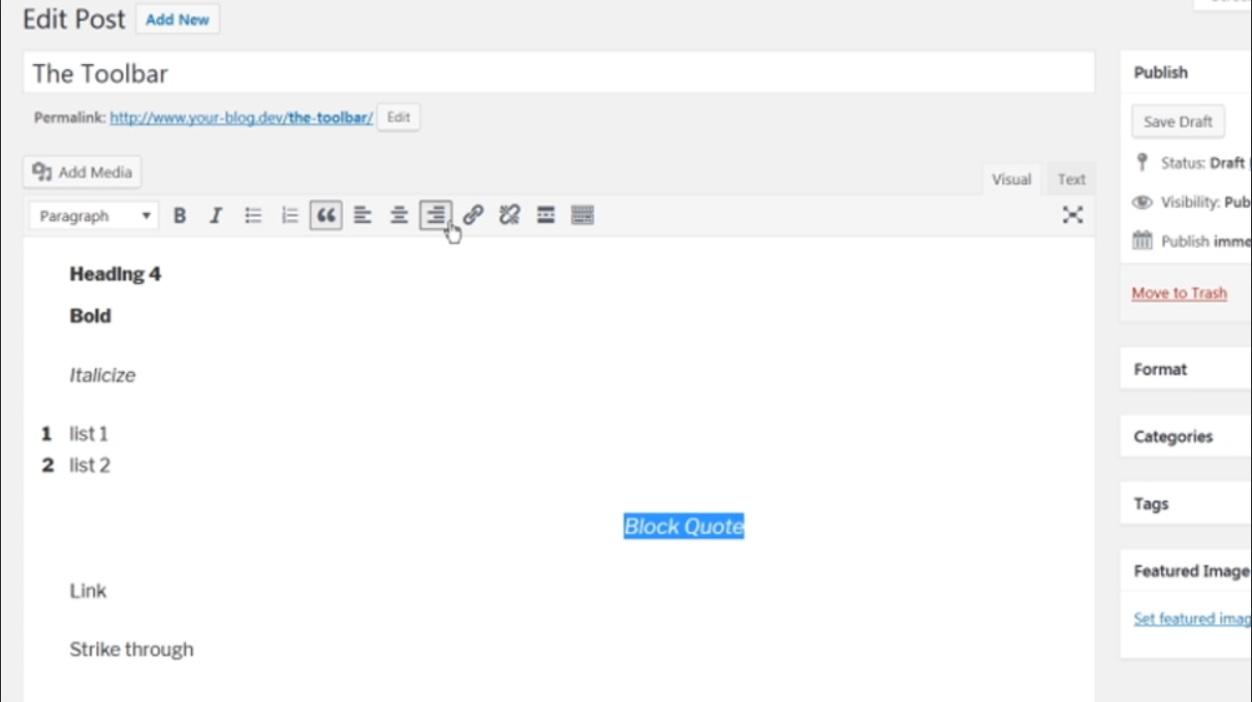
6. The quote icon allows you to create a block quote. Select the text you want to quote, then click on the quote icon.

7. The alignment icons are used to align your text. You can align left, center, or right by clicking on the respective icons.

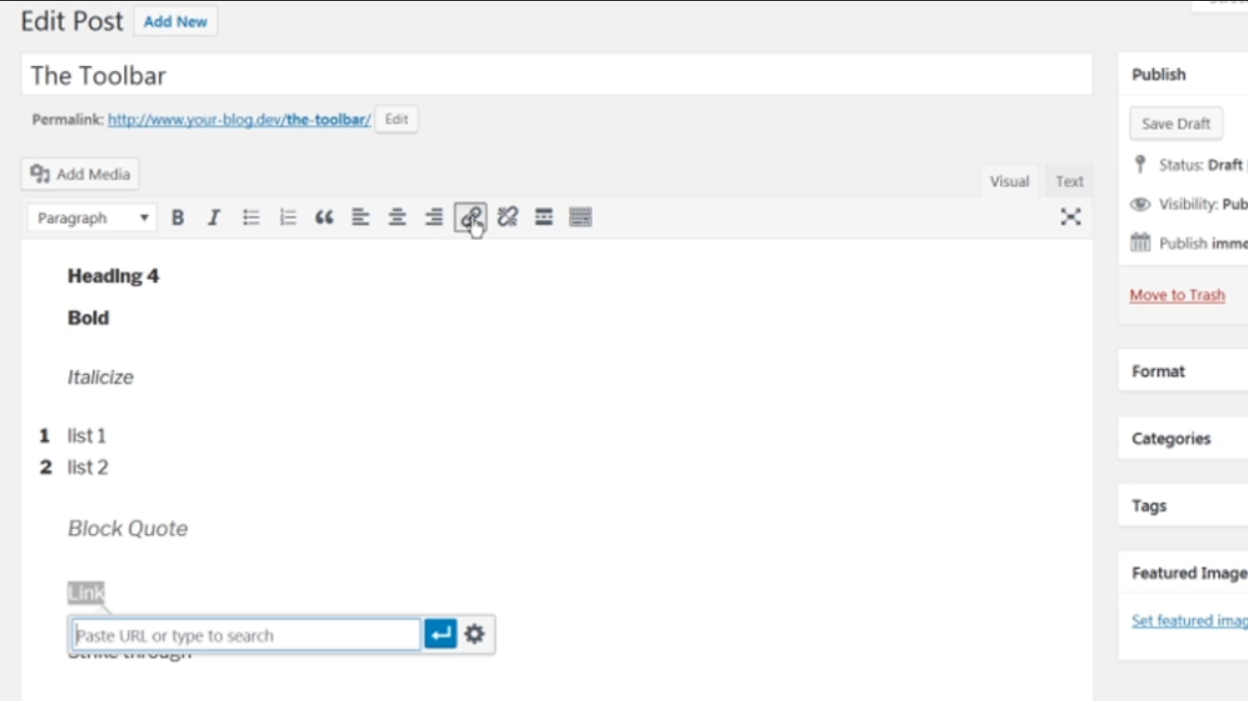
8. The link and unlink icons are used to add or remove links to pages and posts on your site or external websites. Select the text you want to link, then click on the link icon and enter the URL.
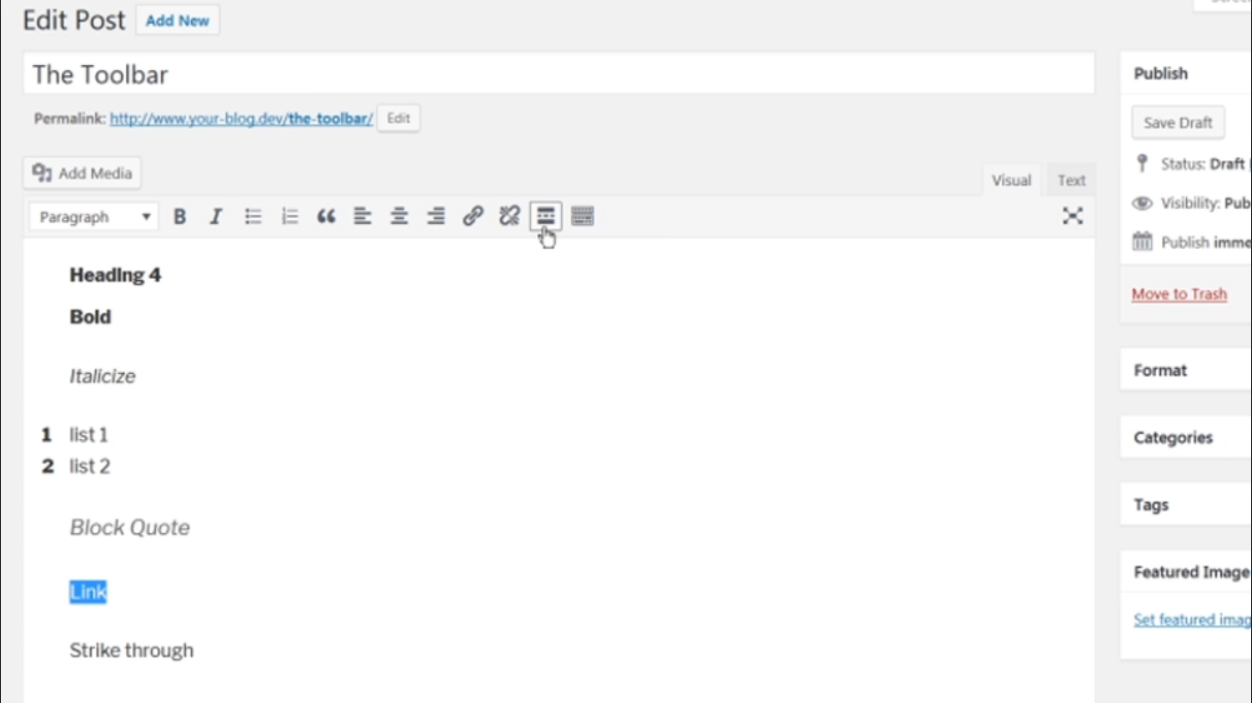
9. The insert more tool allows you to create a break in the page, giving a shorter preview in your post listings. This tool is theme-dependent, so it may or may not affect your site.
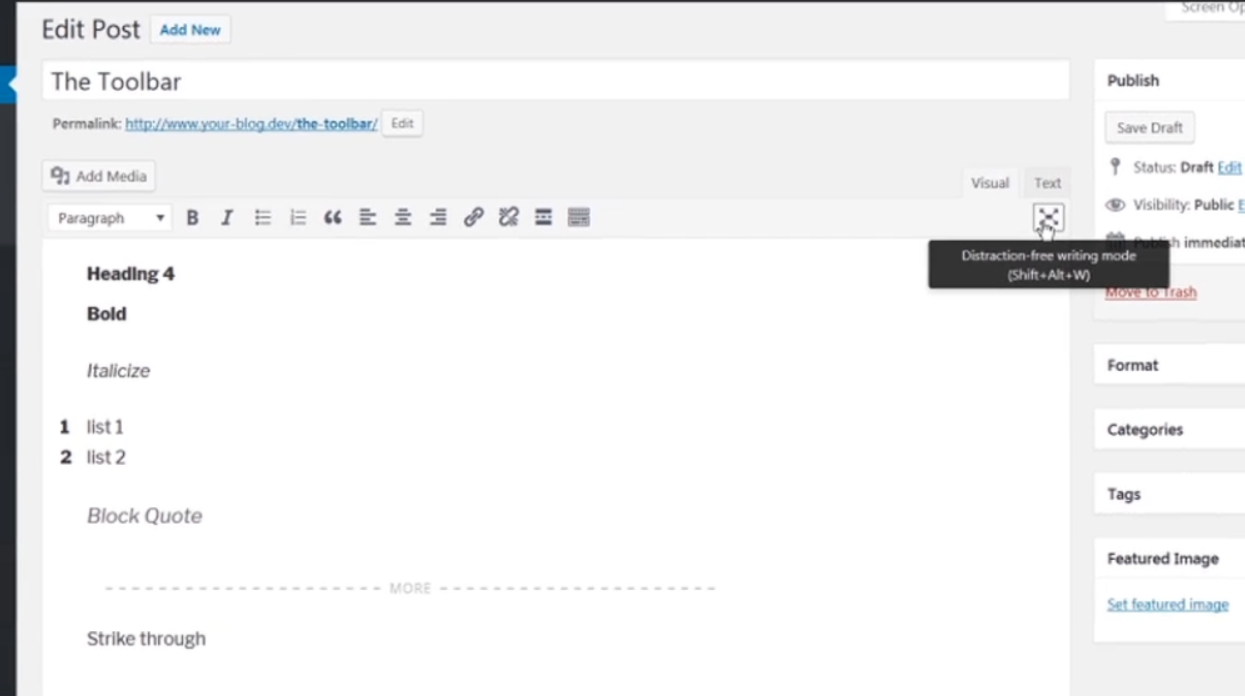
10. The fullscreen icon allows you to edit or create content without distractions. Clicking on it will eliminate the sidebar and other modules.
11. The kitchen sink icon reveals another row of tools for editing and formatting content. To strike through your text, select the text and click on the strike-through icon.

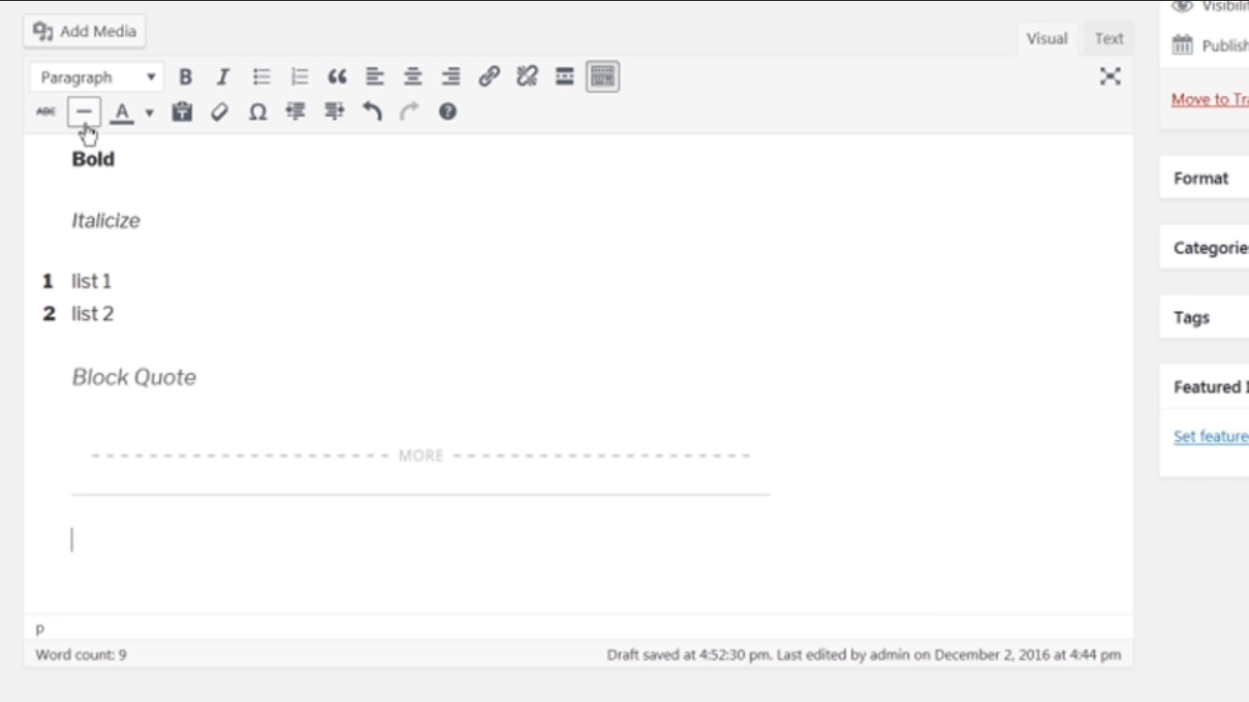
12. The horizontal line icon will insert a horizontal line wherever you click. Use this to separate sections or emphasize a divider in your content.
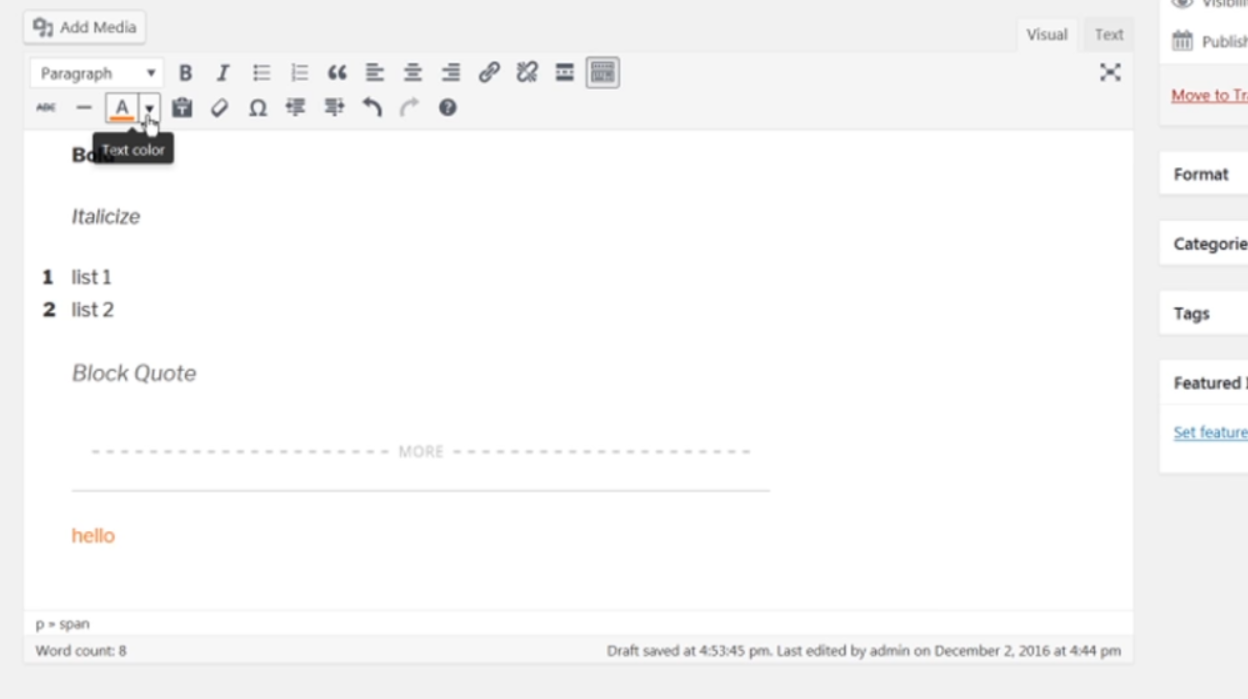
13. You can change the color of your text using the text color icon. Select the text, then click on the icon and choose the desired color.
14. The paste plain text box allows you to insert text from another editor, removing any formatting. Paste your plain text into the box and click the “Insert” button.
15. The remove formatting tool lets you remove formatting from a selected group of text. Highlight the text and click on the remove formatting icon.
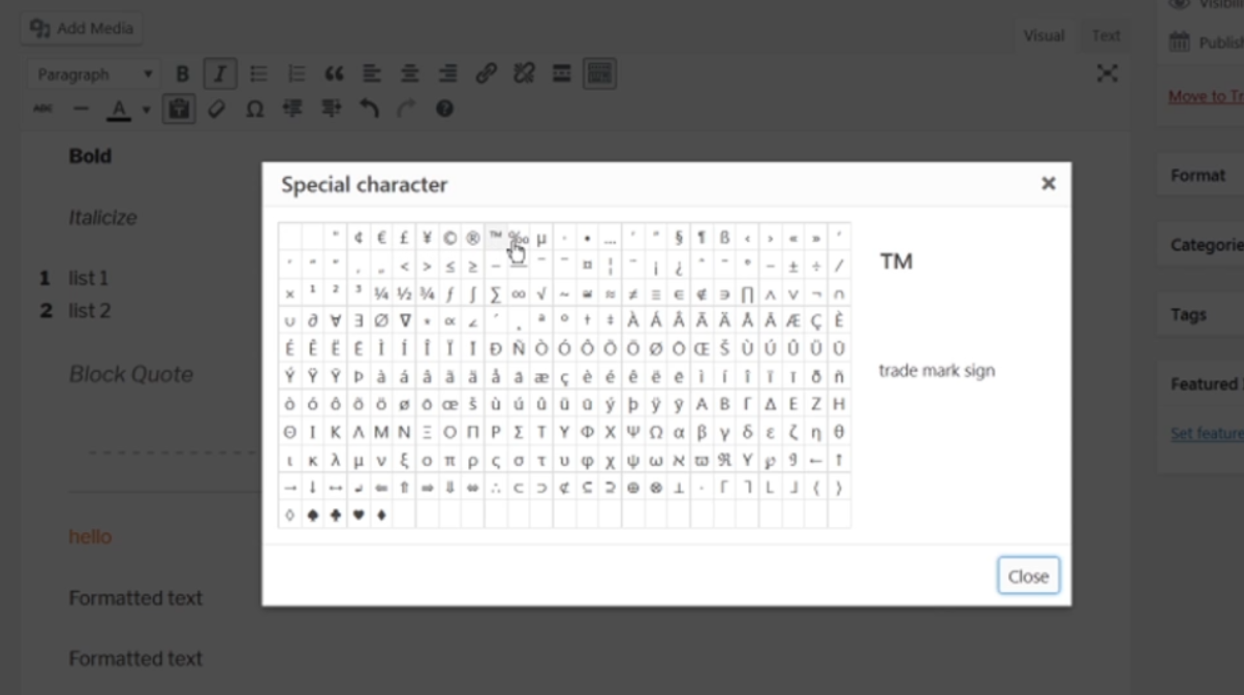
16. Insert custom characters such as the copyright symbol or trademark symbol by clicking on the special character icon. Select the desired character from the list.
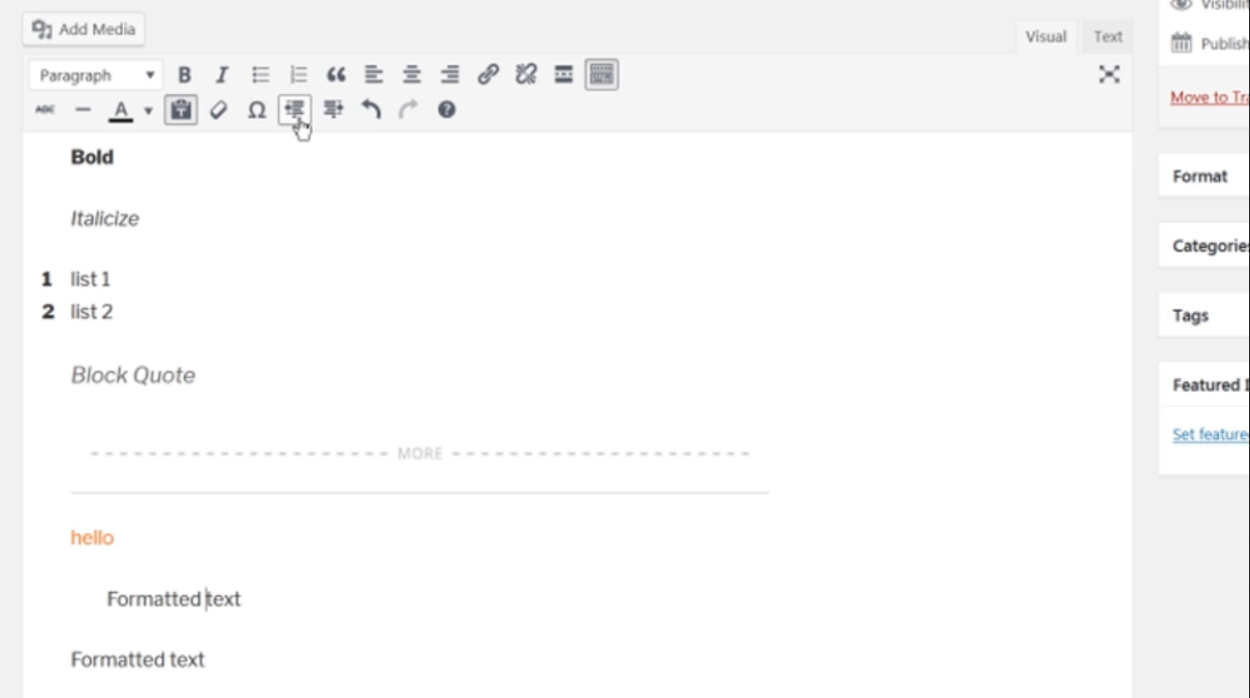
17. The outdent and indent icons are used to adjust the indentation of your text. Select the text and click on the respective icons to outdent or indent.

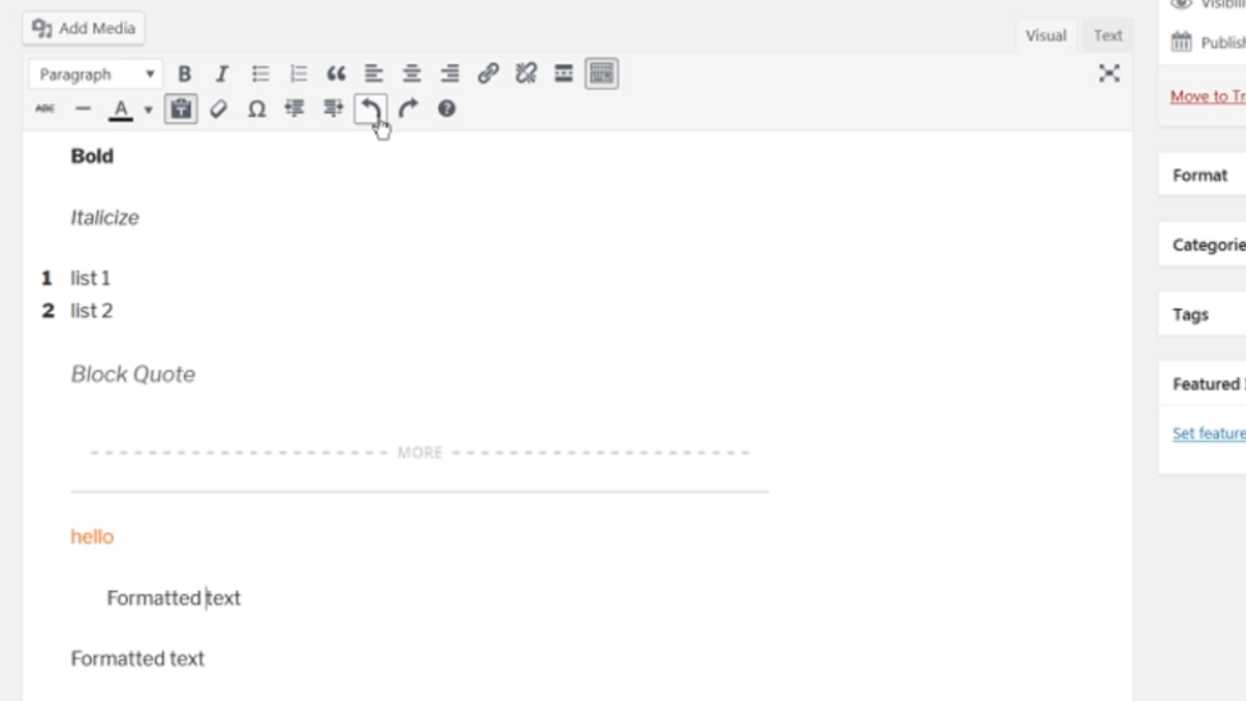
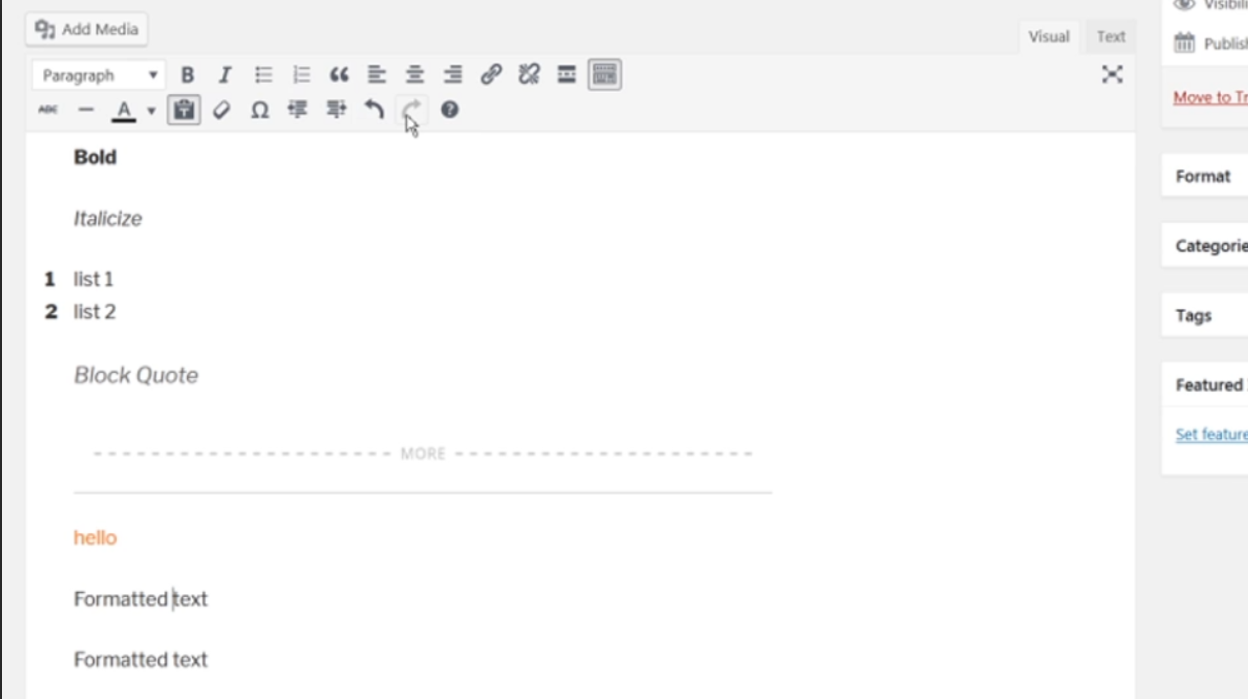
18. The last two icons are the undo and redo buttons. These allow you to undo or redo any changes you’ve made.
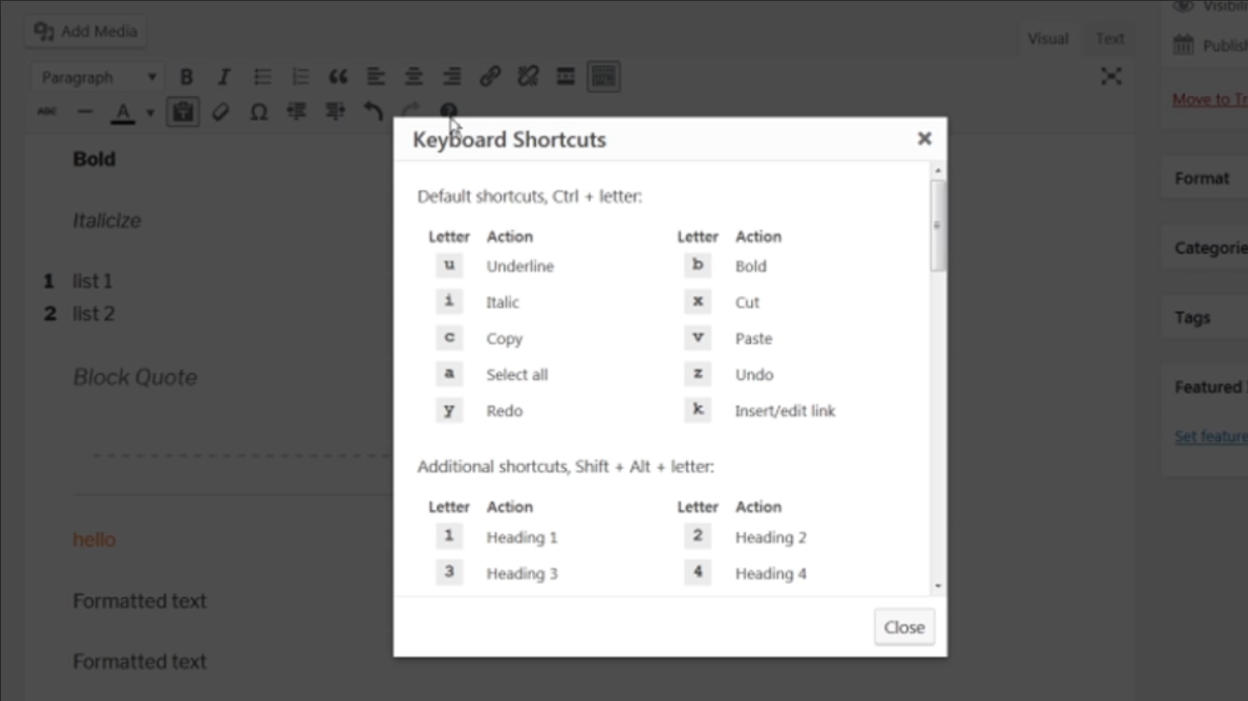
19. If you have any questions about the visual editor, click on the question mark icon to access the visual editor help menu for further assistance.
That’s it! Now you have an overview of all the tools in the visual editor toolbar in WordPress. Experiment with these tools to format and style your content effectively.
Leave a Reply