
To create a WordPress page or post, follow these step-by-step instructions:
1. Login to your WordPress dashboard. This is typically accessed by adding “/wp-admin” to the end of your website’s URL (e.g., www.yourwebsite.com/wp-admin).
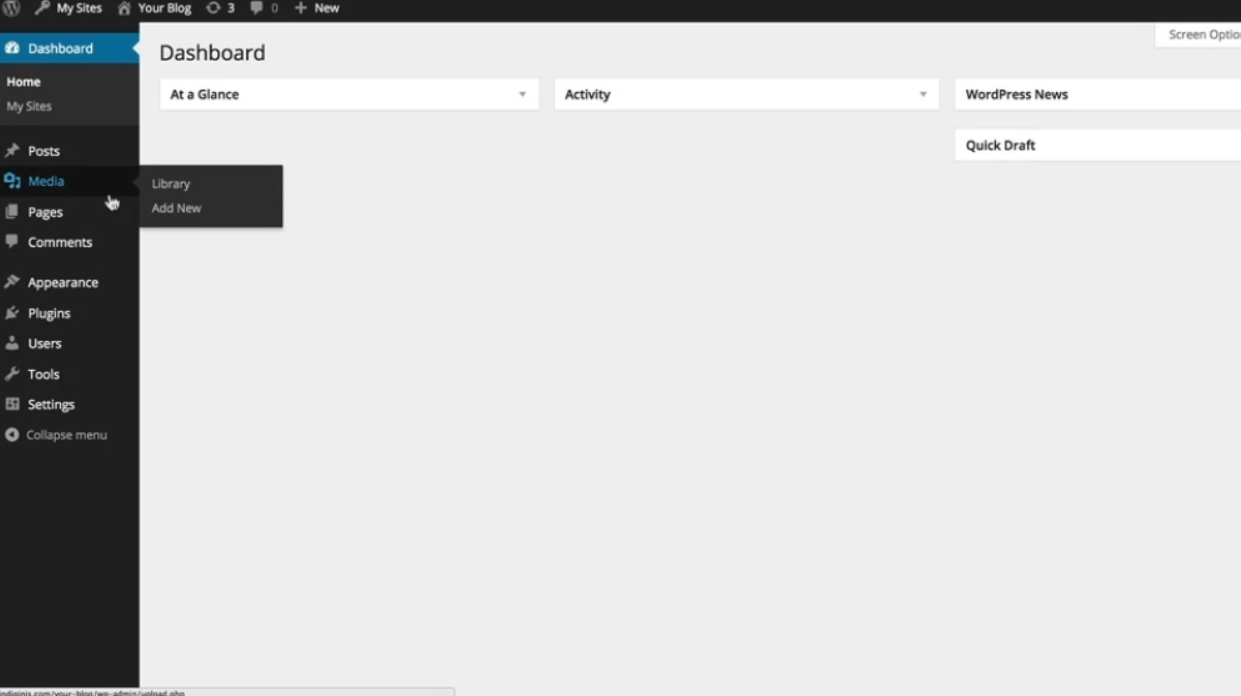
2. On the left-hand side of the dashboard, you will see a menu. Look for the “Pages” or “Posts” option and click on it.
3. If you want to create a new page, click on “Add New” under the “Pages” section. If you want to create a new blog post, click on “Add New” under the “Posts” section.
4. You will now be taken to the page or post editor. Start by entering a title for your page or post in the text box at the top.
5. Next, enter the content for your page or post in the main text editor area. You can use the toolbar above the editor to format text, insert links, add images, and more.
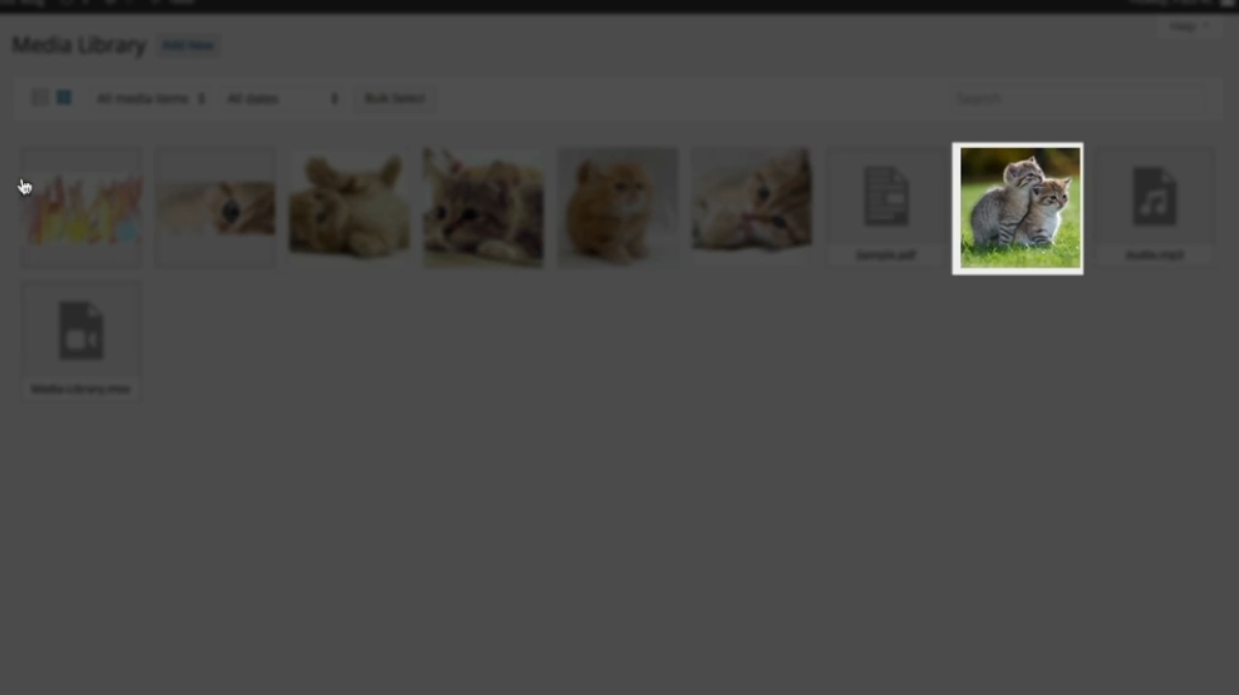
6. To add media such as images, videos, or audio files, click on the “Add Media” button above the editor. This will open the media library.
7. In the media library, you can upload new files by clicking on the “Upload Files” tab and then selecting the file(s) you want to upload from your computer. You can also drag and drop files directly into the library.
8. Once uploaded, you can select the media file you want to insert into your page or post by clicking on it. You can also edit the file’s metadata, such as alt text and captions.
9. To insert the media into your page or post, click on the “Insert into page” or “Insert into post” button.
10. Continue adding text, media, and any other elements you want to include in your page or post. You can preview your work by clicking on the “Preview” button on the right side of the editor.
11. When you are satisfied with your page or post, click on the “Publish” button to make it live on your website. If you’re not ready to publish yet, you can save it as a draft.
That’s it! You have successfully created a WordPress page or post. You can always go back and edit your content later by accessing the “Pages” or “Posts” section in your dashboard. Happy creating!
Leave a Reply