
To access the WordPress image editor and make changes to your images, follow these step-by-step instructions:
1. Login to your WordPress website and navigate to the Dashboard.
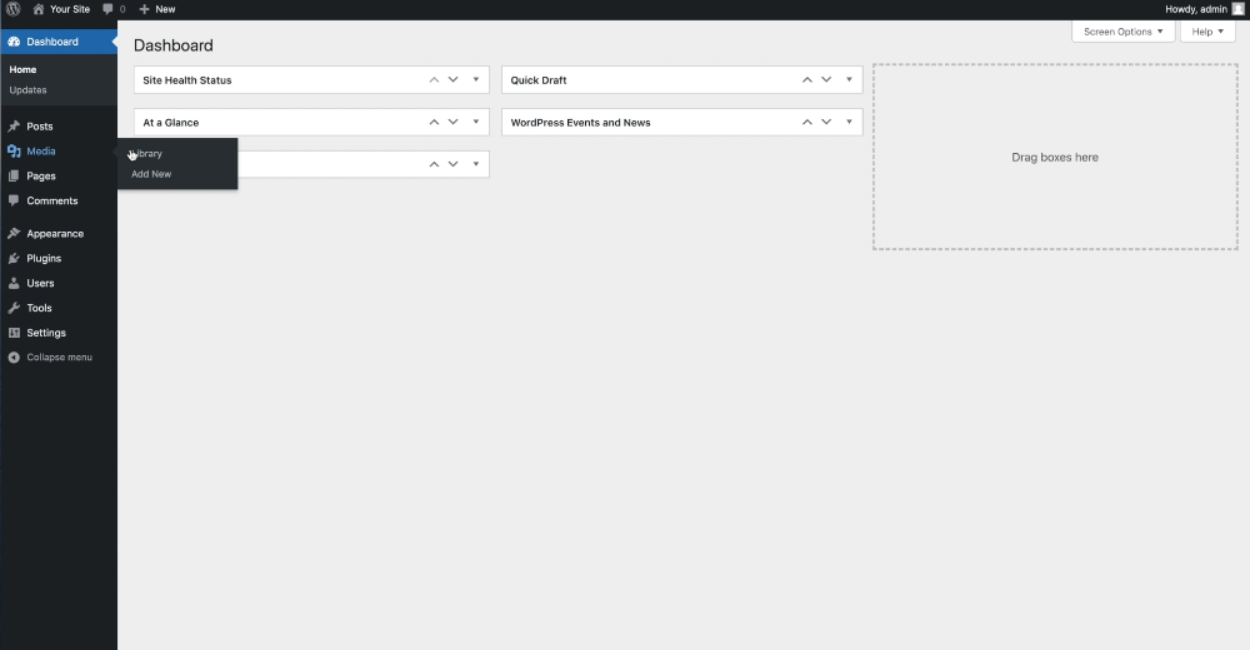
2. From the Dashboard, locate and click on the “Media” option in the left-hand sidebar. This will take you to the Media Library.
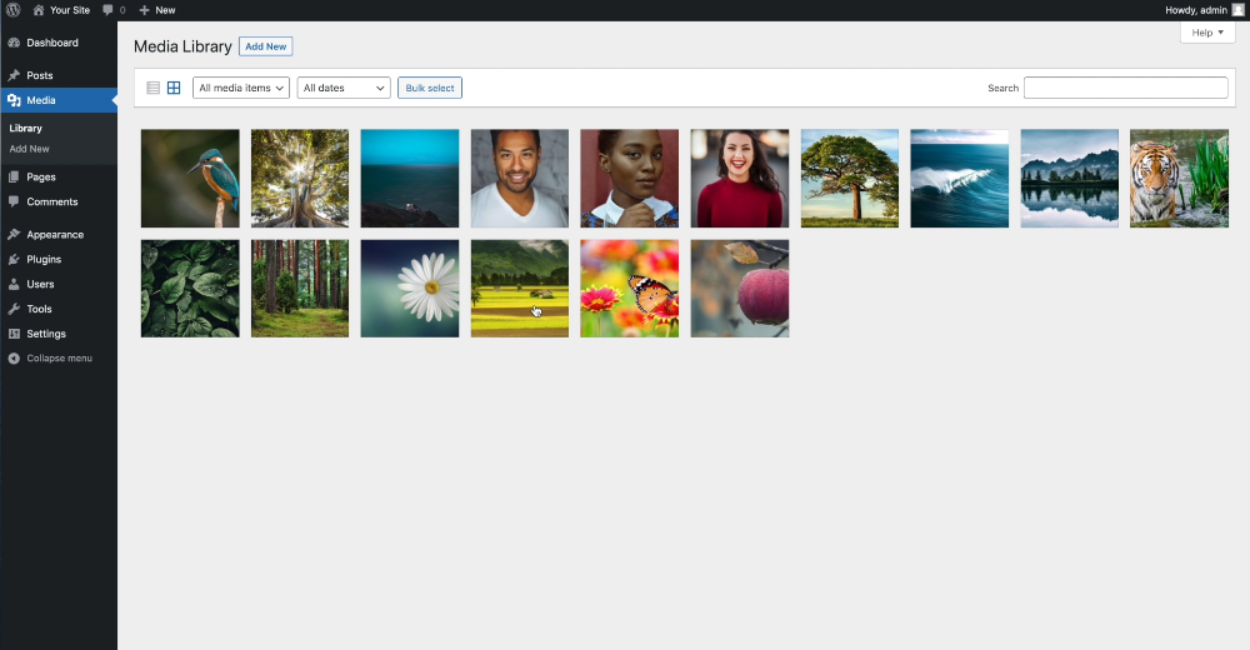
3. In the Media Library, you will see a list of all the images you have uploaded to your website. Find and click on the image you want to modify. This will open a details page for that image.
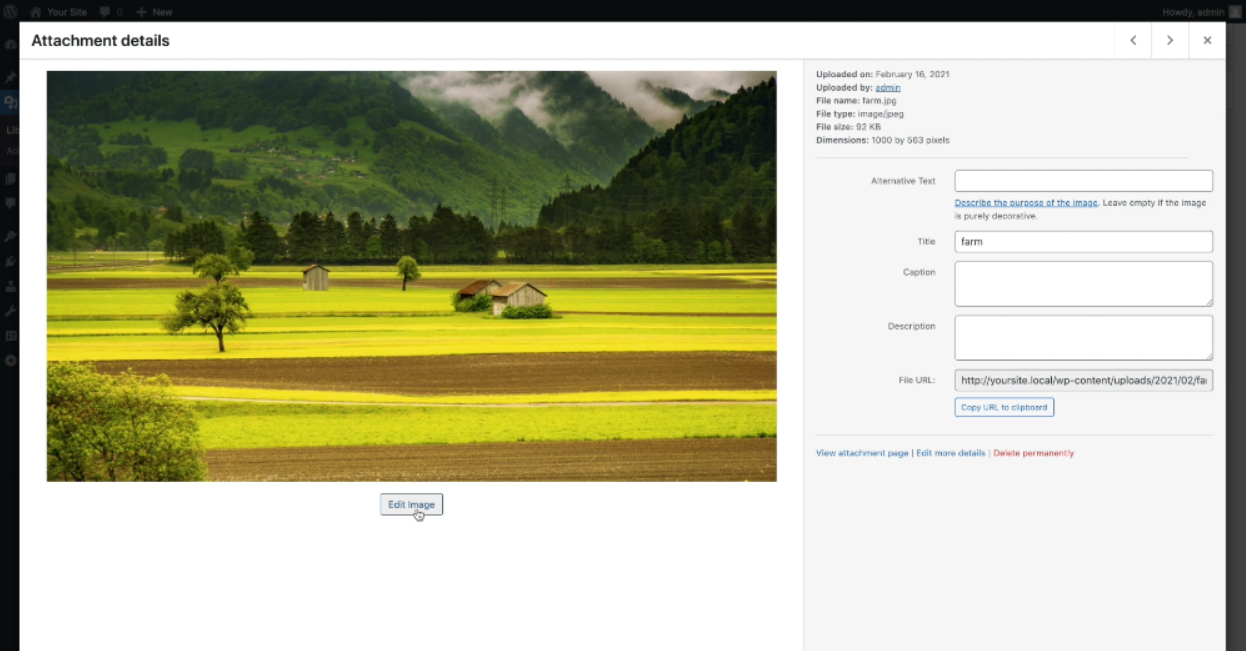
4. On the image details page, you will see various options and information about the image. Look for the “Edit Image” button located above the image. Click on it to open the WordPress image editor.
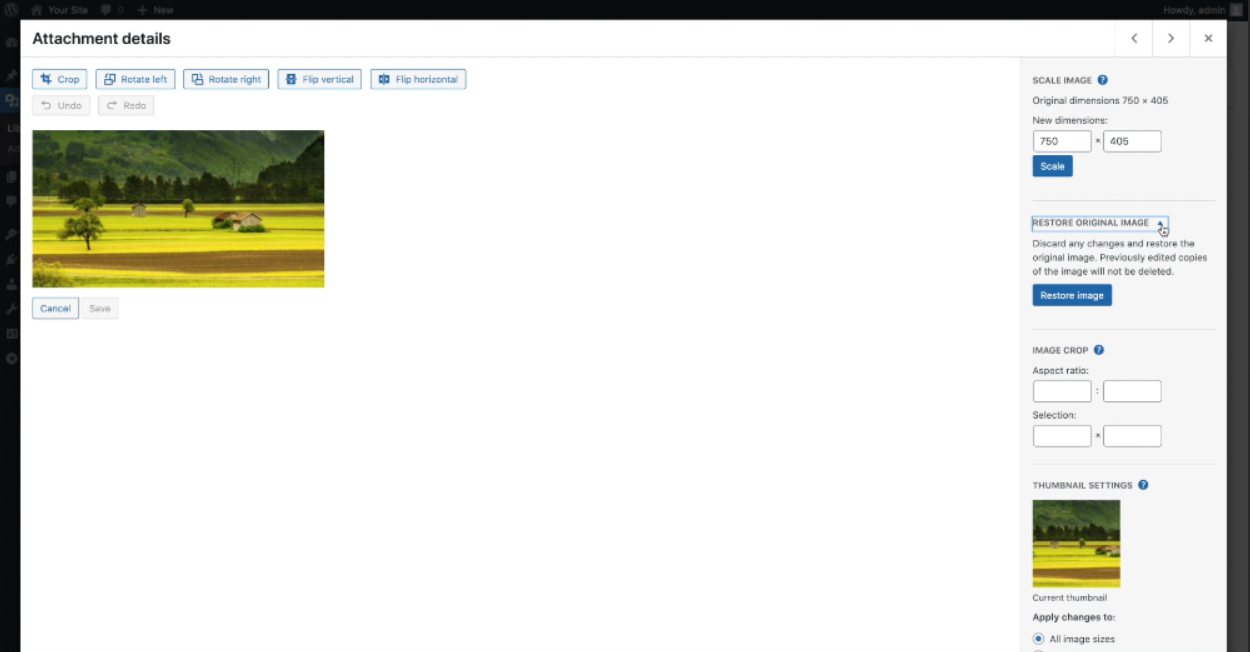
5. Once the image editor is open, you will see a toolbar at the top of the screen. This toolbar provides options to rotate and flip your image. If you need to undo or redo any of your actions, you can use the appropriate buttons on the toolbar as well.
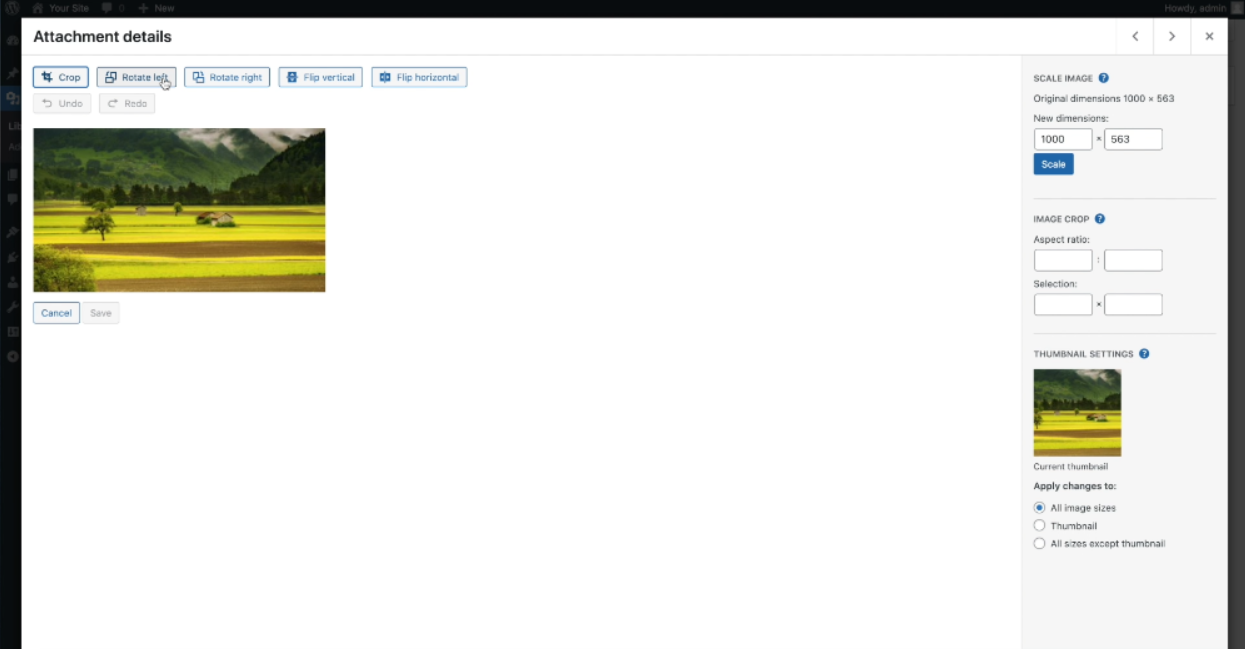
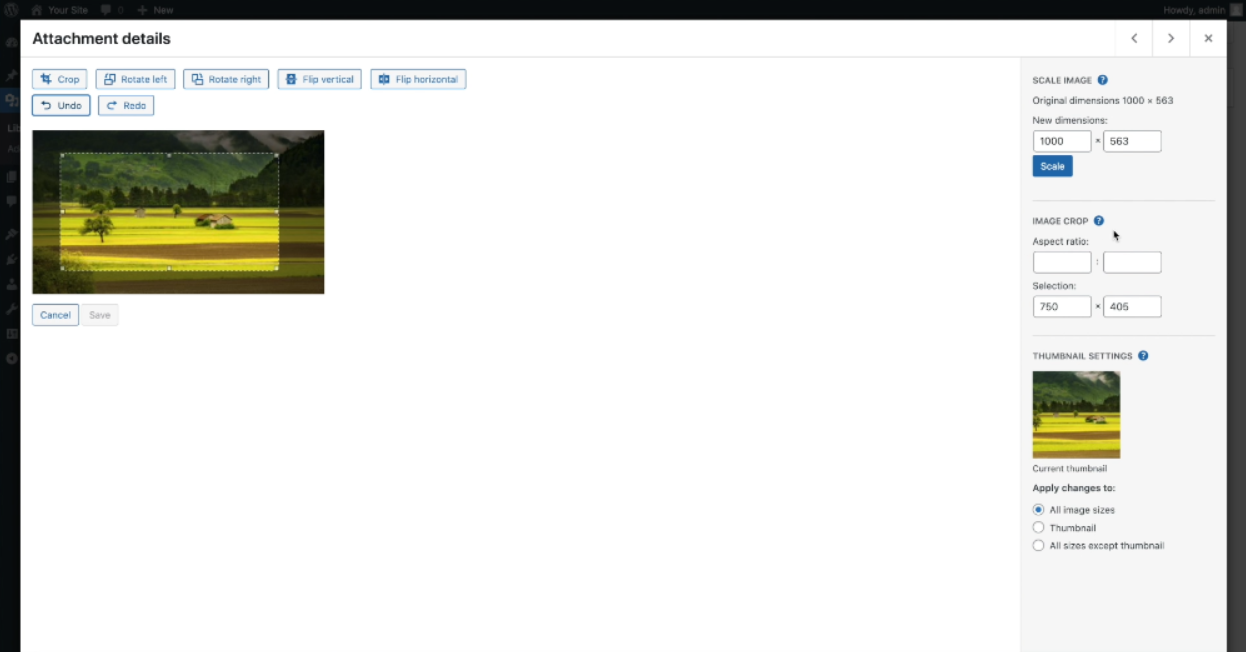
6. To crop your image, click and drag the cursor over the area you want to keep. Alternatively, you can enter the desired aspect ratio or dimensions on the right side of the screen. Adjust the selection until you are satisfied with the crop.

7. Once you have made your crop selection, locate and click on the “Crop” button on the top toolbar. This will apply the crop to your image.
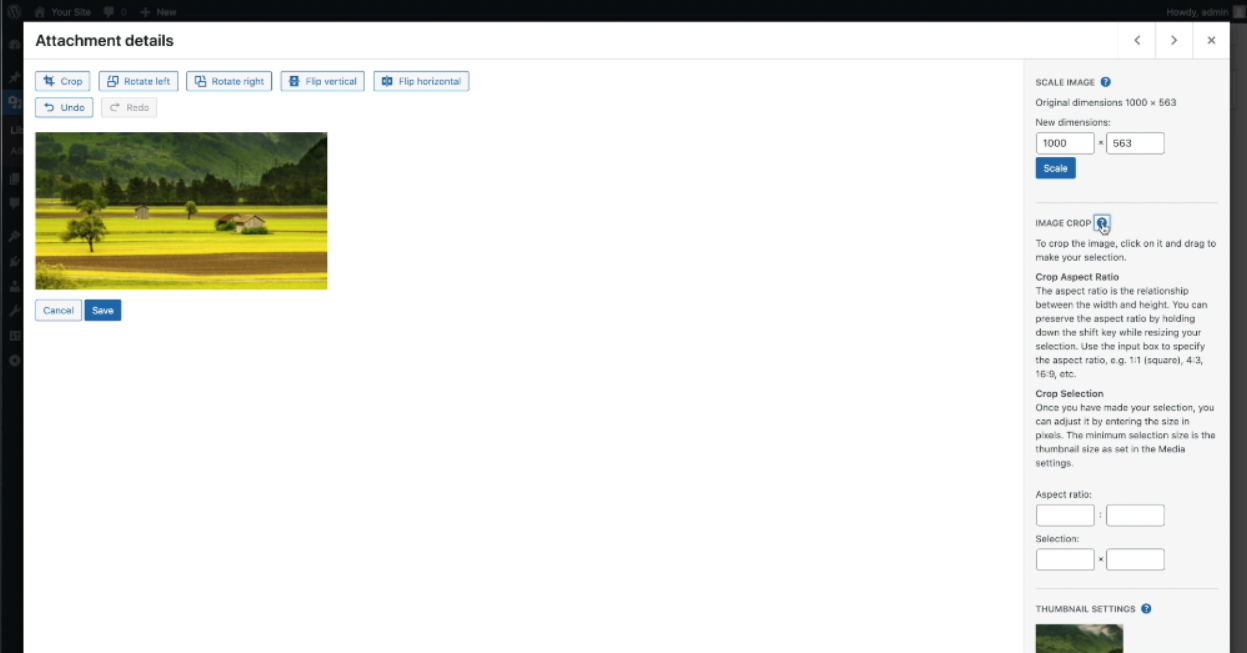
8. If you need further guidance on aspect ratios and crop selections, you can click on the help icon next to the image crop option. This will provide you with more information and tips.
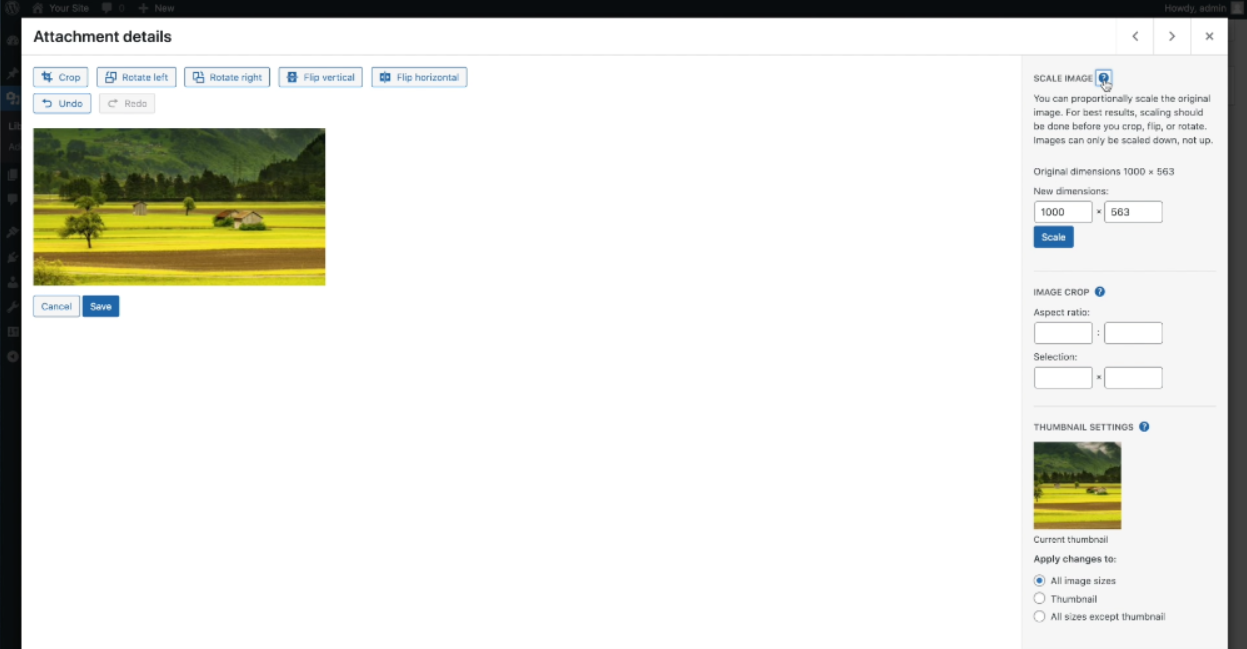
9. To proportionally scale your image, enter the new dimensions in the fields at the top right corner of the editor. The second value will automatically adjust to maintain the aspect ratio. You can consult the help icon next to the scale image option for more details.

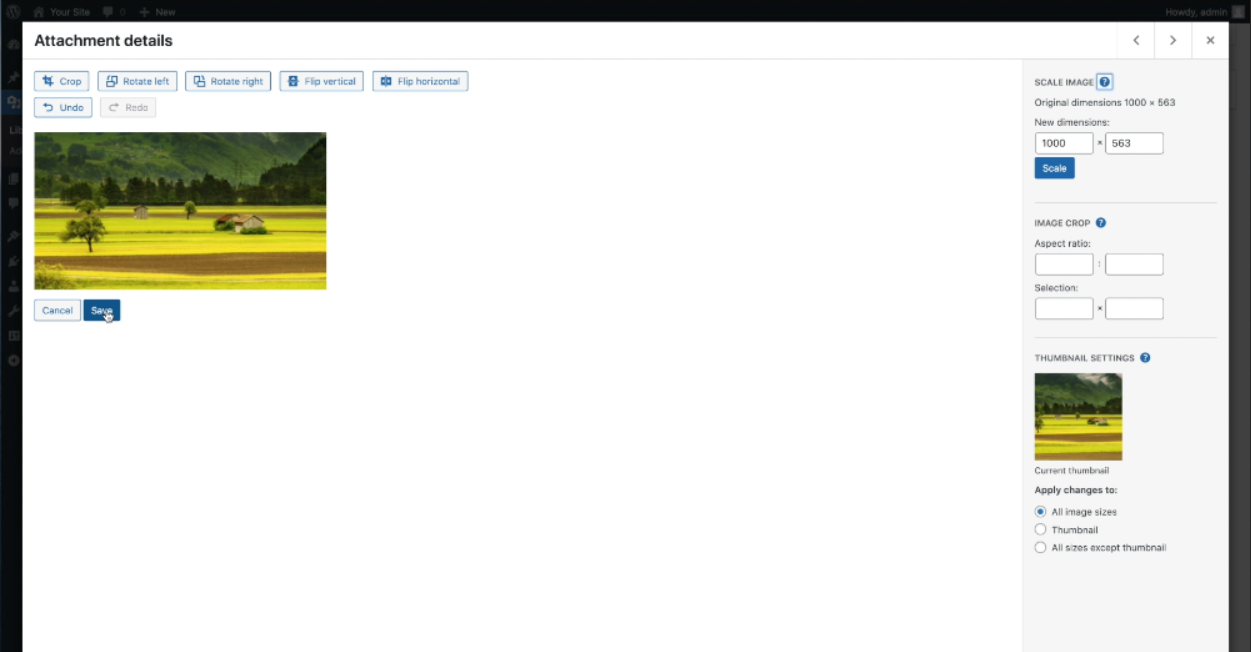
10. On the right side of the screen, you will find an option to choose where your changes should be applied. You can either select to apply changes to all image sizes, just the thumbnail size, or exclude the thumbnail size. This is useful when you want to crop a large image for a thumbnail while keeping the full size for other purposes.
11. After you have finished making changes to your image, click on the “Save” button located at the top right corner of the editor. This will save your modifications.
12. In case you have applied edits to all image sizes and want to restore the original image, you can re-open the editor and click on the “Restore Image” button.
By following these steps, you can easily access and use the WordPress image editor to modify and enhance your images for your business website.
Leave a Reply