
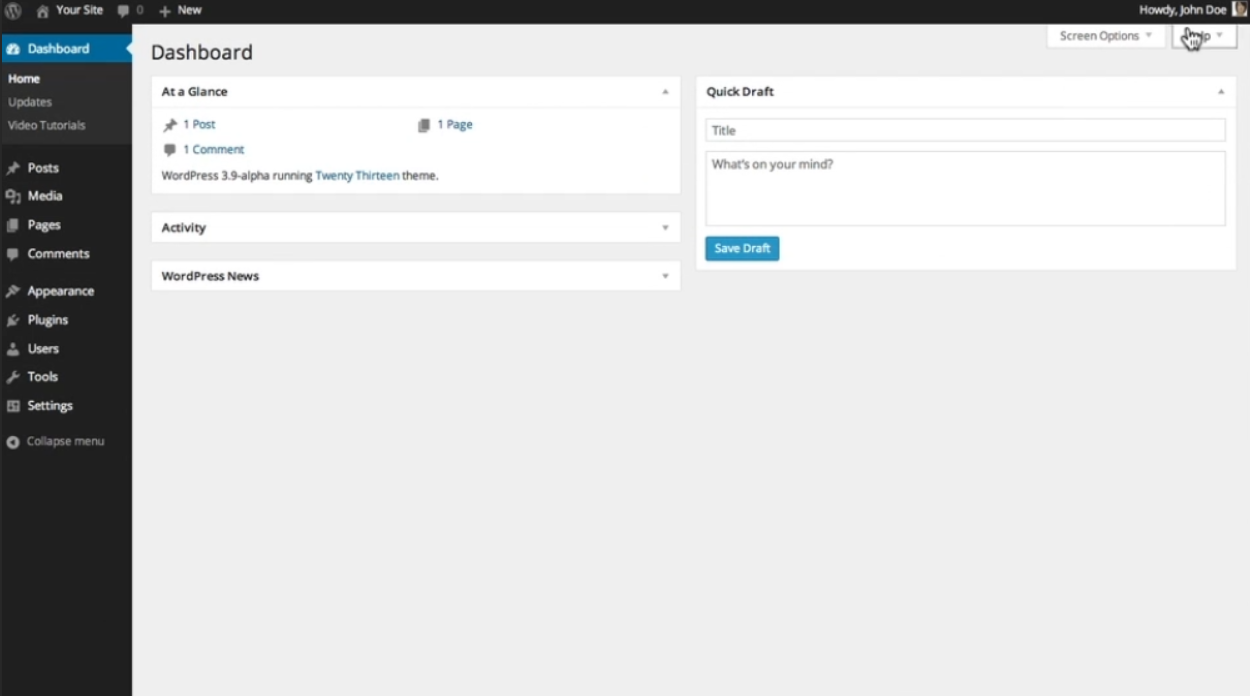
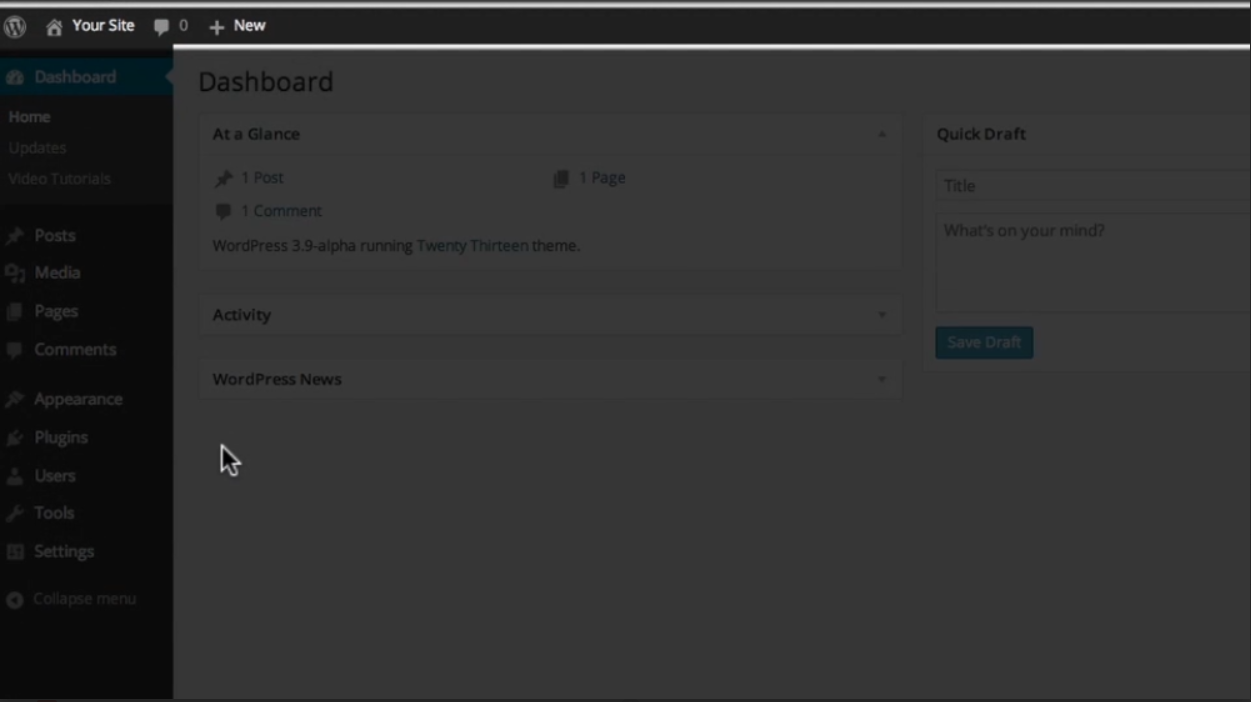
Typically, the first thing you’ll see when logging into WordPress is the dashboard. It’s a great way to get updates on your website, statistics, and more.
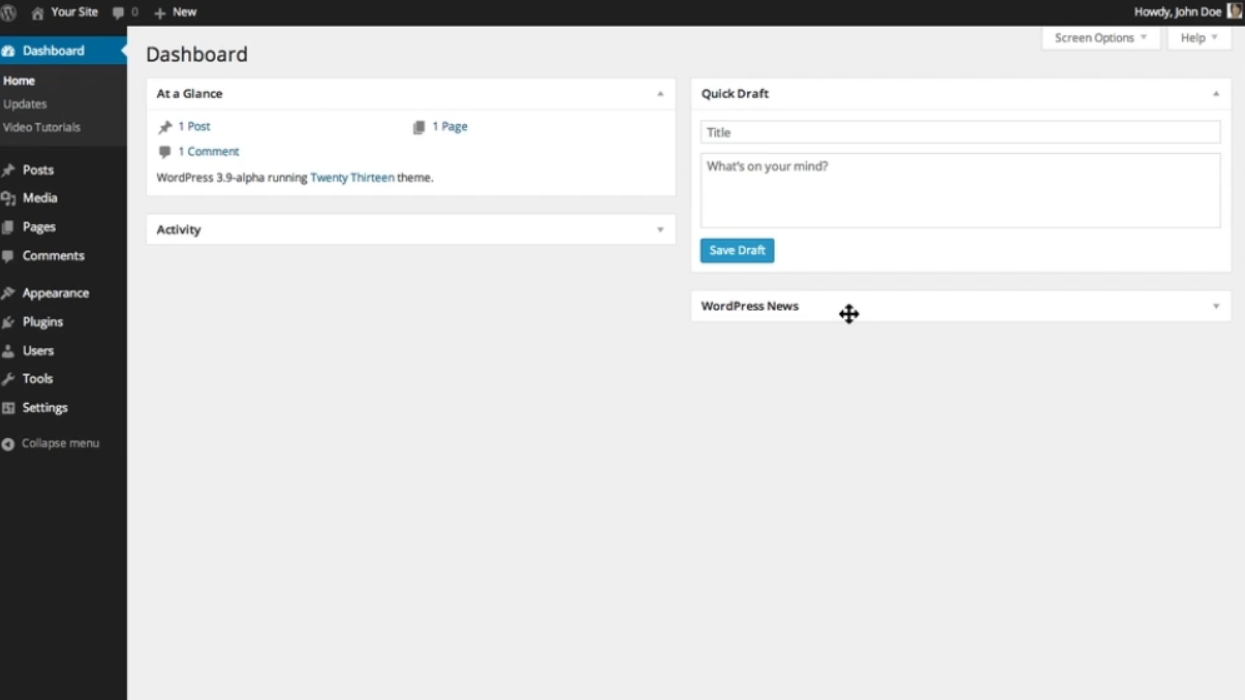
1. On the main area of your dashboard, you will find widgets that provide news and basic information about your site.
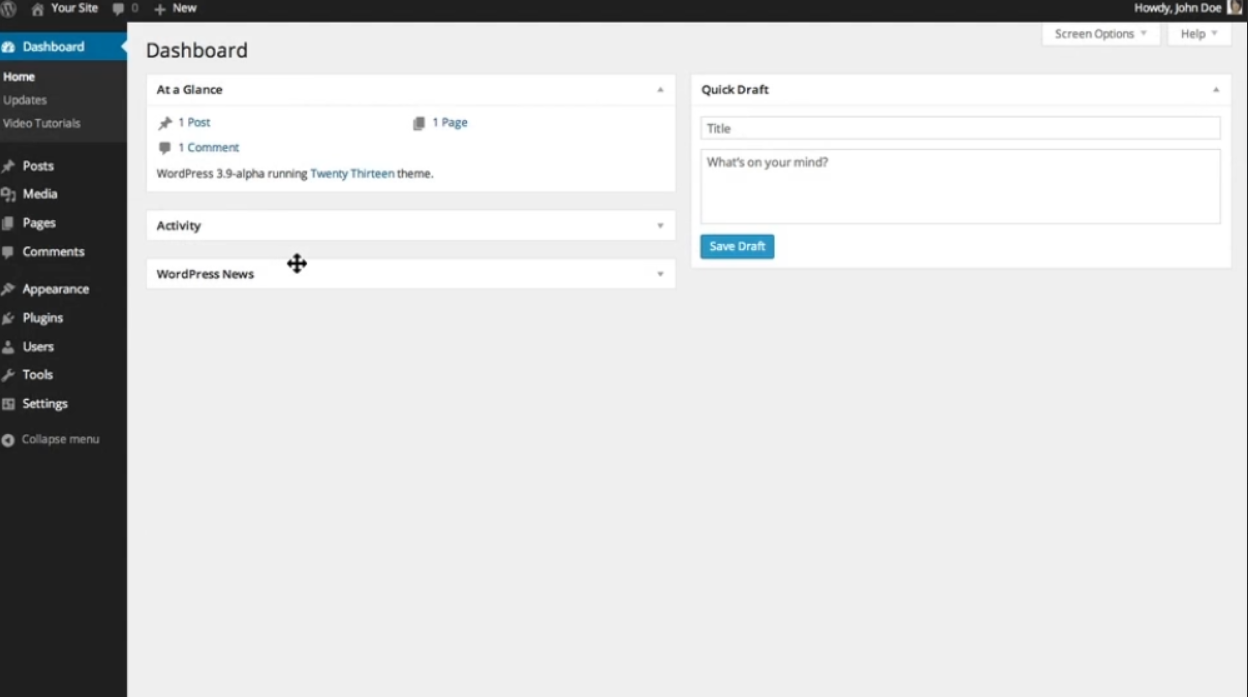
2. You can drag and drop these widgets to position them however you would like.
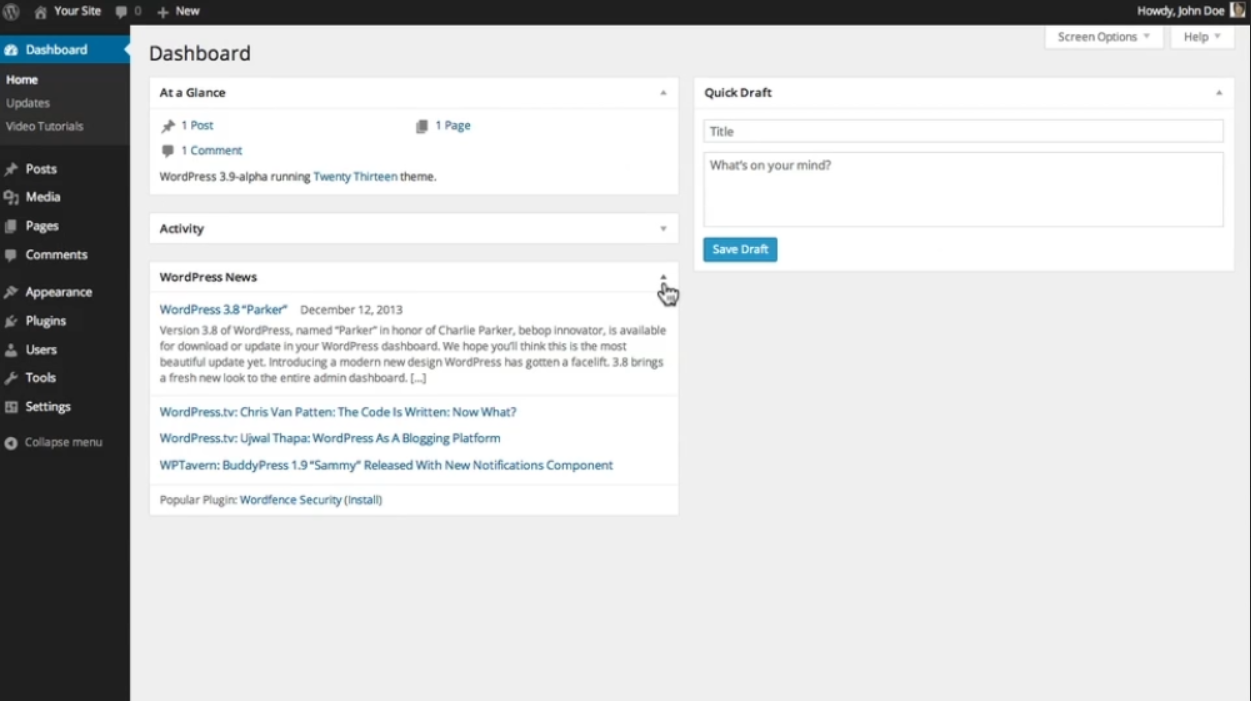
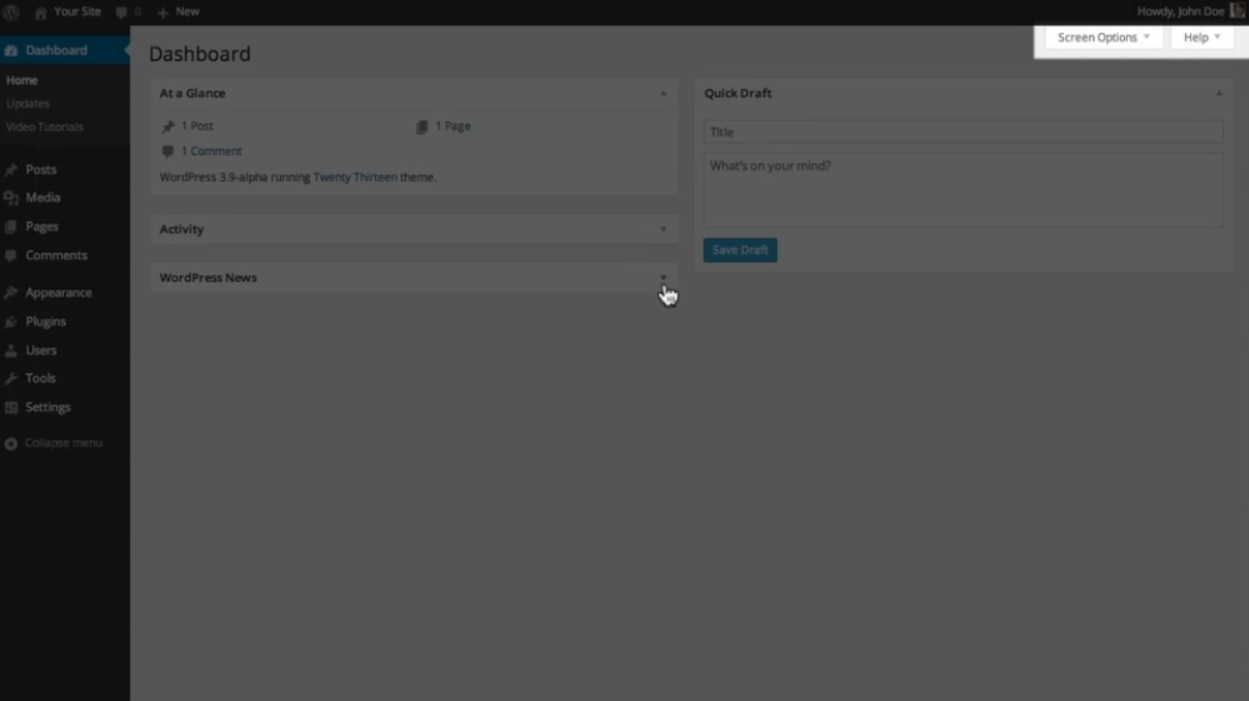
3. You can also close them by clicking the down arrow icon in the far right corner near the widget title.
4. Some widgets have configuration options that you can access by hovering over the title bar and clicking on the configure link that appears.
5. In the upper right-hand corner of the screen, you’ll see a couple of pull-down tabs labeled “Screen Options” and “Help.”
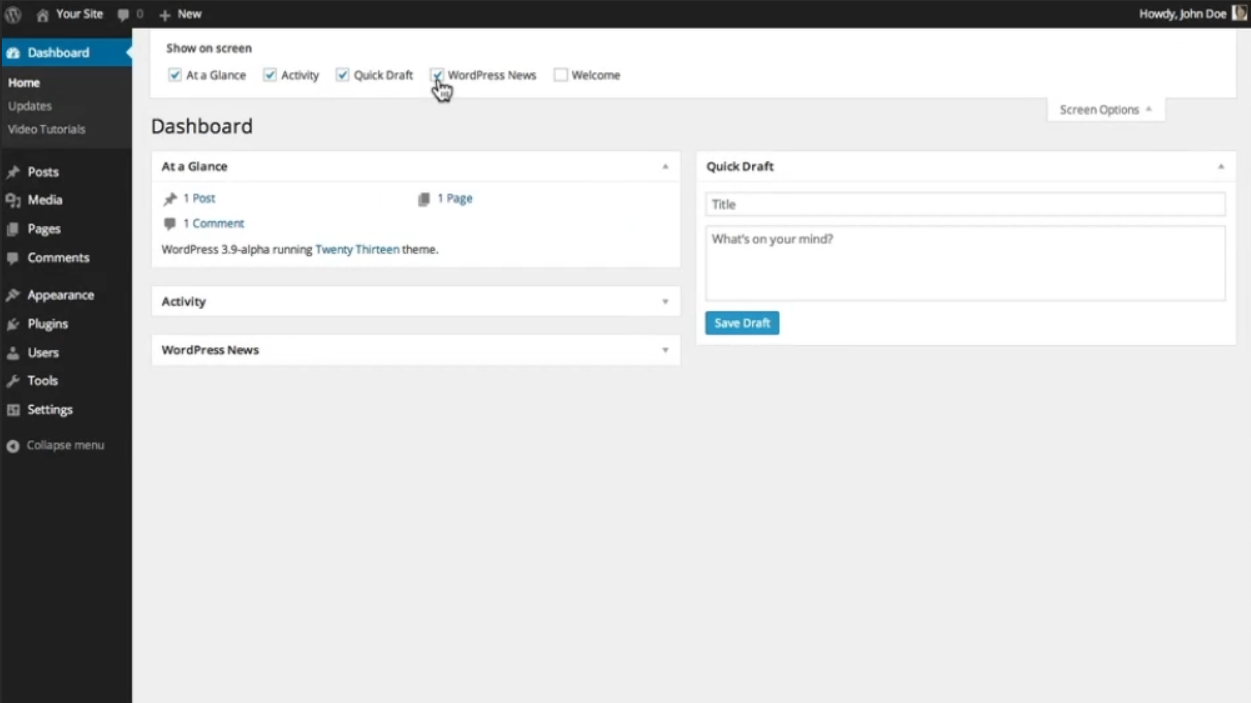
6. Clicking on the “Screen Options” tab brings up customization options for your dashboard.
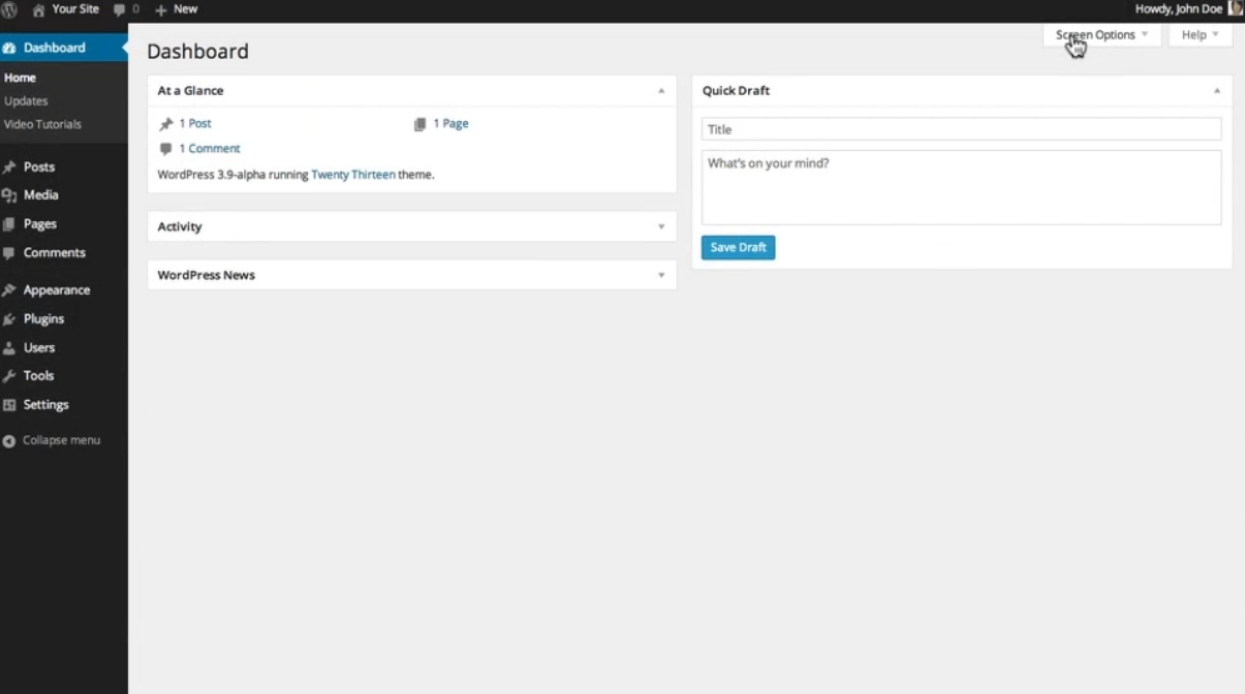
7. Here you can turn off and on the widgets you want shown at any given time.
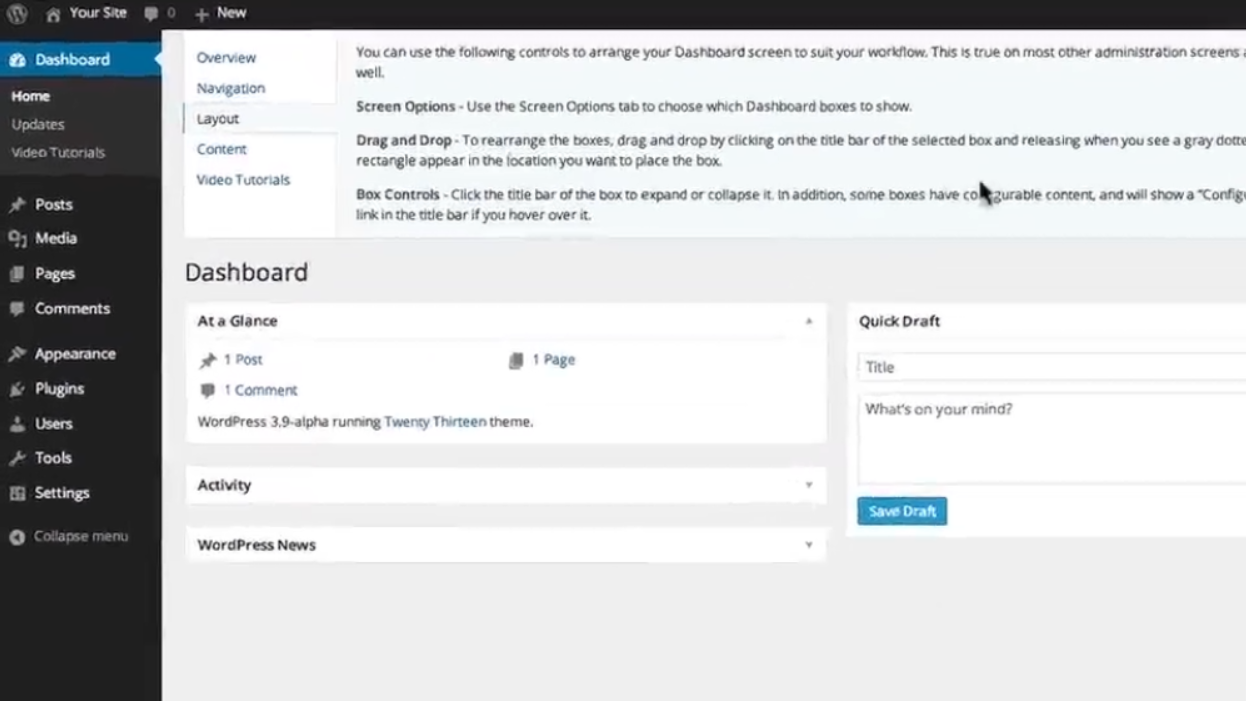
8. The “Help” tab provides information about these customizations as well as helpful links to documentation and support.
In the sidebar, you’ll find links that provide easy access to the different areas of your website.
9. When you select a menu item, a list of submenu items will appear below it.
10. Hovering your cursor over any of these items will also display the submenu.
11. You can click on these to easily access any of the subsections of your site.
12. The main menu items include:
– “Dashboard”: receive statistics and updates regarding your website.
– “Posts”: create and manage the posts on your blog as well as the tags and categories associated with them.
– “Media”: manage the media content library for things like PDFs, videos, images, and audio files.
– “Pages”: create and manage pages on your site.
– “Comments”: manage your visitors’ feedback.
– “Appearance”: choose your theme, set up widgets, create custom navigation menus, and more.
– “Plugins”: extend the capabilities of your website and manage, activate, and deactivate them.
– “Users”: manage and view all of the site’s users and edit your own profile (change your password, email address, and screen name).
– “Tools”: provide some powerful tools, plus options for importing and exporting content.
– “Settings”: configure your website’s name, privacy, and permalink settings to your liking.
Finally, at the top of the page, you’ll find the admin bar, which provides access to commonly used features and information.
Leave a Reply