
The Customize feature in WordPress allows you to make changes to your website’s appearance and preview them before publishing. In this step-by-step guide, we will walk you through the process of creating a WordPress page or post using the Customize feature.
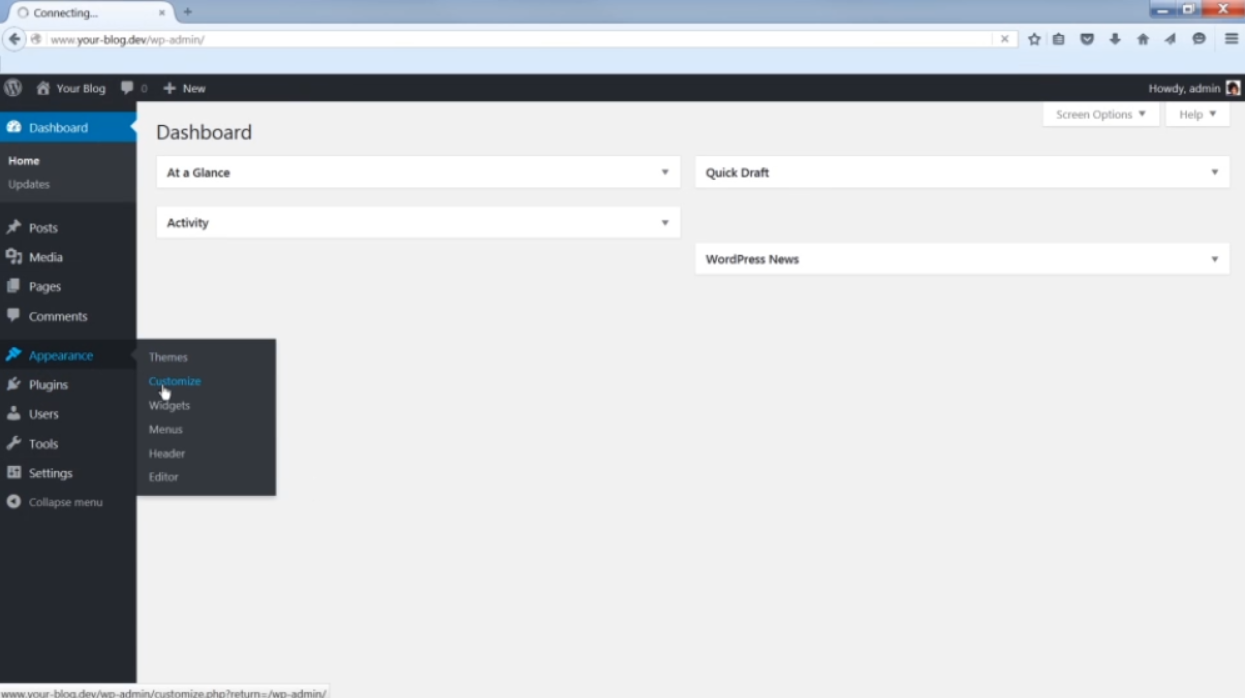
1. After logging into your WordPress dashboard, navigate to the left sidebar and click on “Appearance.”

2. From the Appearance menu, select “Customize.” This will open the Customizer panel on the left side of your screen.
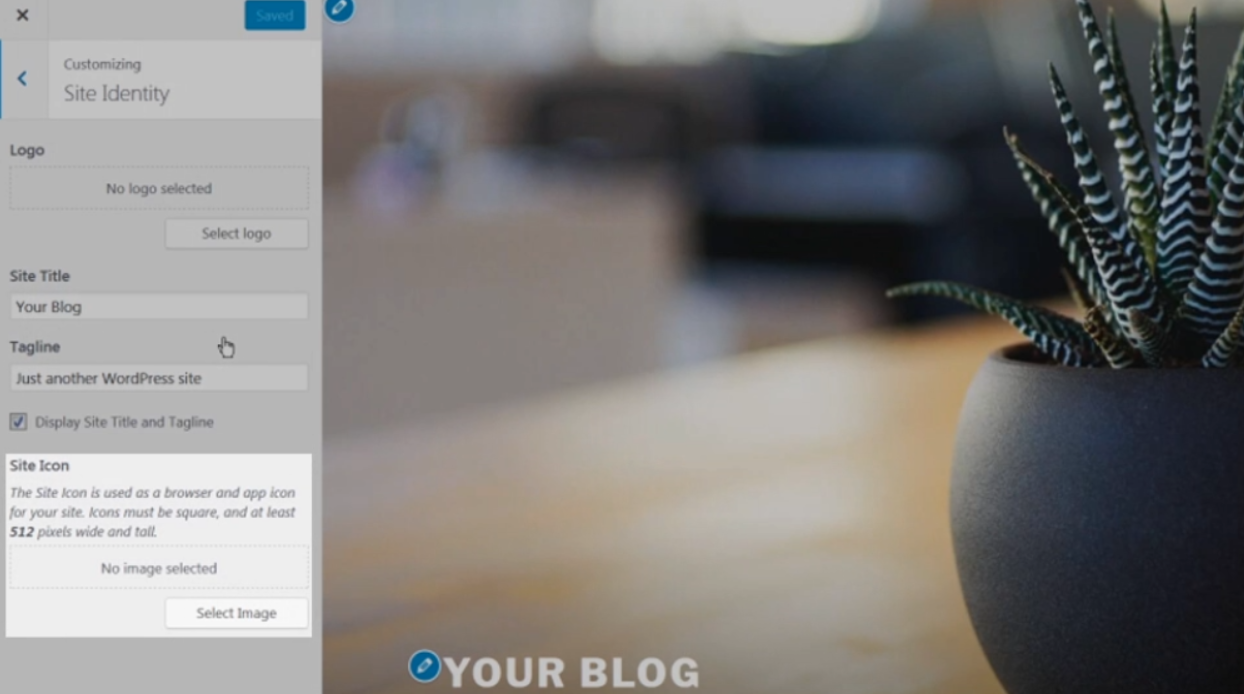
3. The Customizer panel is divided into different sections, each representing a specific aspect of your website’s design. Let’s start with the “Site Identity” section.

4. In the Site Identity section, you can set the site title and tagline. These are typically displayed in the header area of your website. Some themes also allow you to upload a site icon or a site logo. If these options are available, you can customize them here.

5. Next, let’s move on to the “Colors & Backgrounds” section. Here, you can adjust the colors of your website, including the background color. Depending on your theme, you may also have the option to upload header and background images or videos.
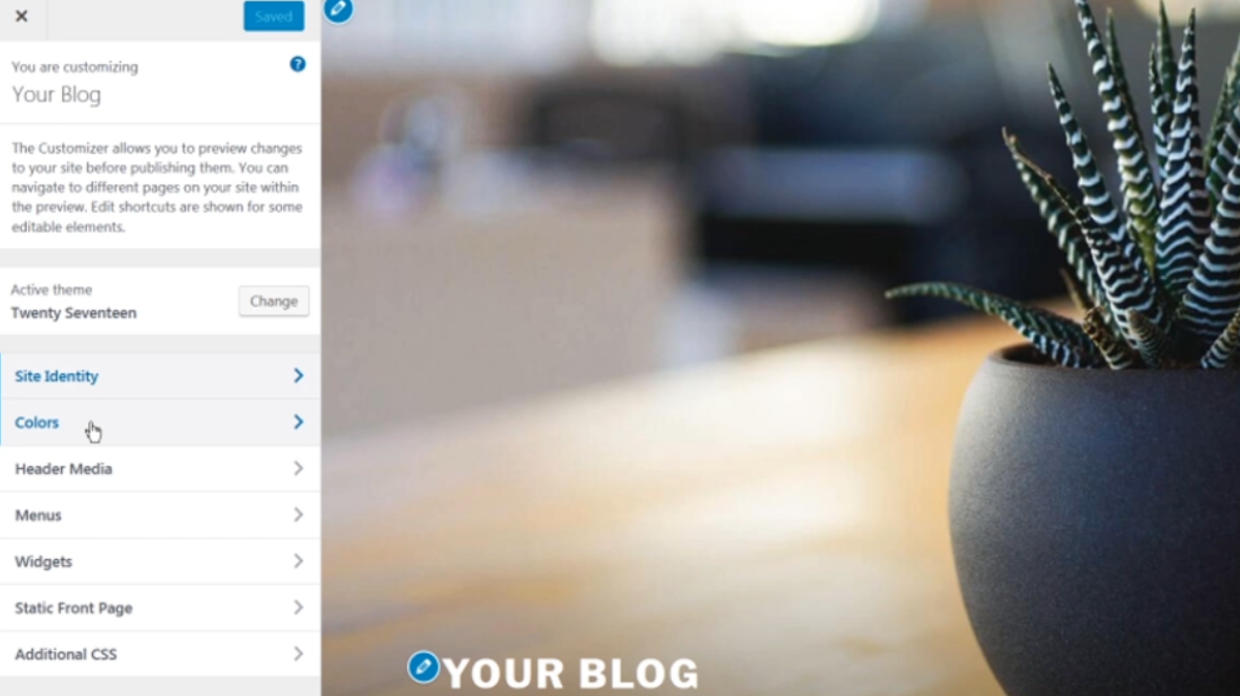
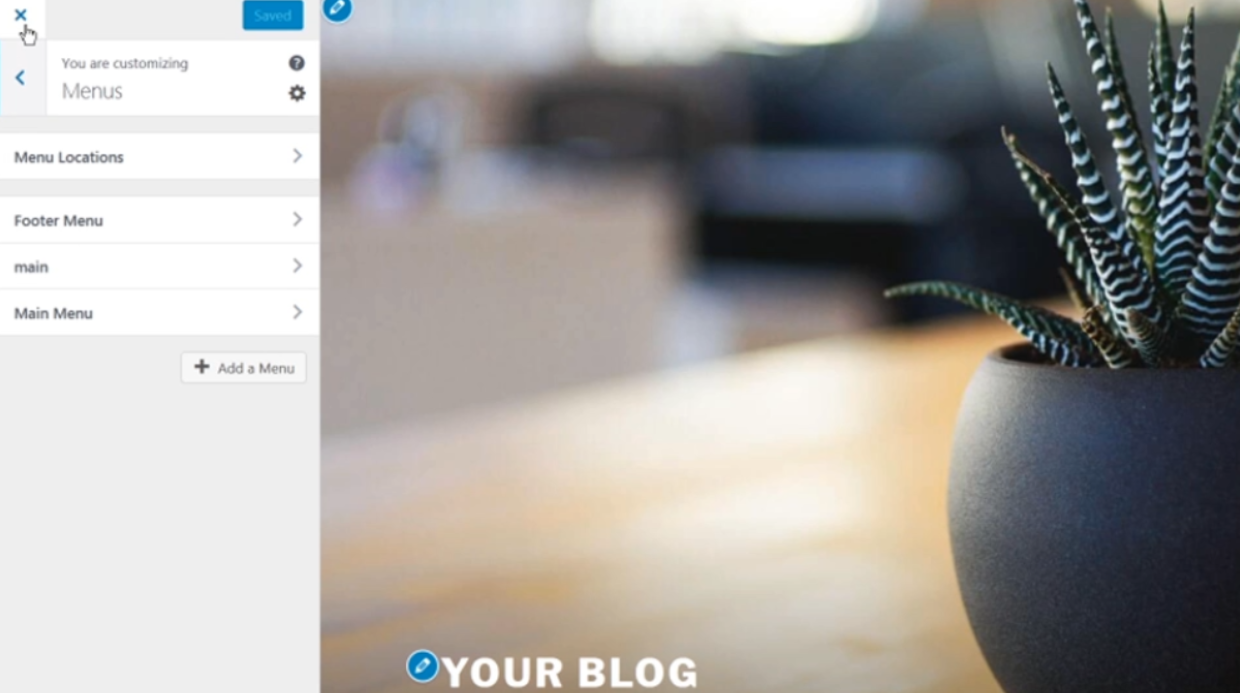
6. The “Menus” section allows you to manage your website’s navigation menu. You can create custom menus, add pages or posts to them, and rearrange their order. Select the menu you wish to edit or create a new one, and make the changes accordingly.
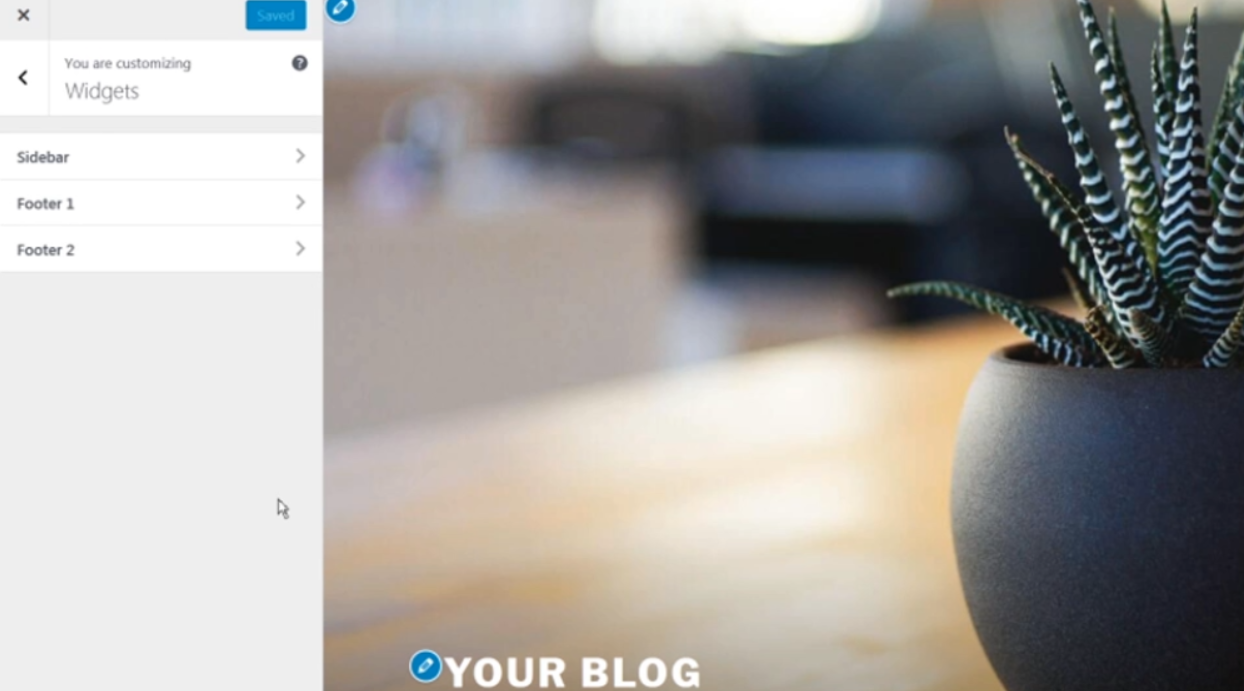
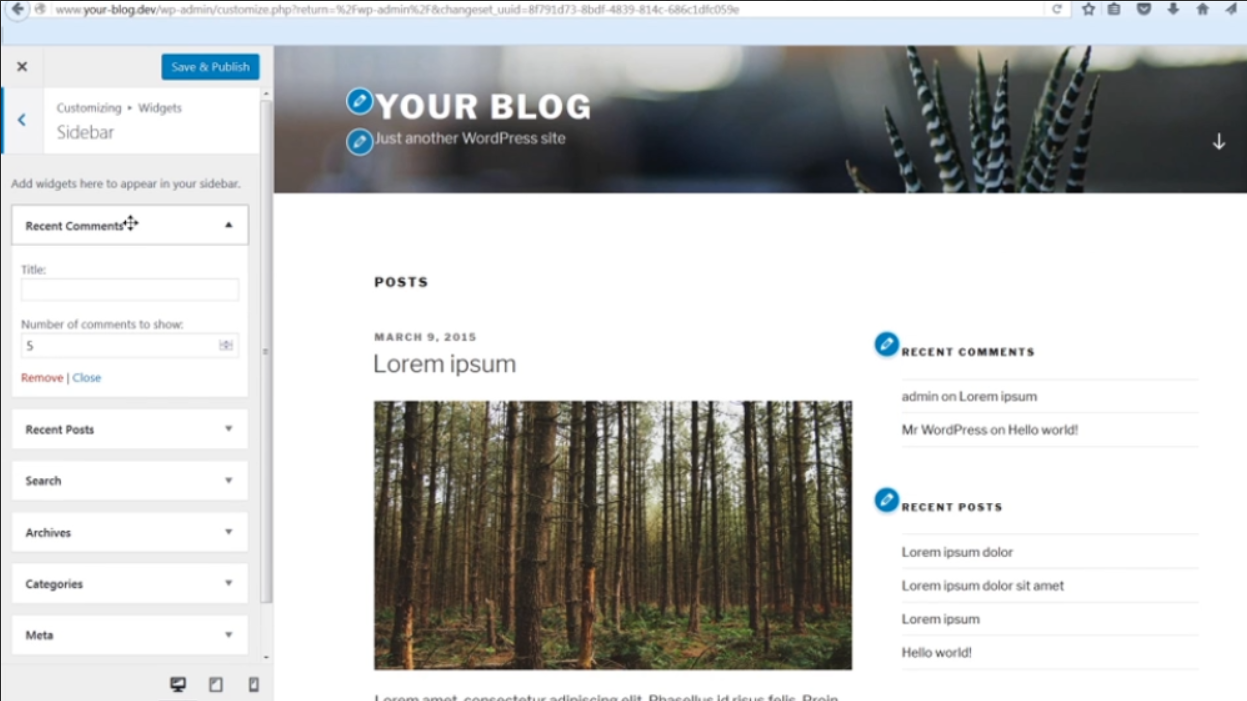
7. Moving on to the “Widgets” section, you can add, remove, or rearrange widgets on your website. Widgets are small blocks of content that can be placed in widget-ready areas of your theme, such as sidebars or footers. Here, you can see all of your widget areas and preview changes in real-time.
8. In the “Homepage Settings” section, you can specify whether you want your latest posts to appear on the homepage or if you want to set a static page as your homepage. Choose the option that suits your needs.
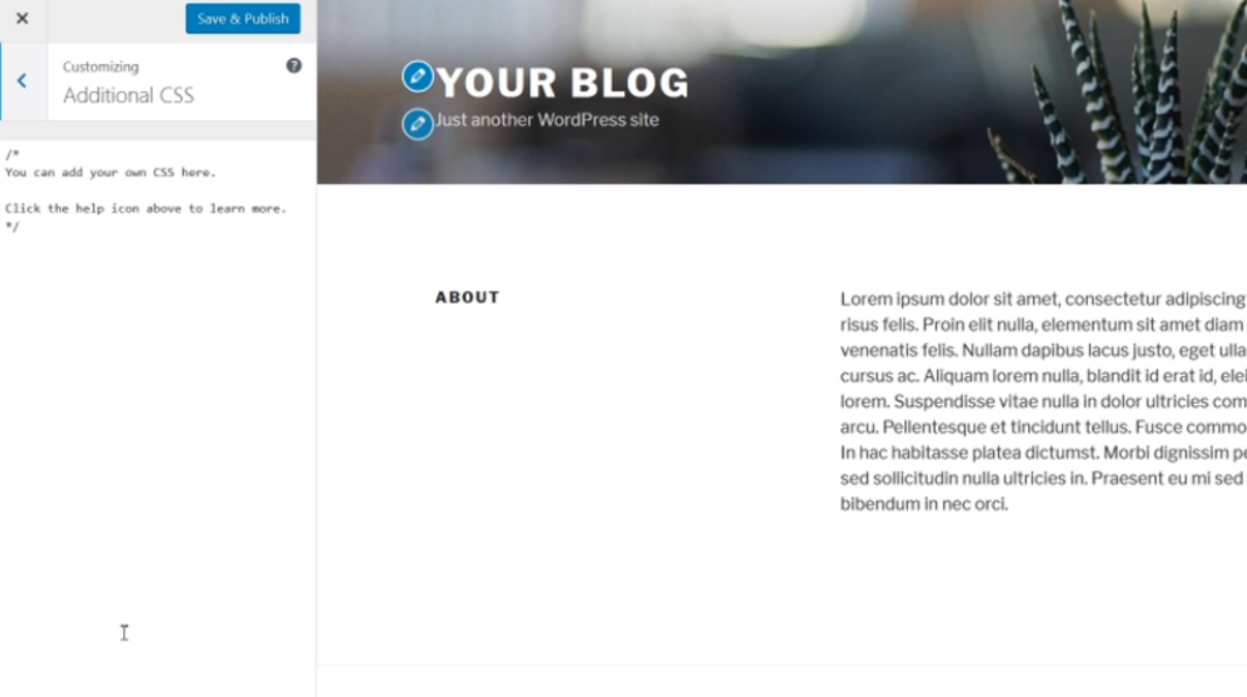
9. If you have some coding knowledge and want to make custom style changes to your theme, you can do so in the “Additional CSS” section. Here, you can add your own CSS code to override or modify the existing styles.
10. Once you have made the desired changes in each section, always remember to click on the “Save & Publish” button at the top of the Customizer panel. This will make your changes live on your website.

And voila! You have successfully created a WordPress page or post using the Customize feature. Take your time to explore and experiment with different options to find the perfect look for your website.
Leave a Reply