
In this Step By Step guide, we will walk you through the process of creating a WordPress Page or Post. Before getting started, make sure you have installed WordPress on your website. If you need help with that, refer to our previous video tutorial or article.
Step 1: Accessing the Dashboard
Log in to your WordPress website using your username and password. Once logged in, you will be directed to the Dashboard, which is the main control panel for managing your website.
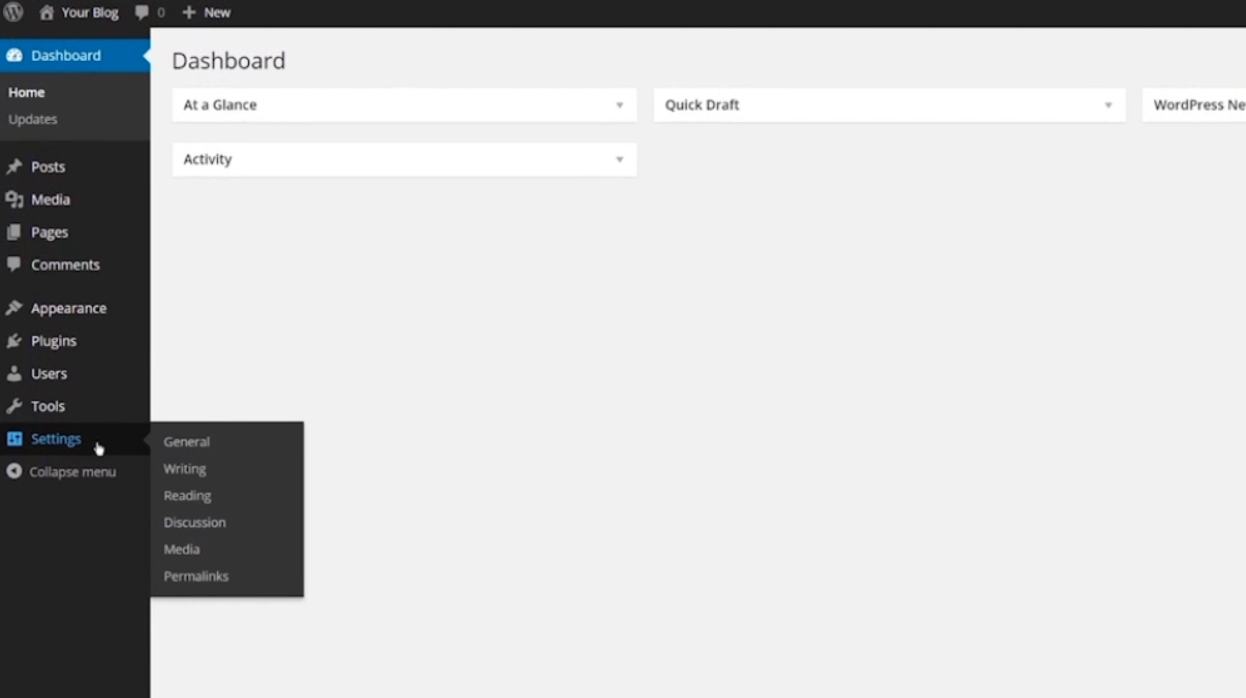
Step 2: Navigating to the Settings Menu
In the left-hand sidebar of the Dashboard, find and click on the “Settings” menu. This will expand a list of different settings options.
Step 3: General Settings
Click on the “General” option from the expanded “Settings” menu. Here, you will find various options to define your site as a whole.
Step 4: Site Title and Tagline
Under the “General” tab, you can set your website’s title and tagline. Enter a descriptive title for your site and a brief tagline that summarizes its purpose.
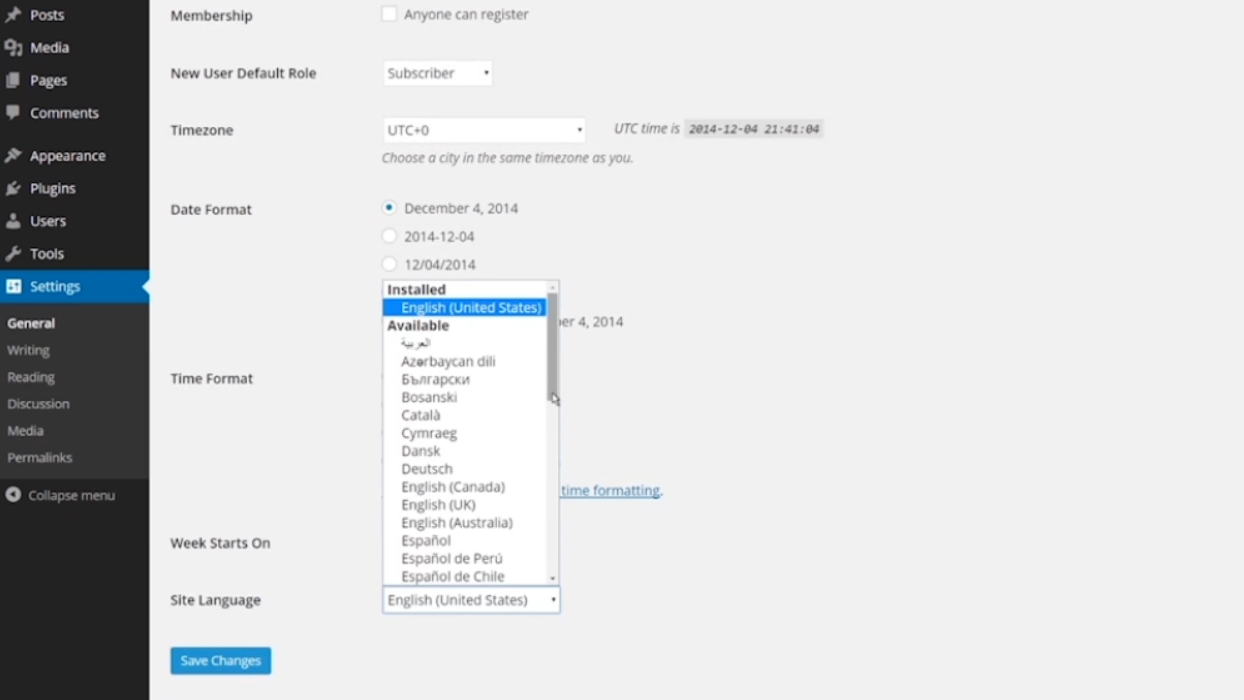
Step 5: Site URL and Timezone
Next, choose the URL you want your site to point to. Enter your site’s URL without any additional characters or spaces.
Configure the time and date format according to your preferences or based on your target audience’s location.
Step 6: Language Settings
If you want to use a different language for your website, you can install new language packs under the “General” settings. Select the desired language pack to set it as your site’s default language.
Step 7: Writing Settings
Now, click on the “Writing” option in the Settings menu. Here, you can control how your post content will be displayed on your site.
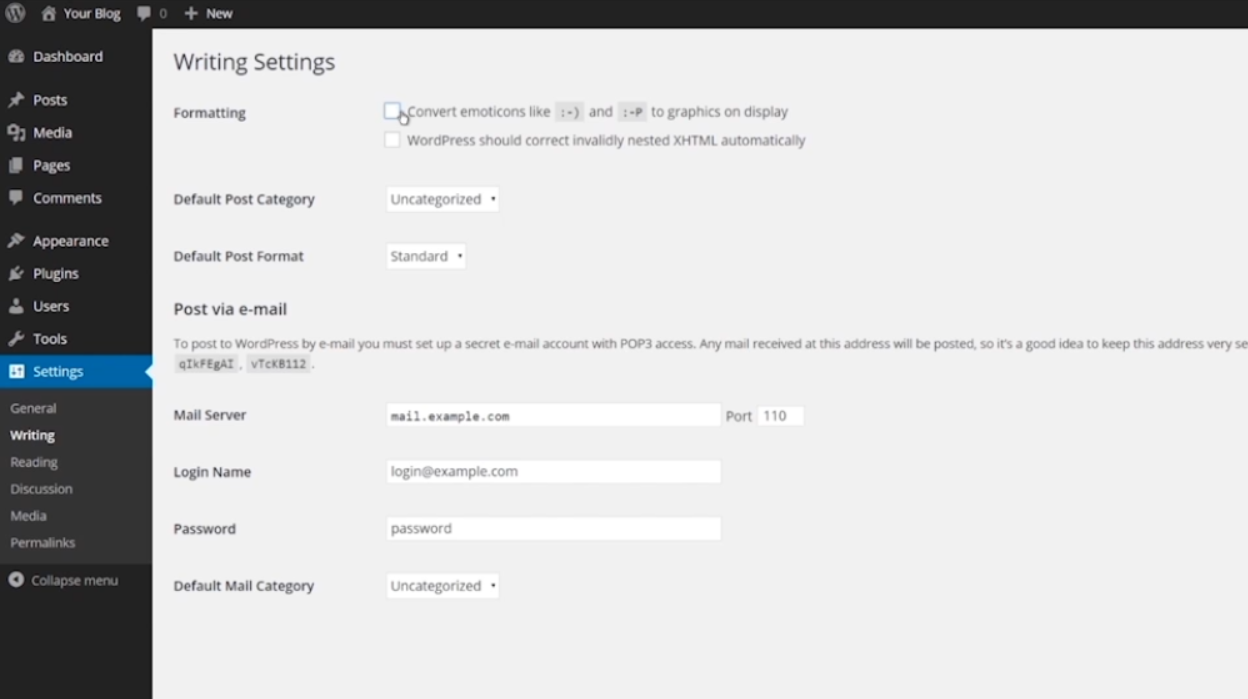
Step 8: Content Formatting
Under the “Writing” tab, you can control the formatting of your post content. Choose whether you want WordPress to correct any invalid XHTML codes automatically.

Step 9: Default Post Category Format
Set your default post category format that will be applied to new posts.
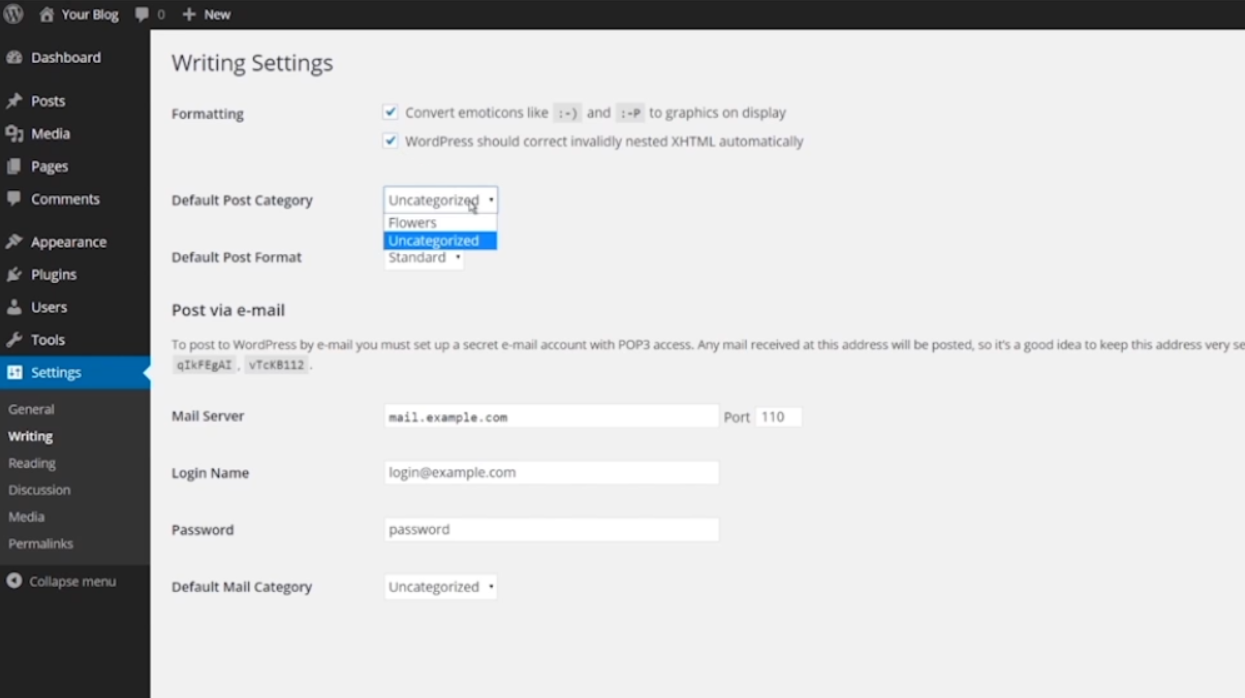
Step 10: Post via Email
If you want to enable the “post via email” feature, which allows users to make posts without signing in, configure the settings under this section.

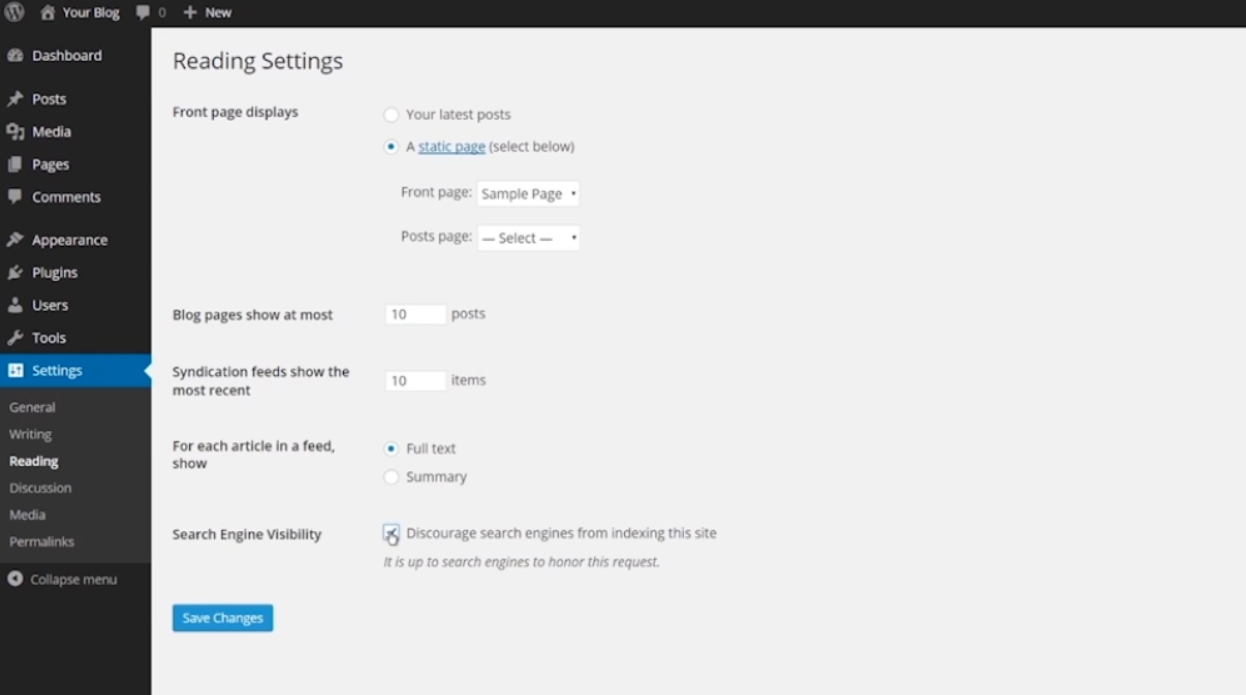
Step 11: Reading Settings
Proceed to the “Reading” option in the Settings menu. Here, you can control how your website’s front page and posts will be displayed.
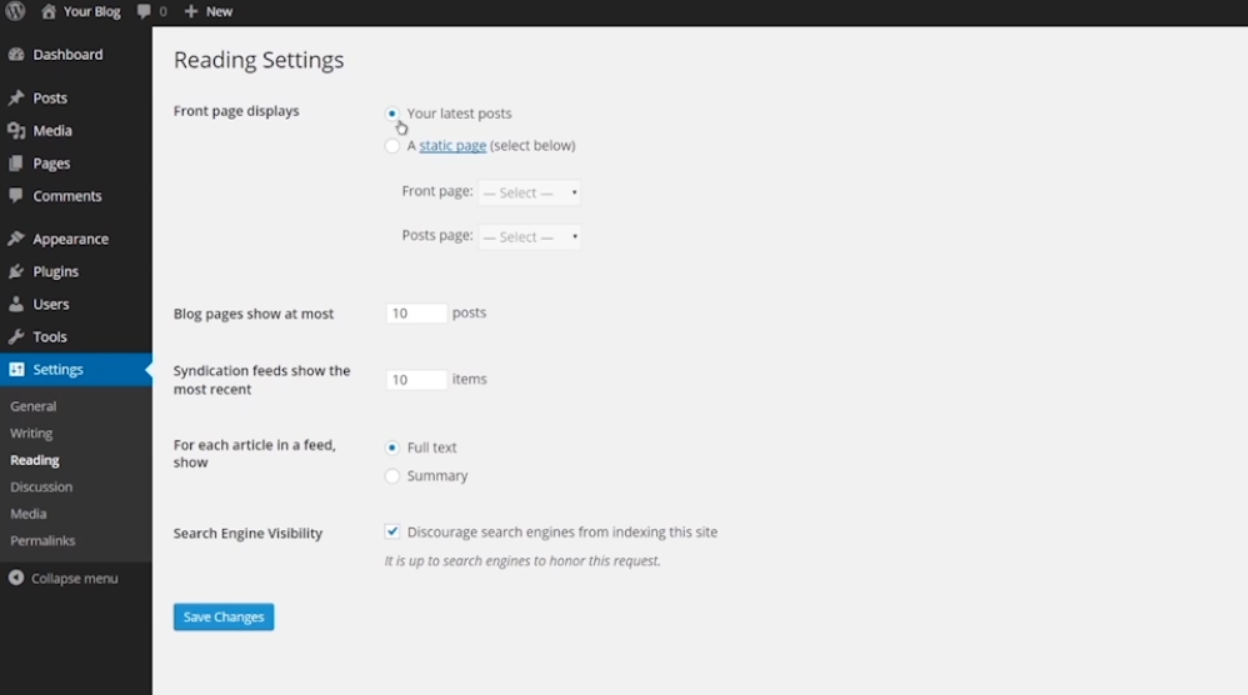
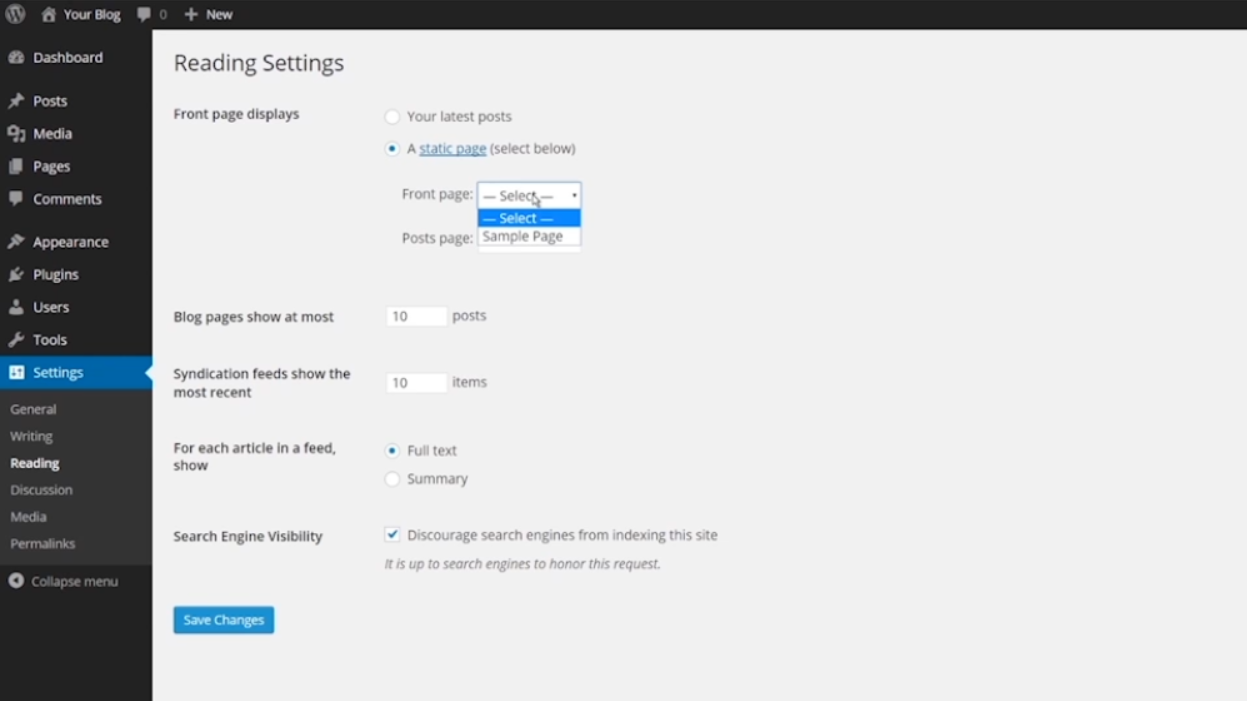
Step 12: Displaying Latest Posts or Static Home Page
Choose whether you want your front page to display your latest posts or a static home page that doesn’t change.
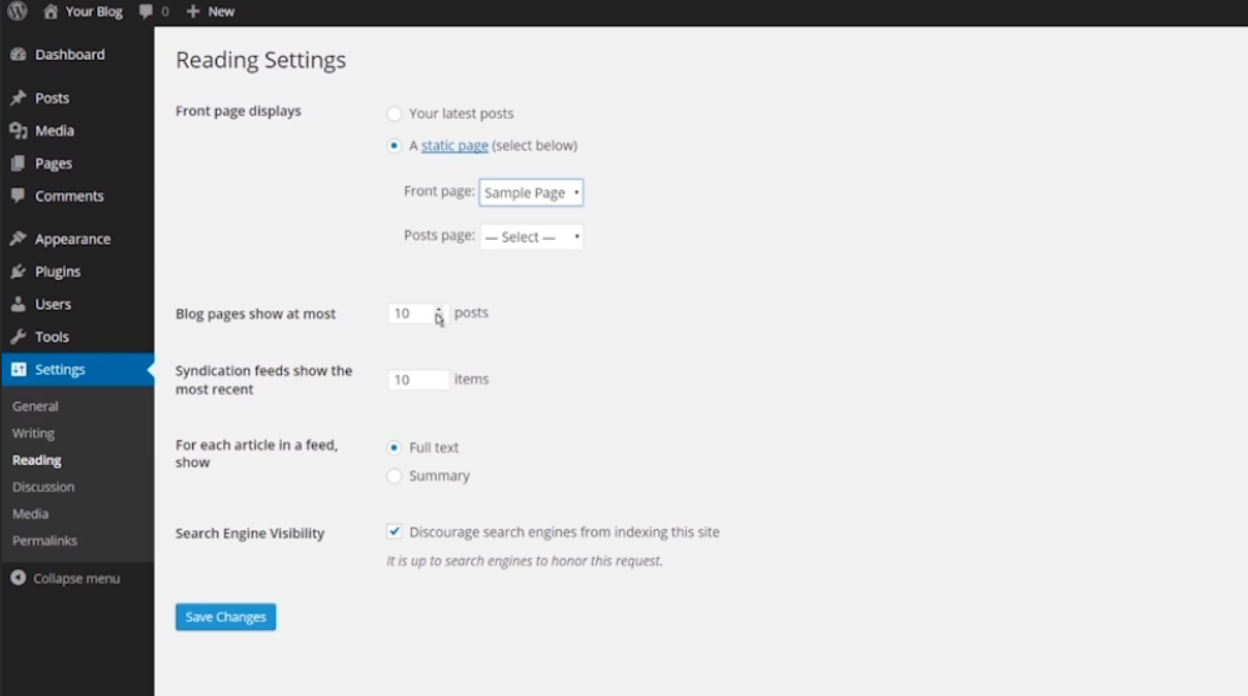
Step 13: Number of Posts
Specify how many posts you want to display on each page and in your feed.
Step 14: Search Engine Visibility
Determine whether or not you want your site to be discoverable by search engines like Google or Yahoo.
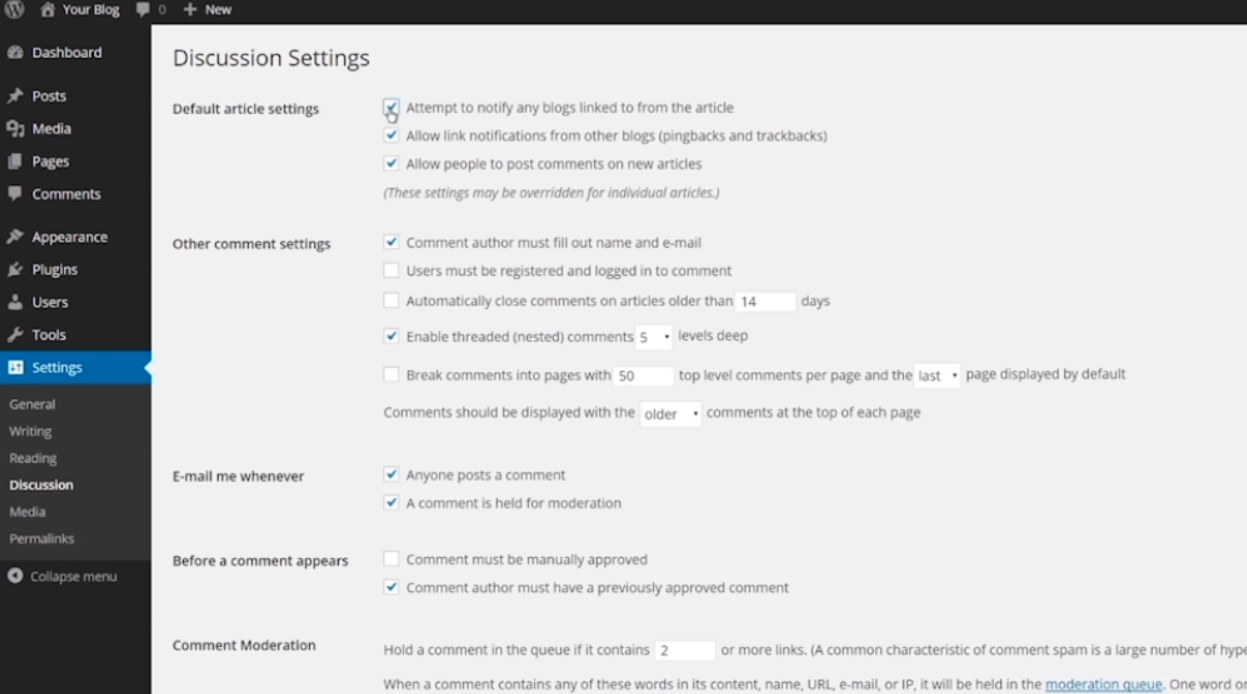
Step 15: Discussion Settings
Navigate to the “Discussion” option in the Settings menu. This section controls how your blog handles comments.

Step 16: Pingback and Trackback Notifications
Enable or disable pingback and trackback notifications. These features notify other blogs when you link to them.

Step 17: Basic Comment Settings
Set up basic comment settings like requiring user information and determining how long comment threads should stay open.
Step 18: Comment Notification Method
Choose your preferred method of notification for new comments, such as email or your website’s built-in notification system.

Step 19: Comment Moderation
Create a blacklist of words you don’t want to be used in comments on your blog. By doing this, any comment containing these words will be held for moderation.
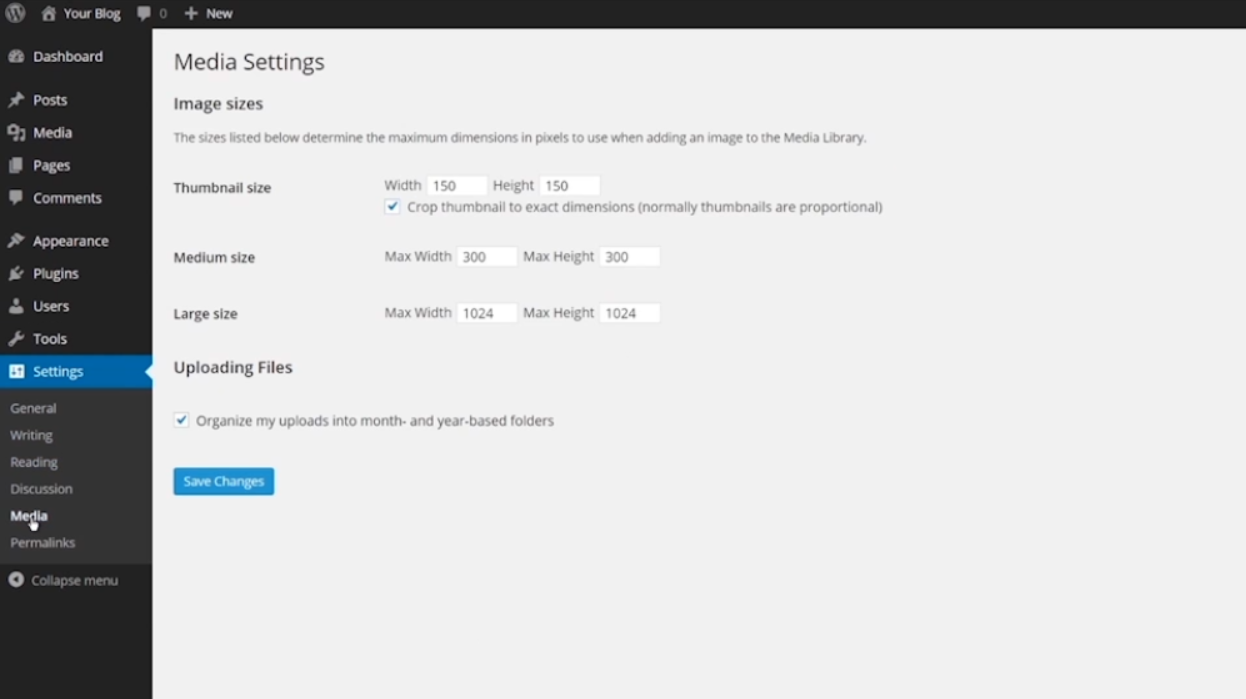
Step 20: Media Settings
Click on the “Media” option in the Settings menu. Here, you can specify the maximum dimensions used when uploading images and how they should be organized.
Step 21: Permalink Settings
Lastly, navigate to the “Permalinks” option in the Settings menu. This section allows you to define how your URL structure will look.
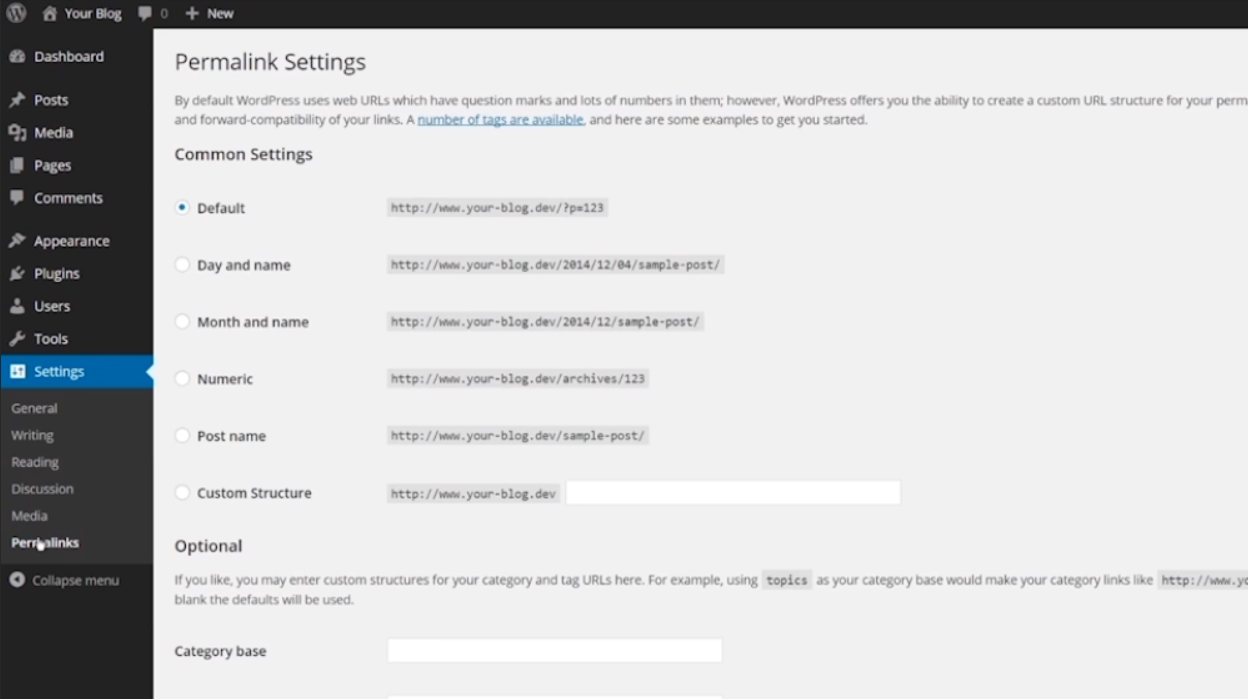

By default, WordPress uses question marks and numbers in the URL structure. However, by creating your own custom structure, you can improve the usability, aesthetics, and forward compatibility of your site.
That’s it! You have now successfully completed the step-by-step guide on creating a WordPress Page or Post. Make sure to save your changes after configuring each setting.
Leave a Reply