
In this video, we’ll be looking at the settings menu in the WordPress dashboard. This menu allows you to customize various aspects of your site, such as your site’s title, tagline, appearance, and more.
1. To access the settings menu, login to your WordPress dashboard. You can do this by typing /wp-admin after your domain name in the address bar of your browser. For example, if your domain is www.example.com, you would type www.example.com/wp-admin.
2. Once logged in, you will see a menu on the left-hand side of the dashboard. Look for the “Settings” menu item and click on it. This will expand the submenu.
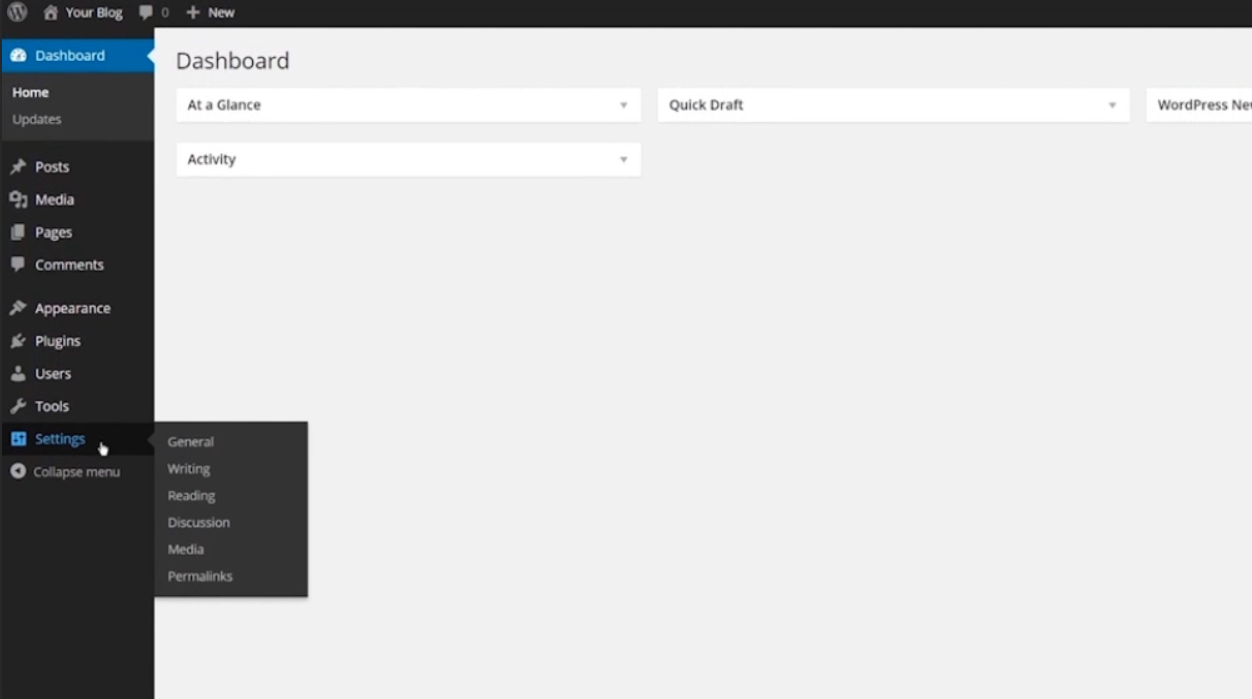
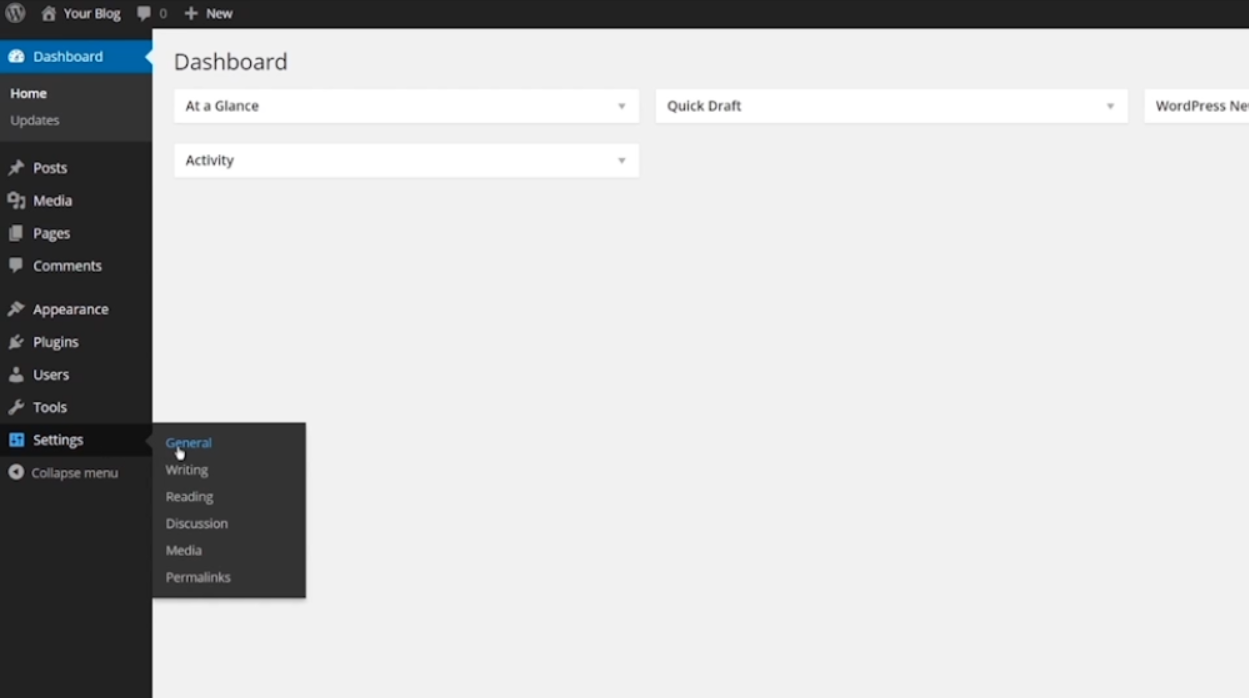
3. The first option in the submenu is “General”. Click on it to access the general settings for your site.
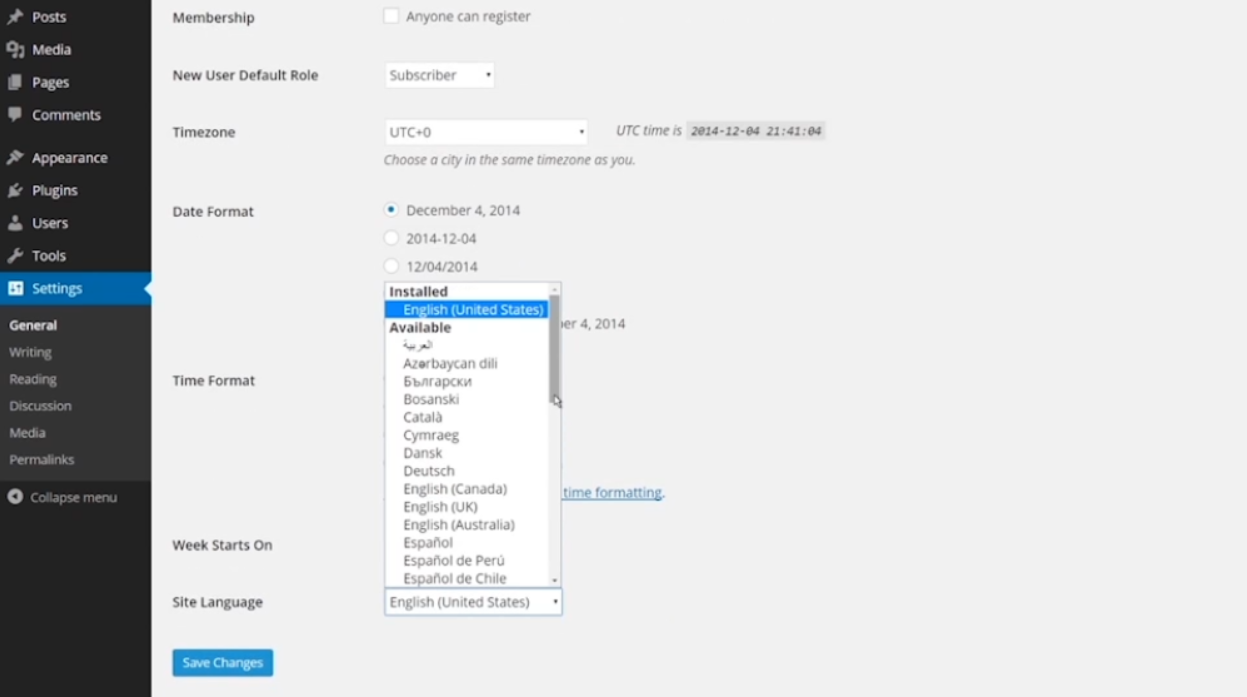
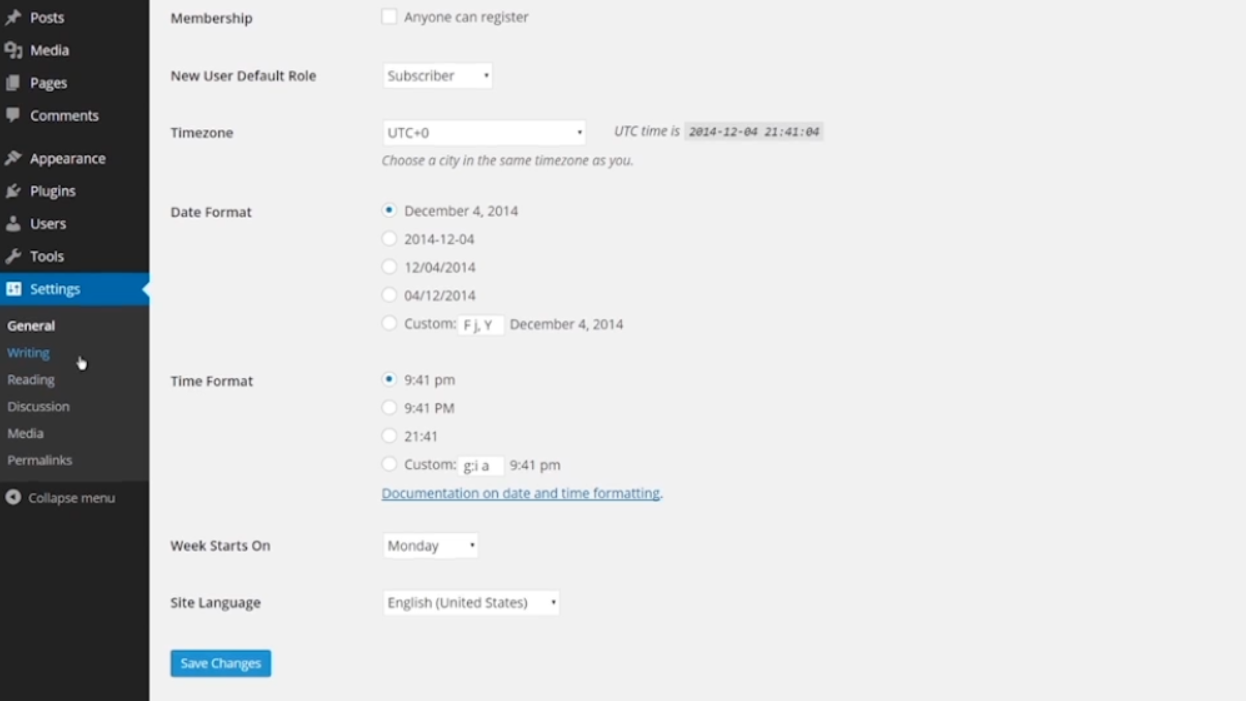
4. In the “General” tab, you will find options to define your site as a whole. This includes setting your site’s title and tagline. You can also choose the URL you want your site to point to. This is important if you want to display your WordPress site on a different URL than where it is installed. Additionally, you can select time and date format options, and install new language packs to use as your site’s default language.
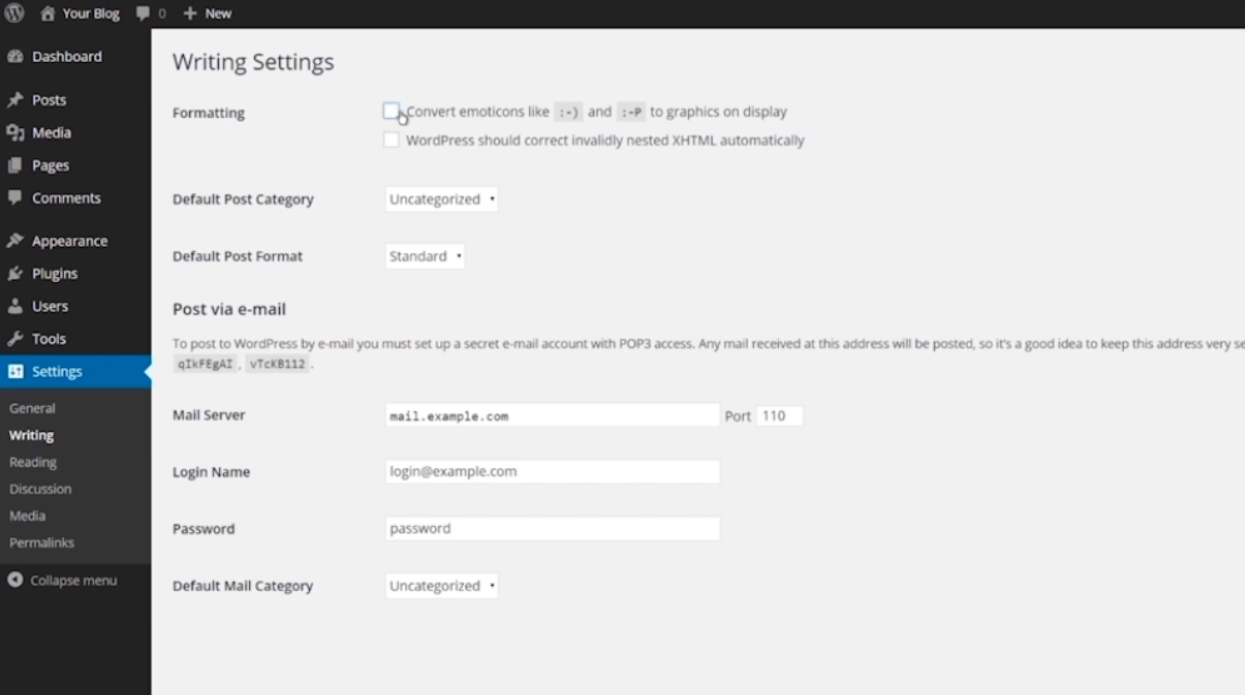
5. Next, click on the “Writing” tab. Here, you can control how post content is displayed on your site. You can control the formatting of comments and choose whether or not you want WordPress to correct any invalid XHTML code. Set your default post category format and set up the optional post via email, which allows users to make posts without signing in.

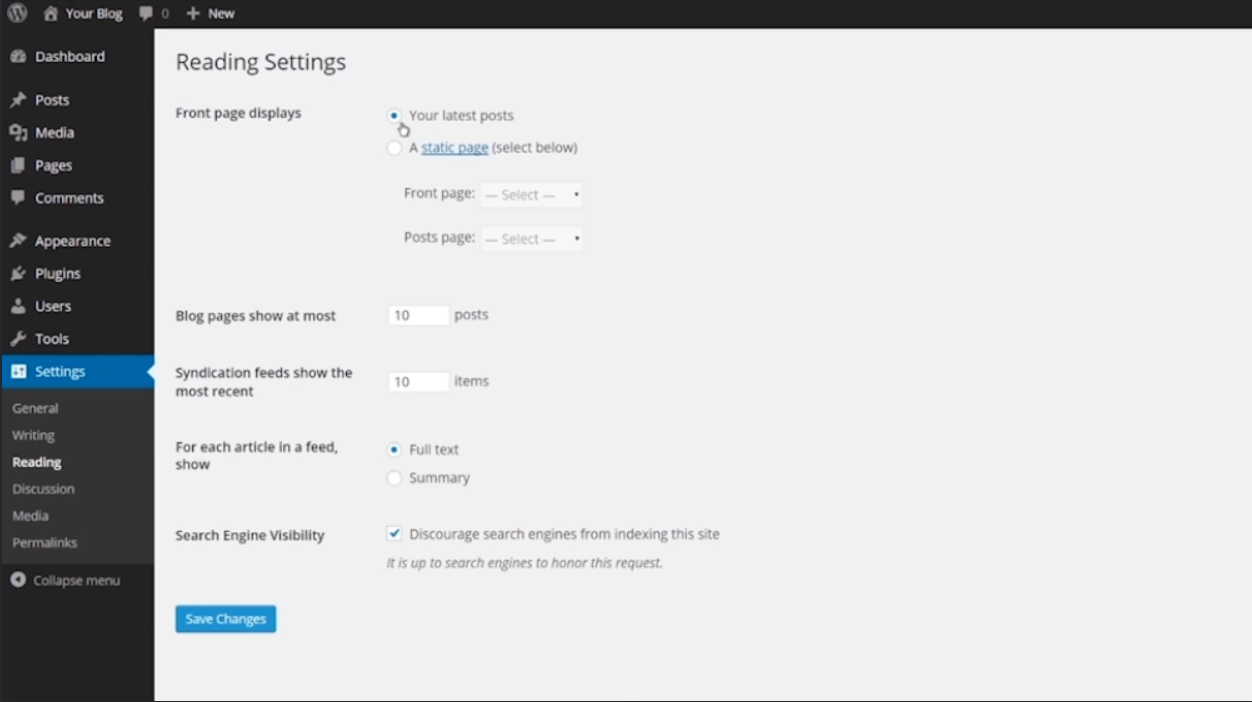
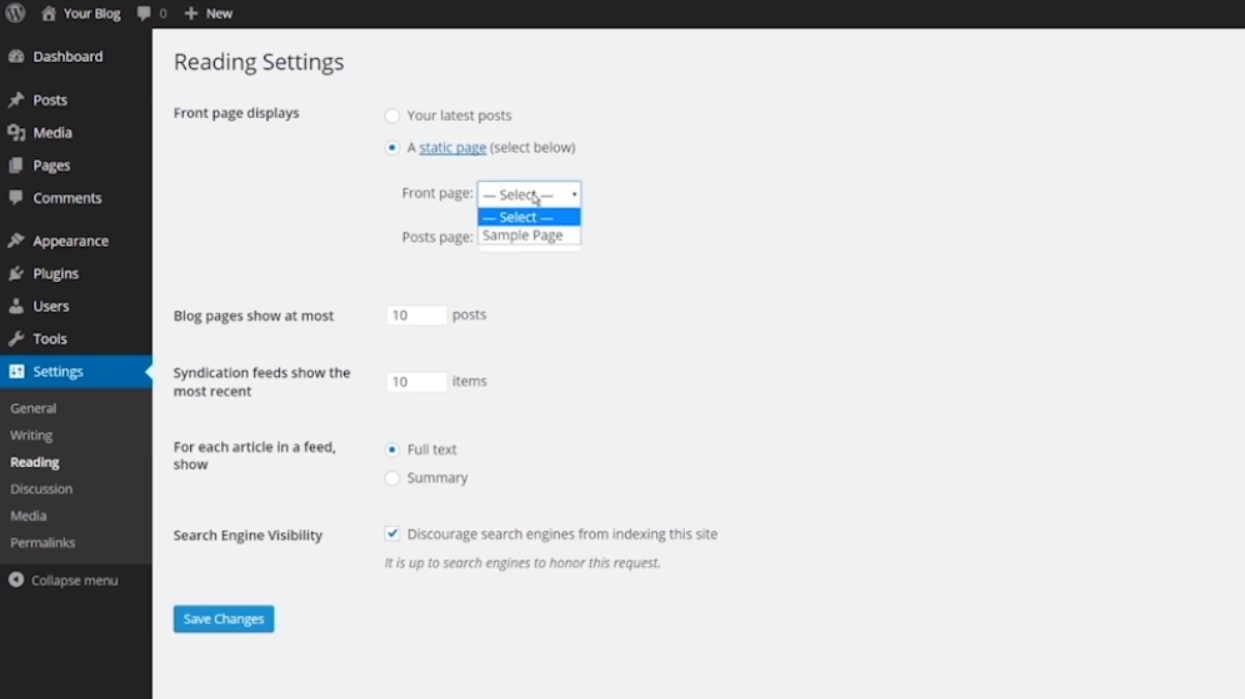
6. Now, let’s move on to the “Reading” tab. In this tab, you can choose whether the front page shows your latest posts or if you want to set a static page that doesn’t change. This can also be controlled by your theme. You can also choose how many posts you want your pages and feed to display. Additionally, you have the option to check whether or not you want your site to be discovered by search engines like Google or Yahoo.
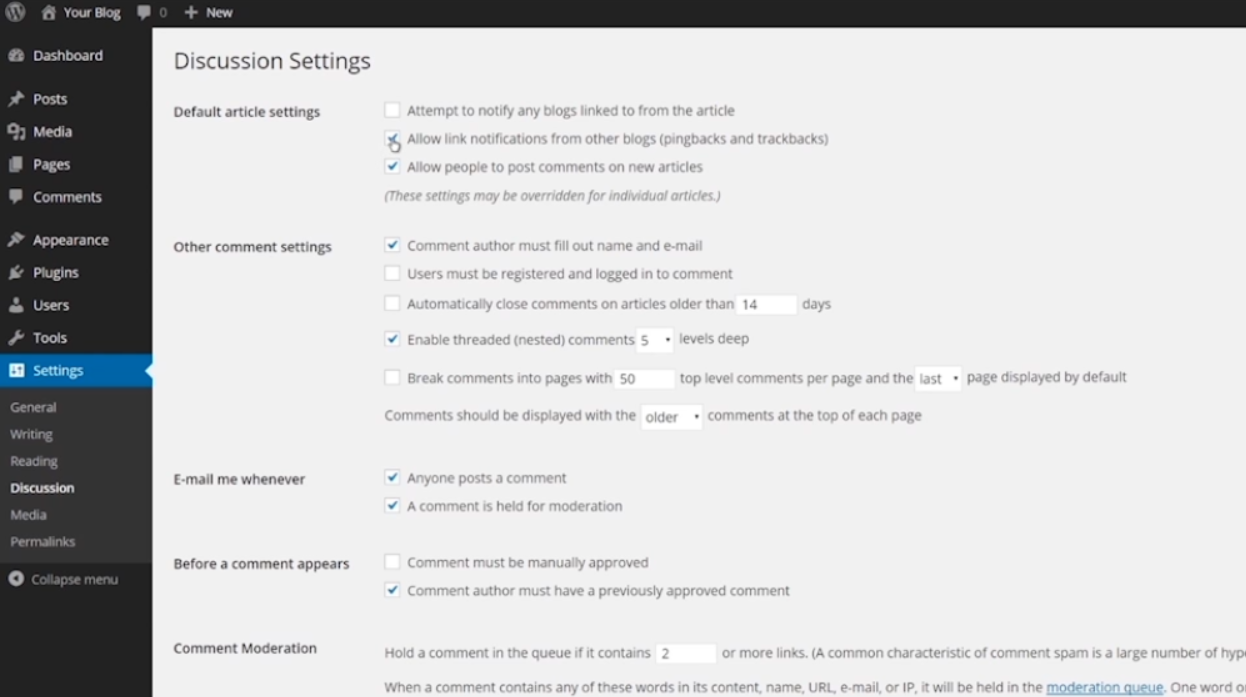
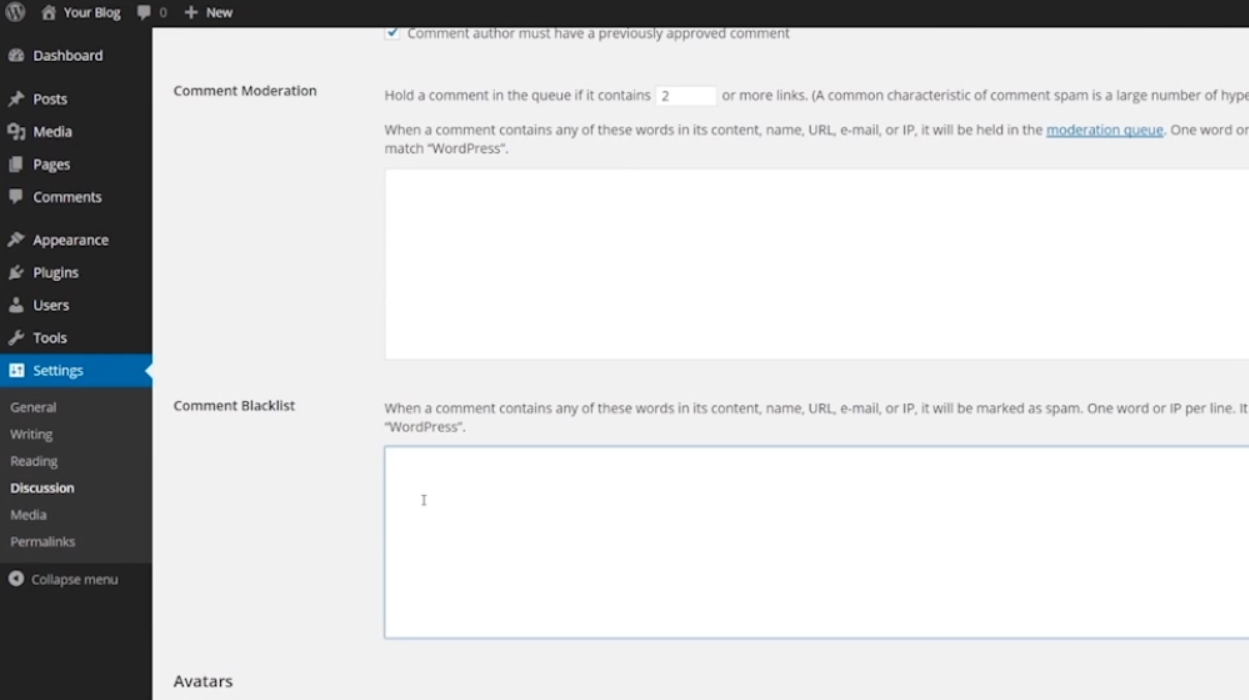
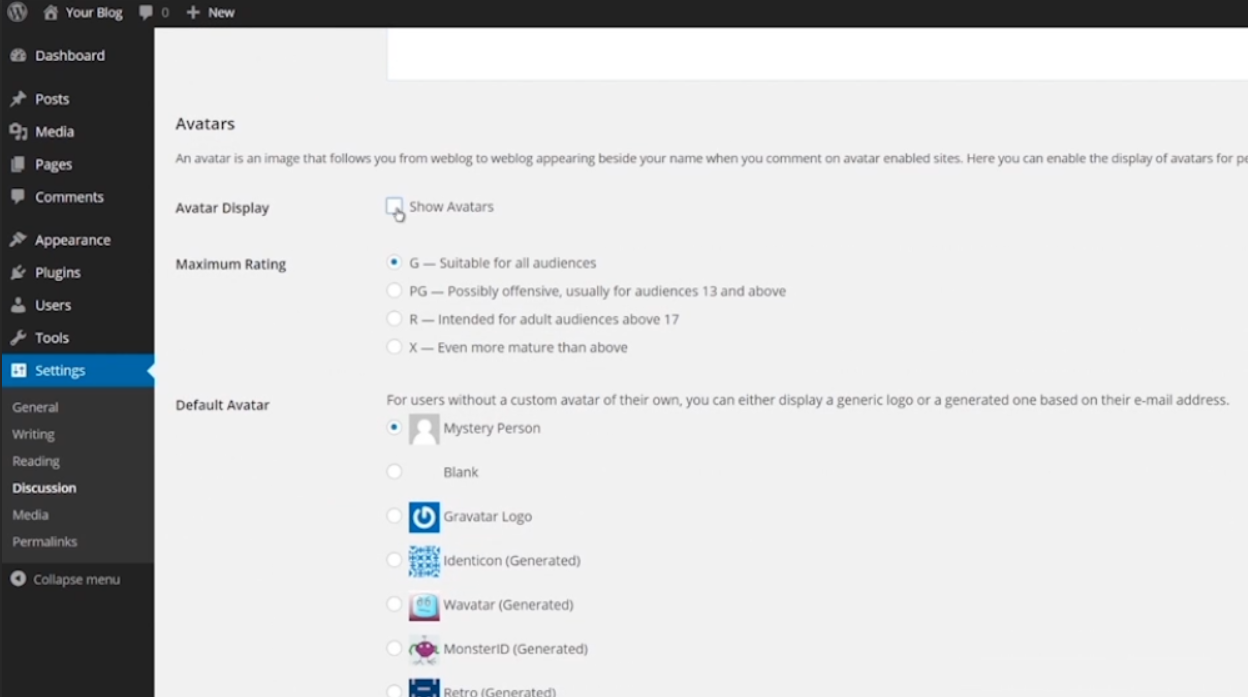
7. Next, click on the “Discussion” tab. In this tab, you can control how your blog handles comments. You can allow pingback and trackback notifications and notify other blogs when you link to them. Set basic comment settings like requiring user information and how long comment threads stay open. Choose how you want to be notified about new comments. You can also create a blacklist of words you don’t want used on your blog and allow users to have avatars with image ratings.
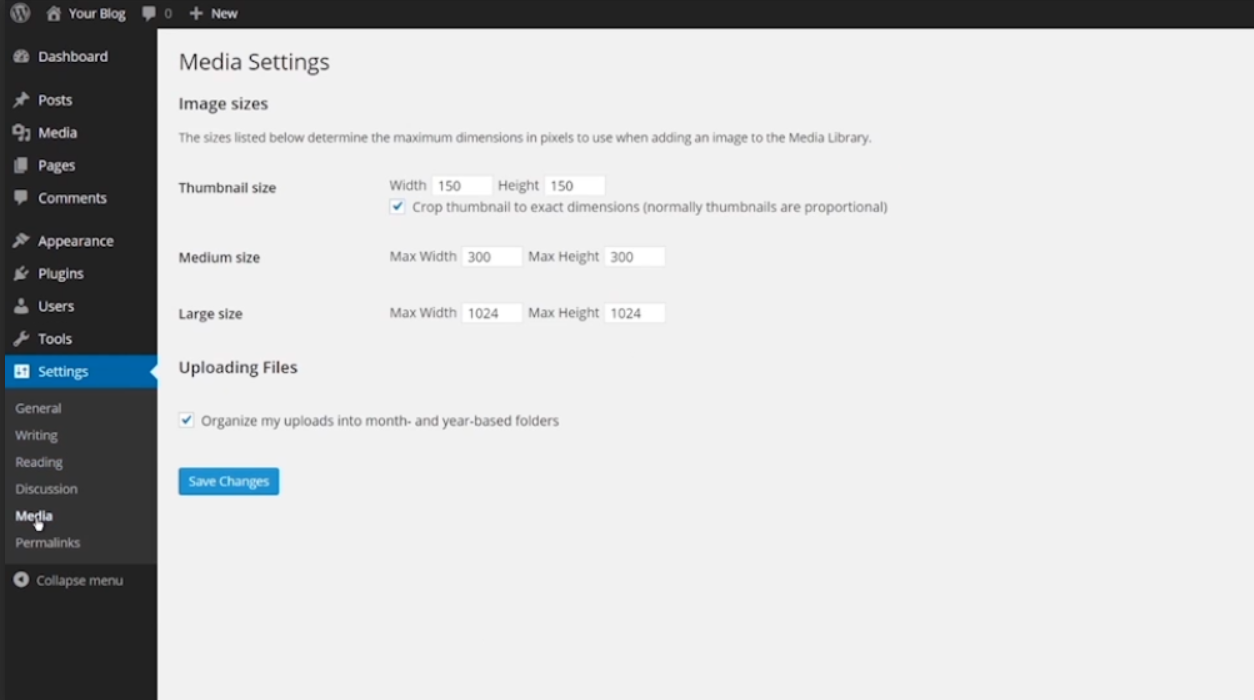
8. Moving on to the “Media” tab. In this tab, you can determine the maximum dimensions used when uploading images and how they are organized. You can set the width and height for thumbnail, medium, and large size images. You can also choose whether or not to crop the images when they are resized.
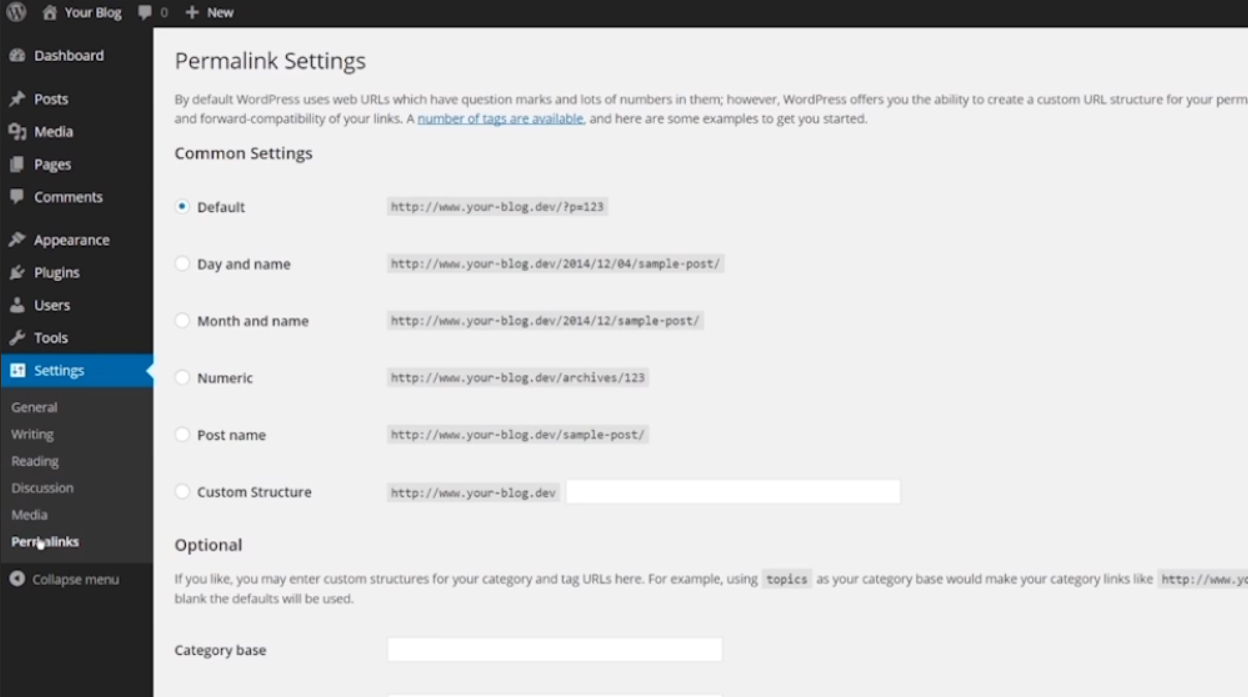
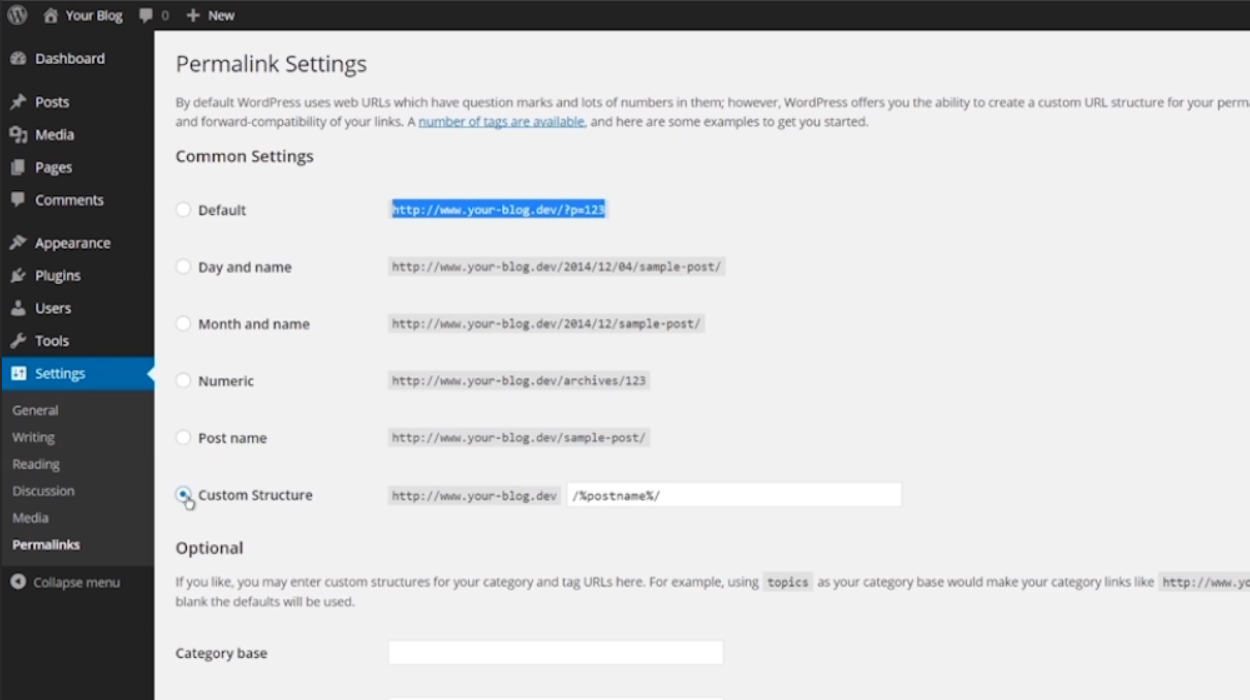
9. Lastly, click on the “Permalinks” tab. In this tab, you can control how your URL structure is defined. By default, WordPress uses question marks and numbers in the URL structure. However, by using your own custom structure, you can improve the usability, aesthetics, and forward compatibility of your site. You can choose from various options such as post name, day and name, month and name, and more.

That’s it! You’ve now learned how to use the settings menu in the WordPress dashboard to adjust various settings for your site. Take some time to explore each tab and customize your site according to your preferences.
Leave a Reply