
While you may not need them all the time, revisions can be very useful if you need to recover an older version of a poster page or just to see what you wrote in a previous save. Here’s a step-by-step guide on how to use revisions in WordPress:
Step 1: Access the “Revisions” Box
If you don’t see the revisions box on your edit screen, turn it on from the screen options. By default, it will be added under the content editor, but it can be moved anywhere you want it.
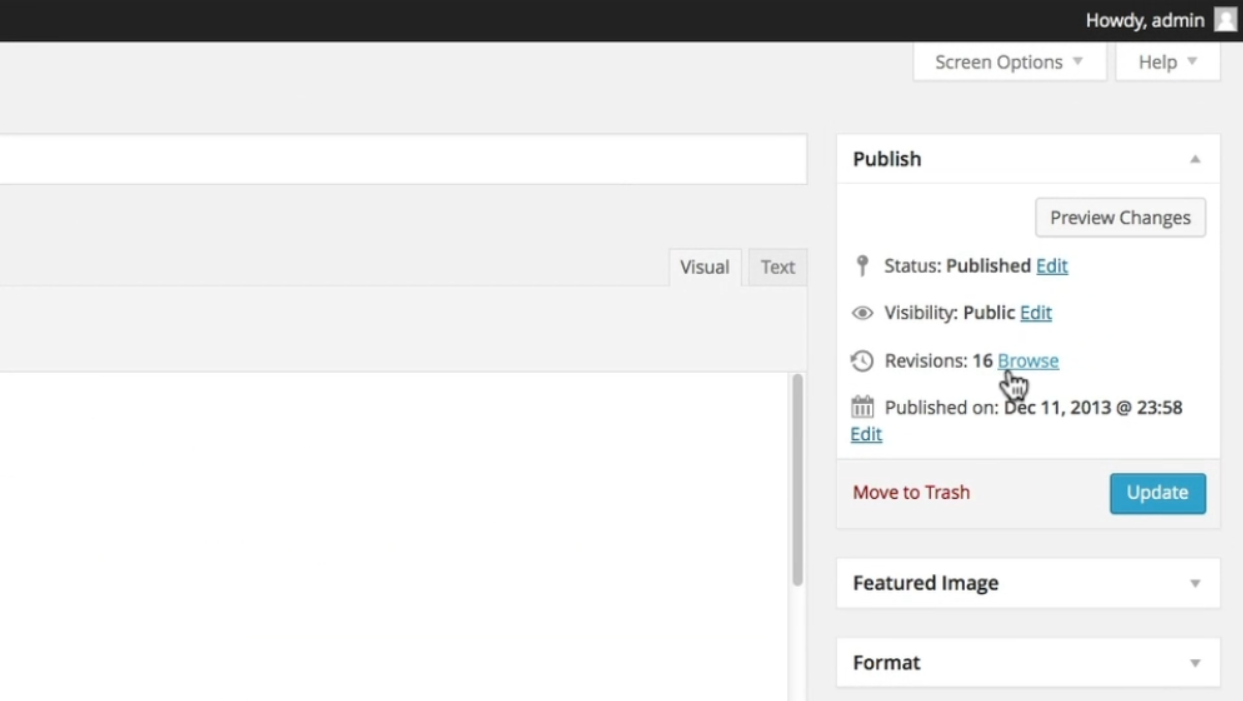
Step 2: View Your Revisions
Regardless of whether you have the revisions box displayed on your screen, any changes you have made to your content will be seen here. WordPress makes a new revision every time you save a draft, publish, or update published content, as well as periodic autosaves.
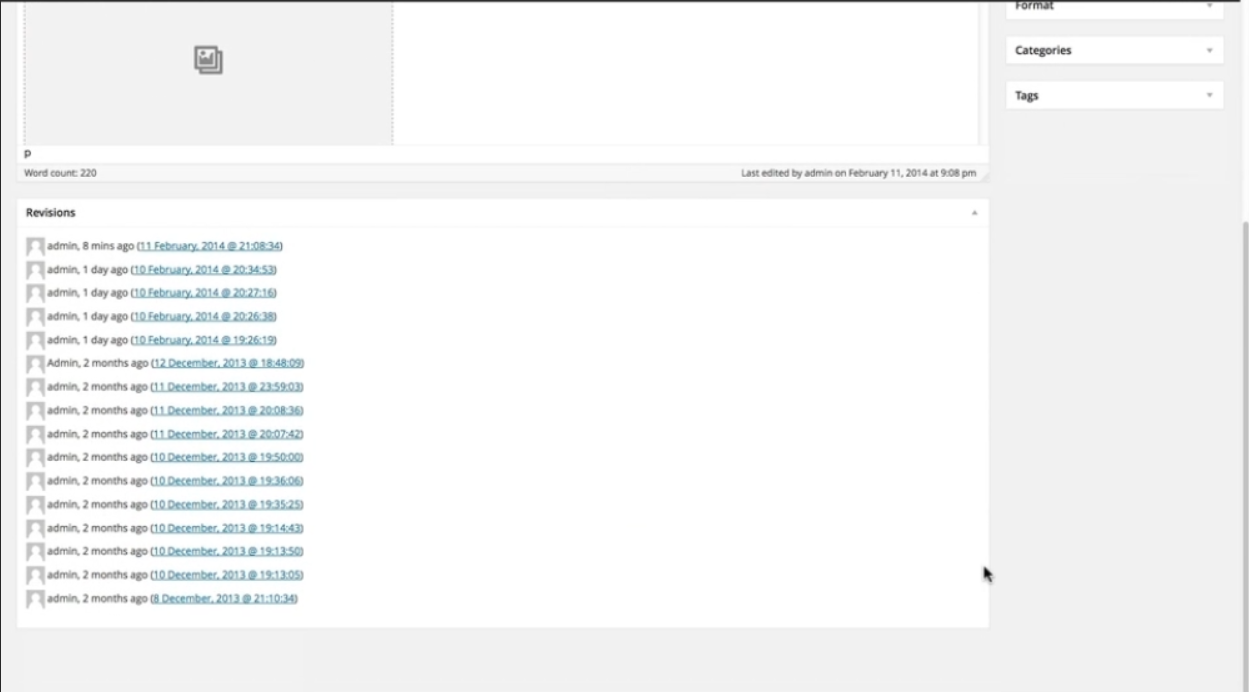
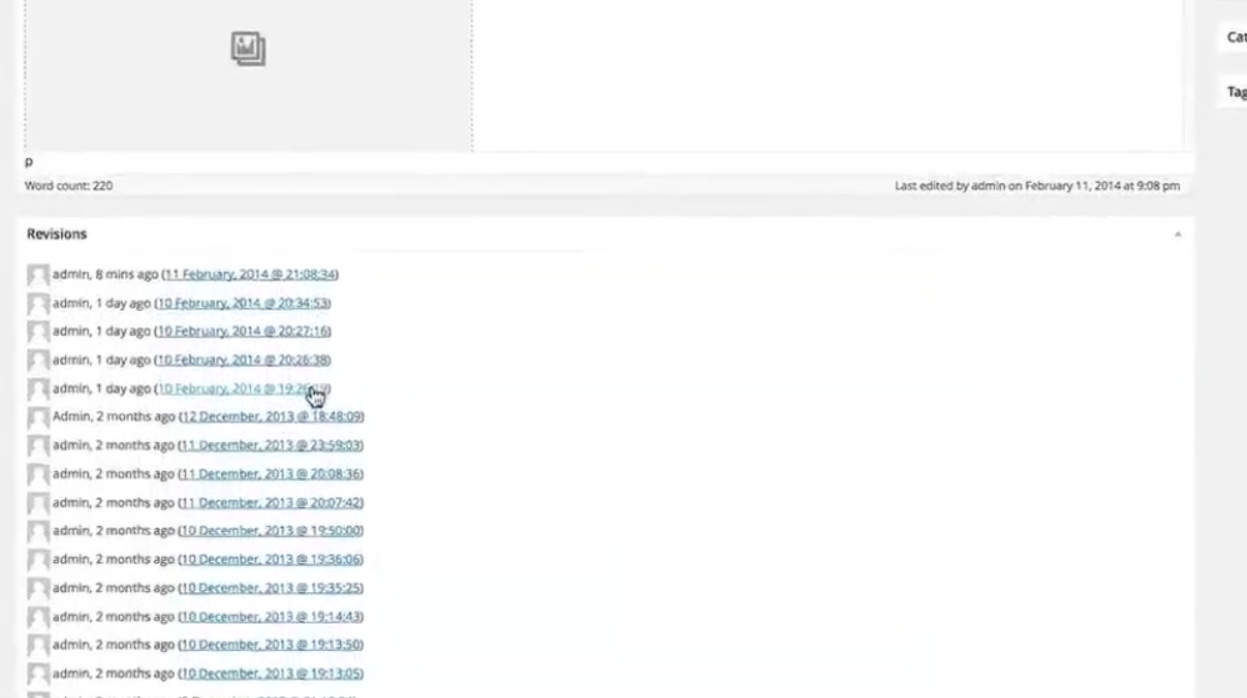
Step 3: Navigate through Revisions
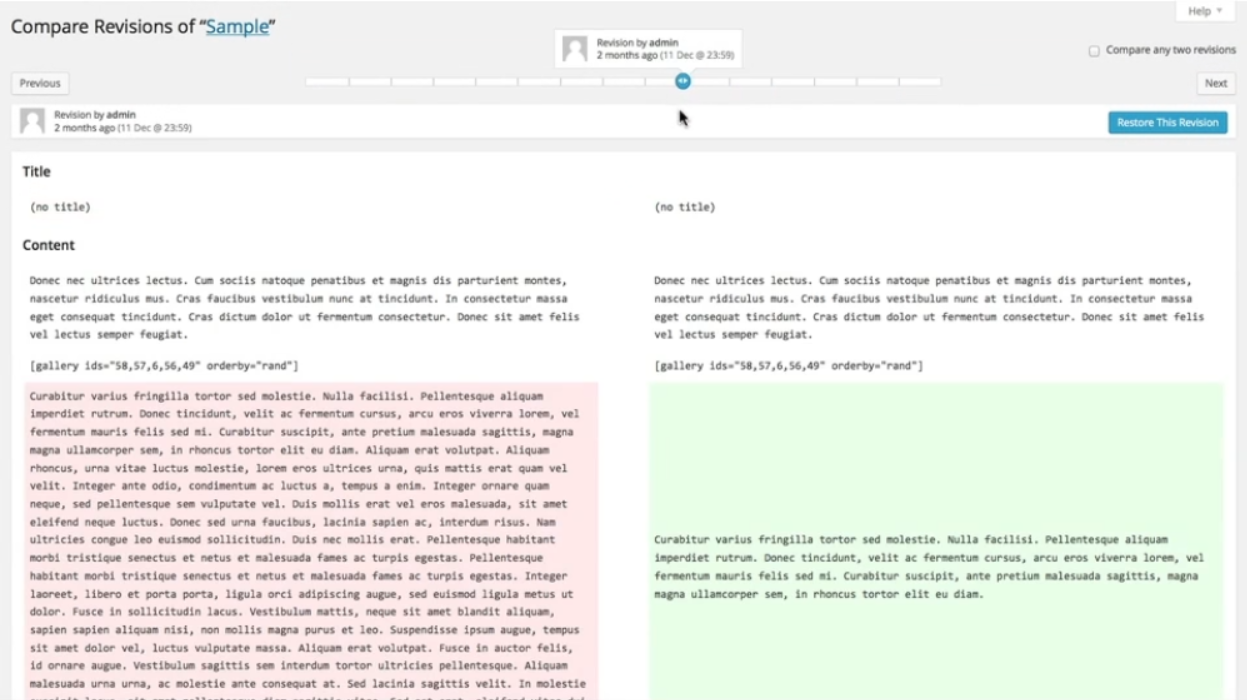
Clicking on a revision will take you to the revision comparison page, or click “browse” next to revisions in your published box. Use the previous and next buttons to scroll through your revisions or drag the slider to jump through the timeline.
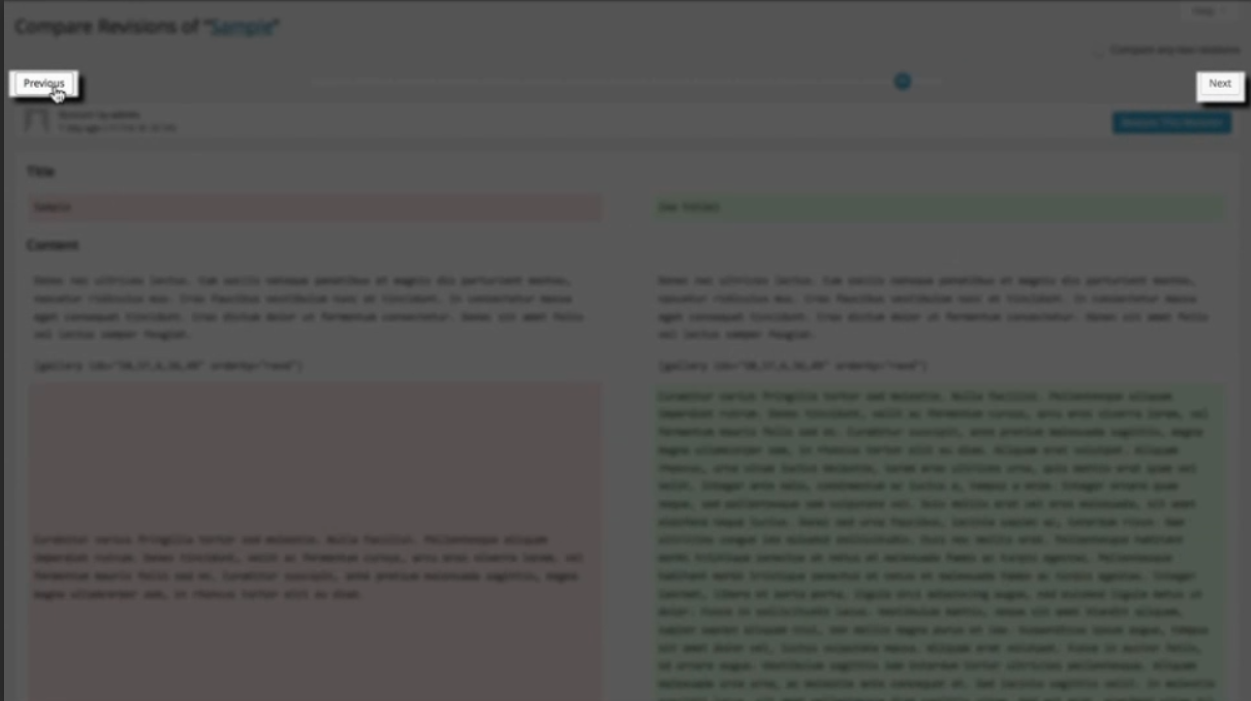
Step 4: Compare Revisions
In the main window, you can see the changes that have been made to your content. The items highlighted in red are the “before,” and the items highlighted in green are the “after.”
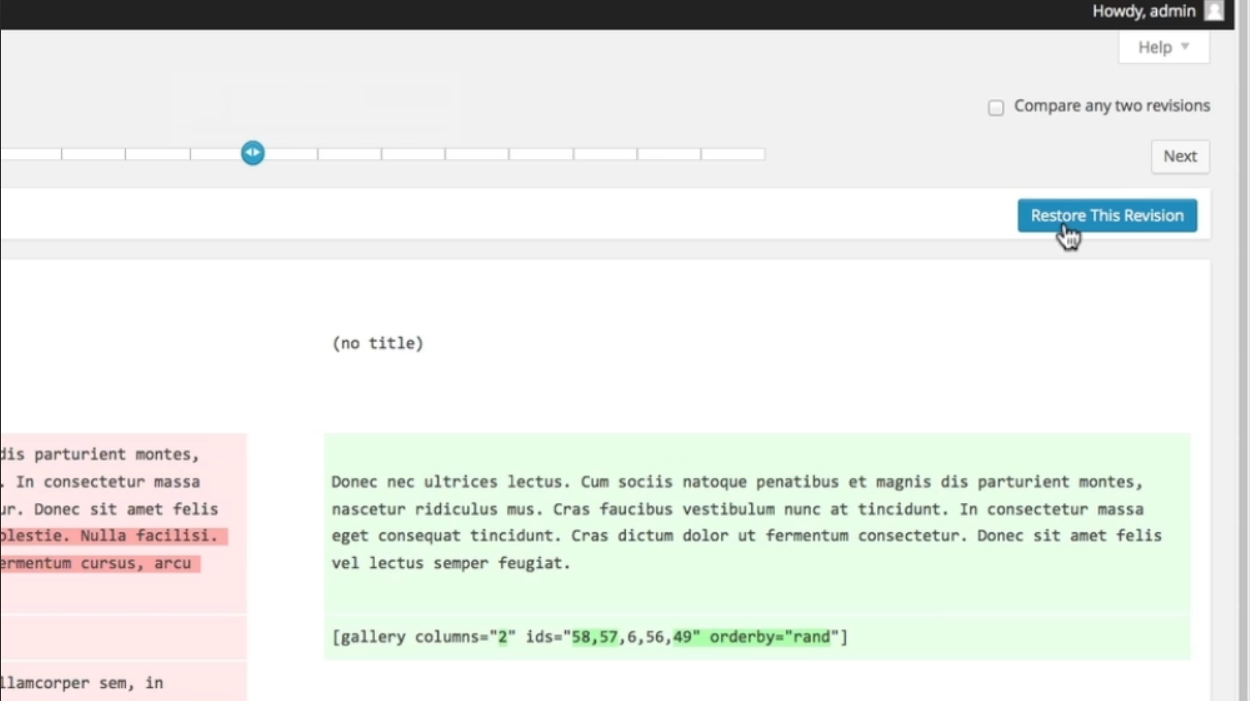
Step 5: Restore a Revision
Clicking “restore this revision” will restore the content highlighted in green. By default, this only compares consecutive revisions.
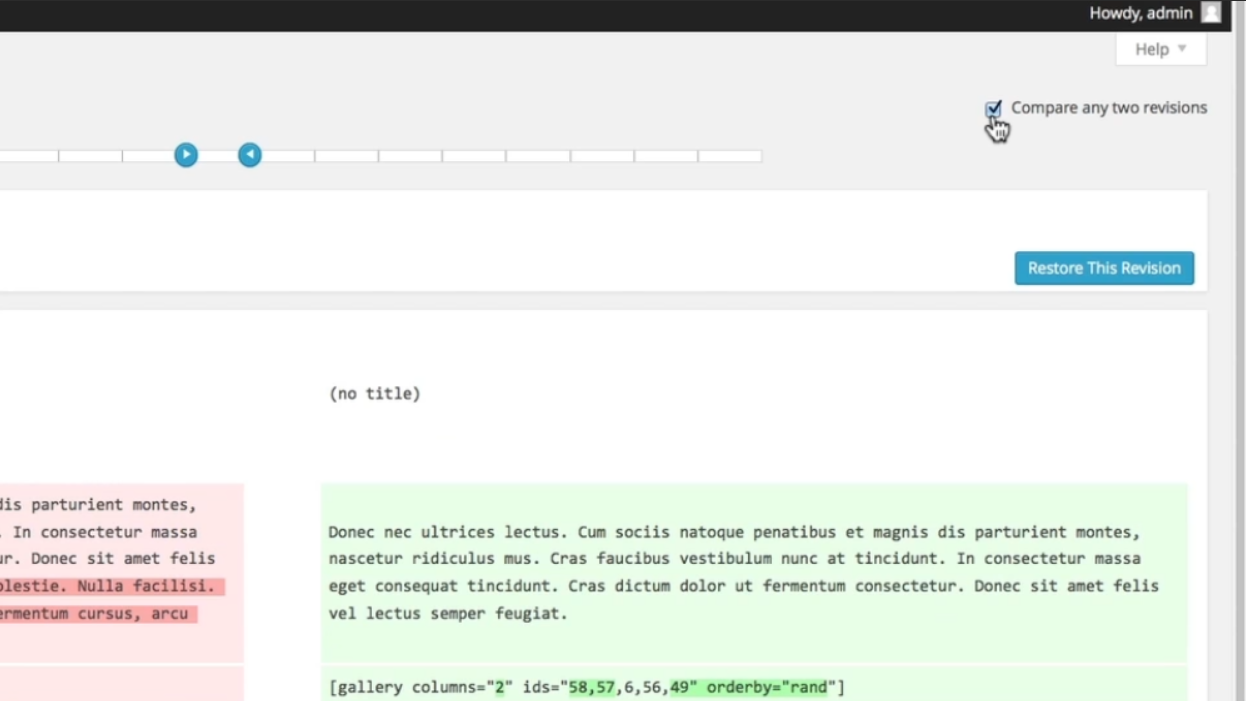
Step 6: Compare Any Two Revisions
If you wish to compare your current save with a save that is further back, click the box next to “compare any two revisions.” This will split your slider, allowing you to compare any two revisions on the timeline.
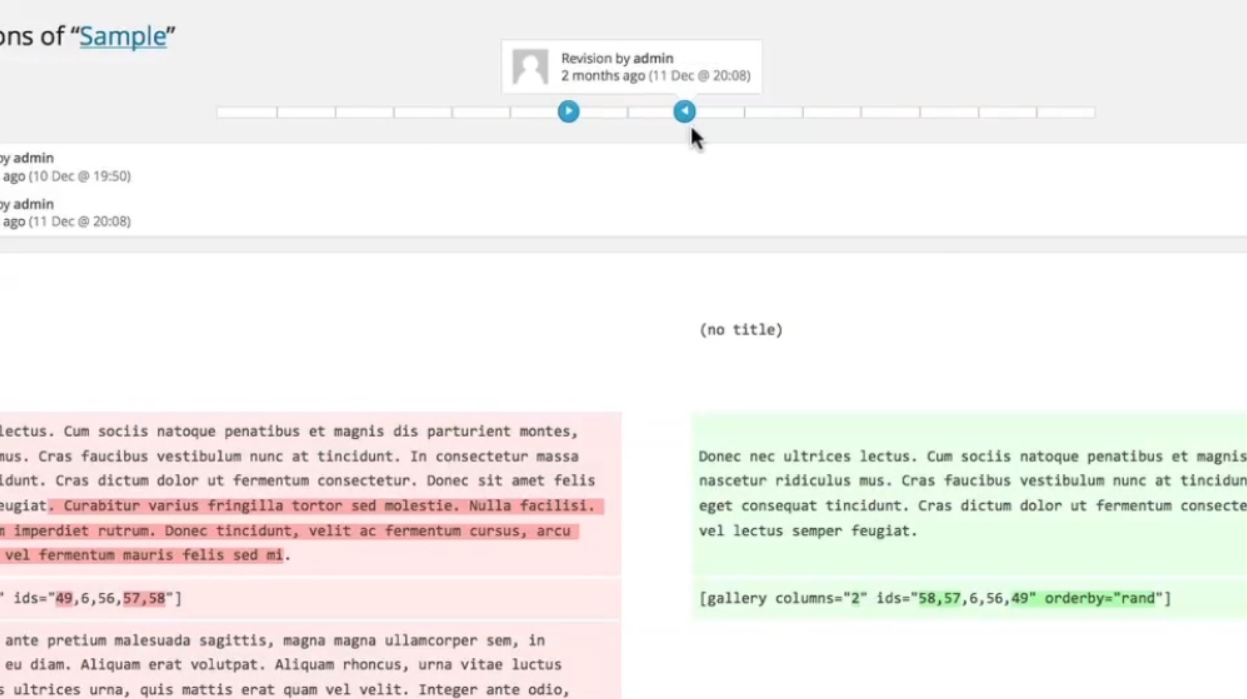
Step 7: Restore an Older Version
In order to restore the older version, you will need to move the slider on the right to the position of the one on the left and click “restore this revision.” This will take you back to the edit page where you can update and publish your content.
Managing revisions in WordPress can help you easily track and restore changes in your content. By following these steps, you’ll be able to utilize this feature effectively..
Leave a Reply