
To create a custom menu in WordPress, follow these step-by-step instructions:
1. Log in to your WordPress dashboard.
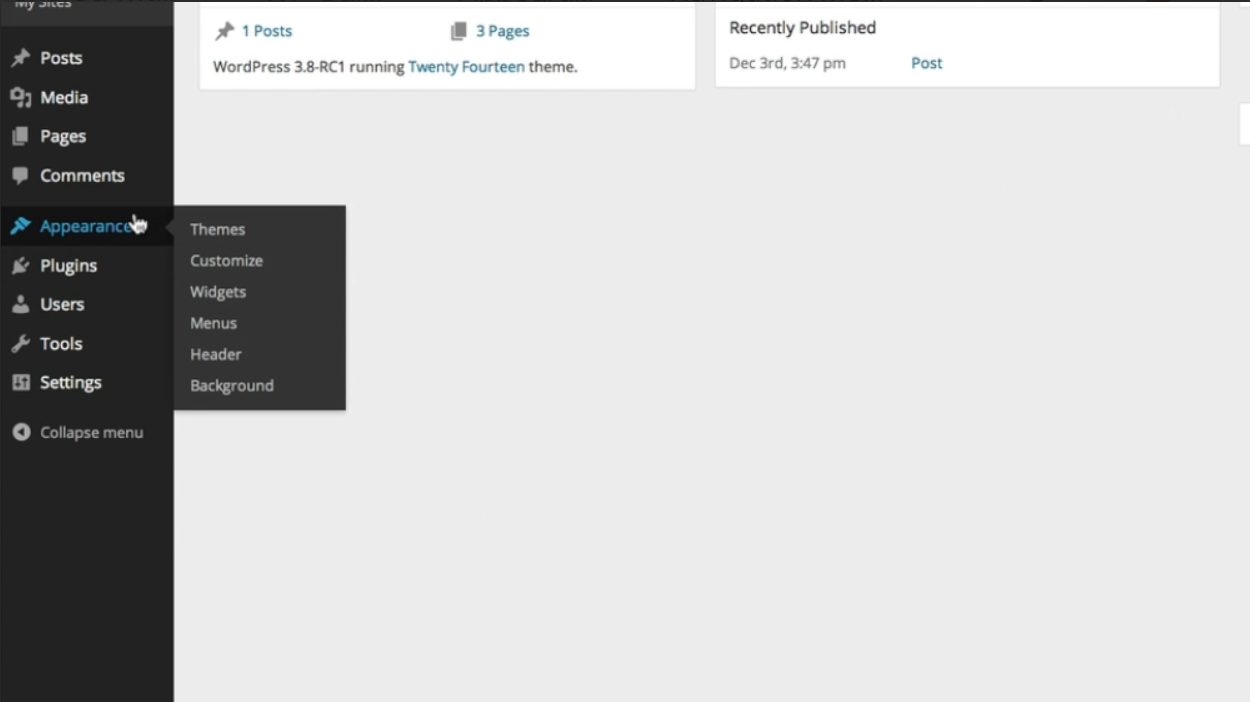
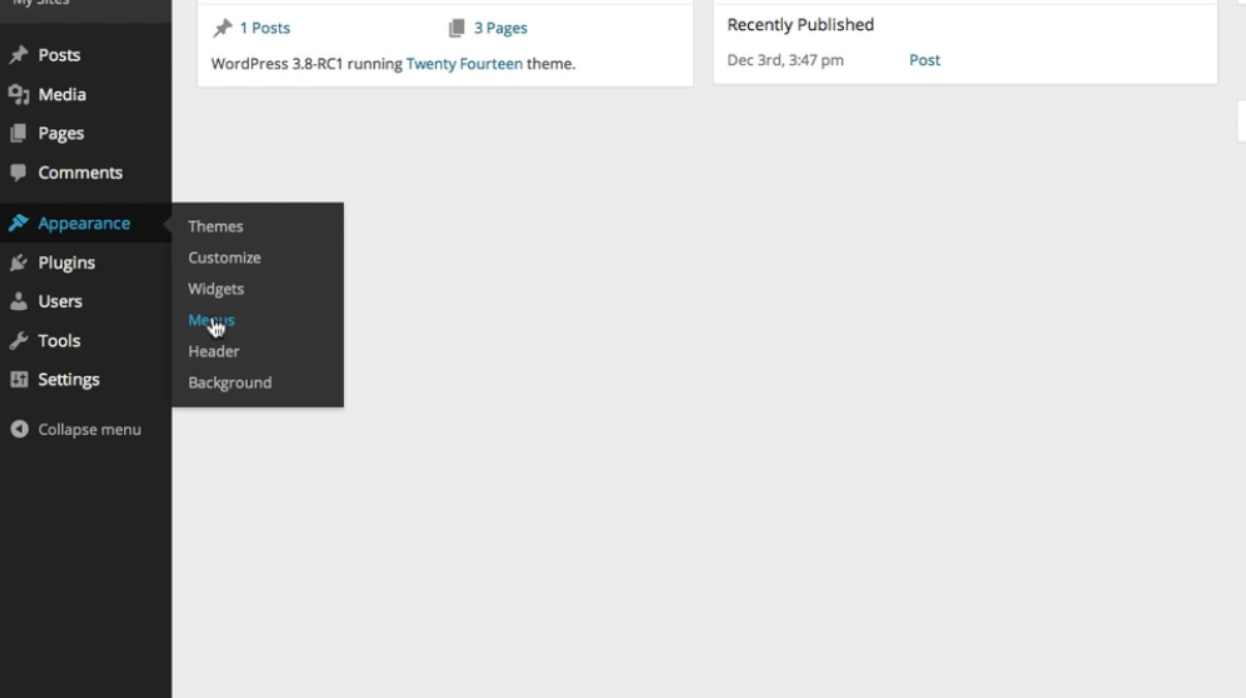
2. In the sidebar, hover over “Appearance” and select “Menus” from the dropdown menu.
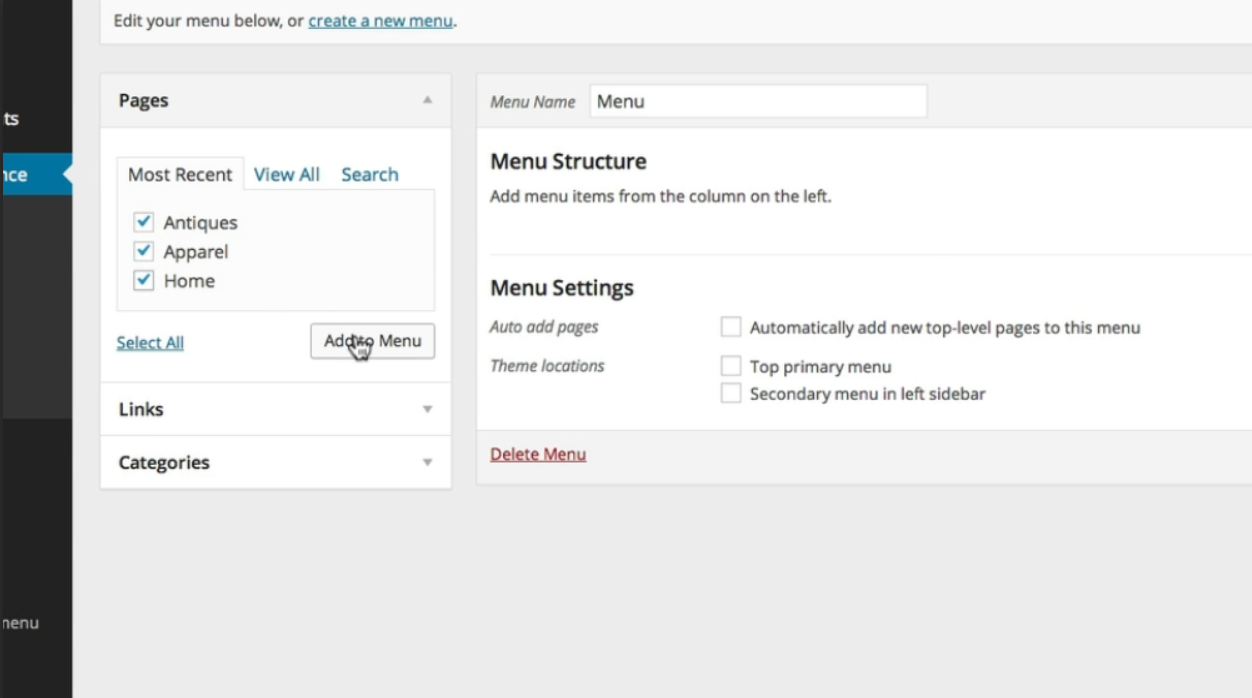
3. In the “Edit Menus” screen, you’ll see the “Edit Menus” tab selected by default. Give your menu a name in the “Menu Name” field (e.g., “Main Menu”) and click the “Create Menu” button.
4. Now that you have created a menu, it’s time to add items to it. In the “Pages” box, you’ll find a list of pages you have already created. Check the ones you want to include in your menu and click the “Add to Menu” button.
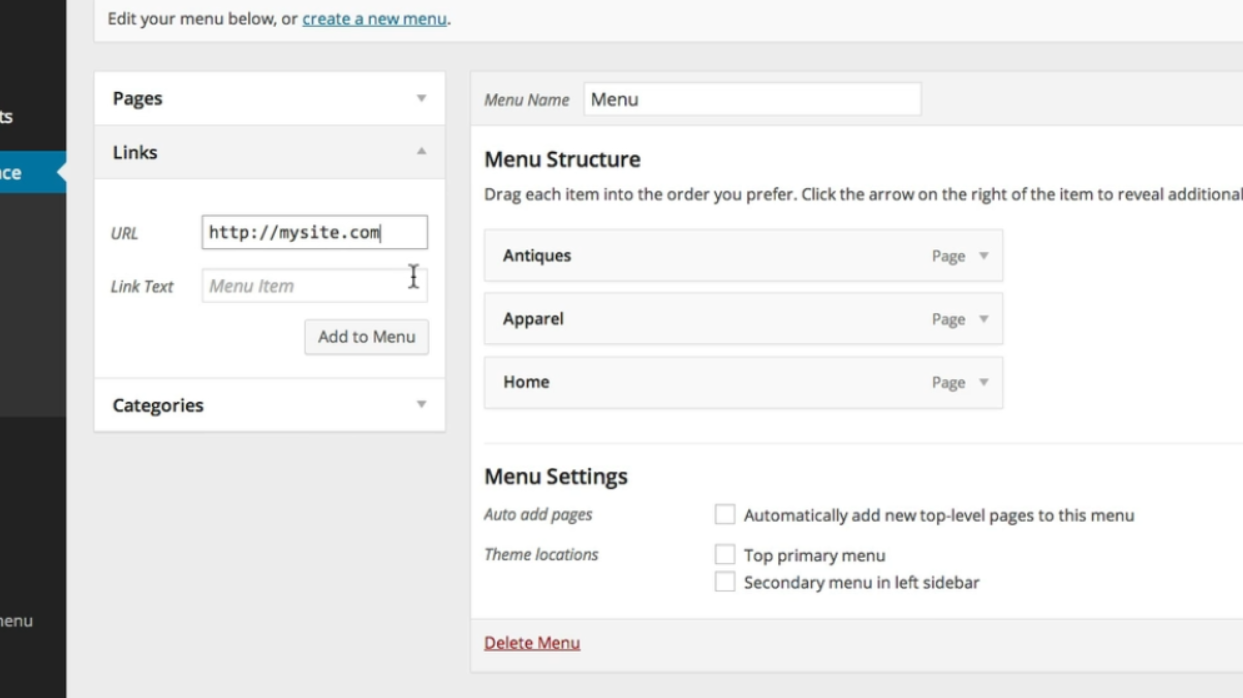
5. You can also add outside links from other sites by clicking on the “Links” tab. Type in the URL of the site and what you want it to be called in your menu, and then click the “Add to Menu” button.
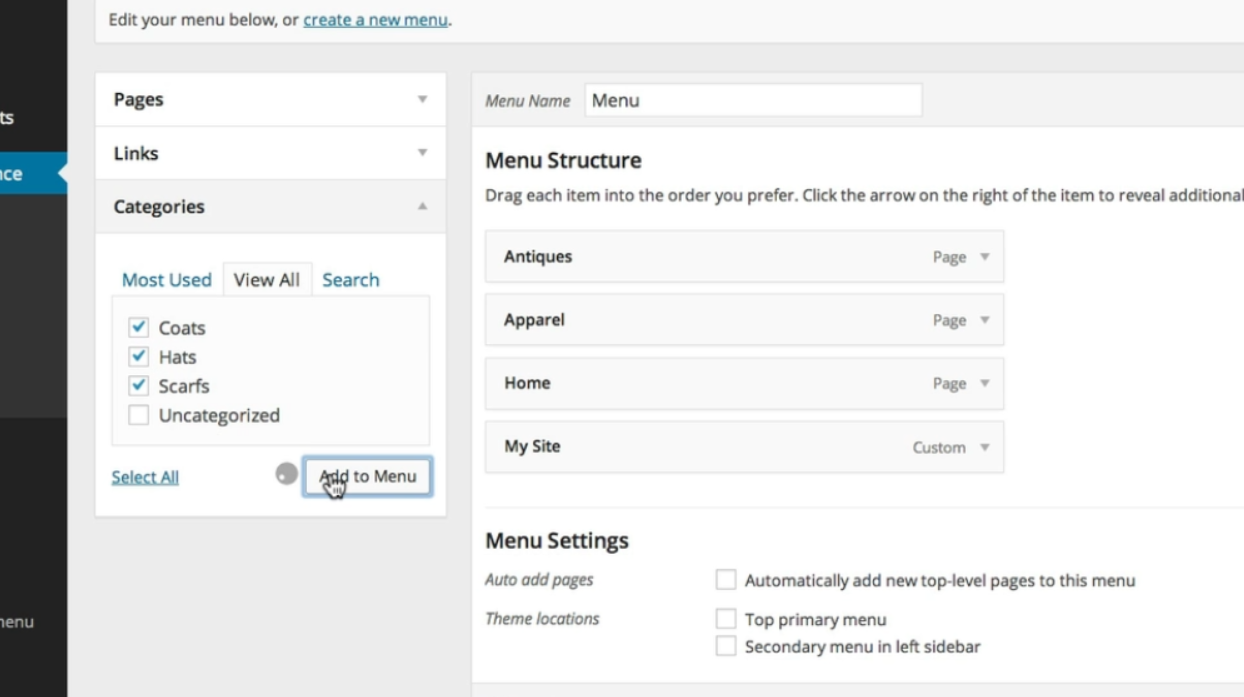
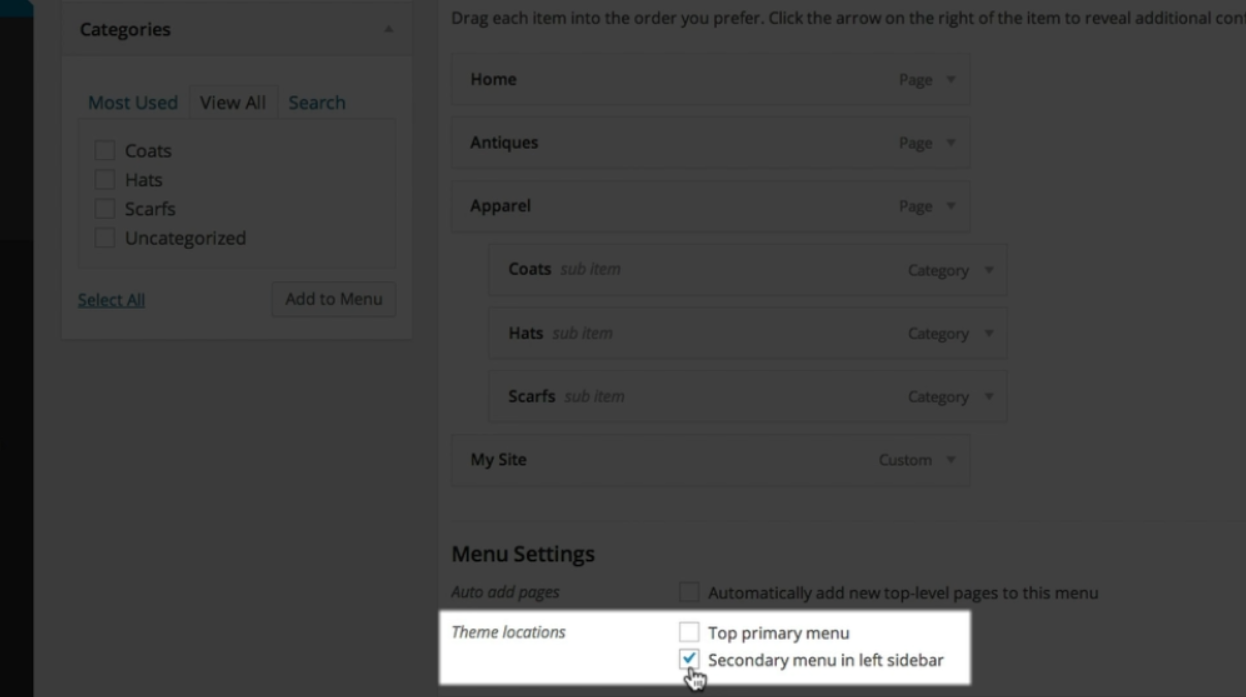
6. Similarly, the “Categories” box lets you add any categories that you have already created. Just select the categories you want to include in your menu and add them to the menu.
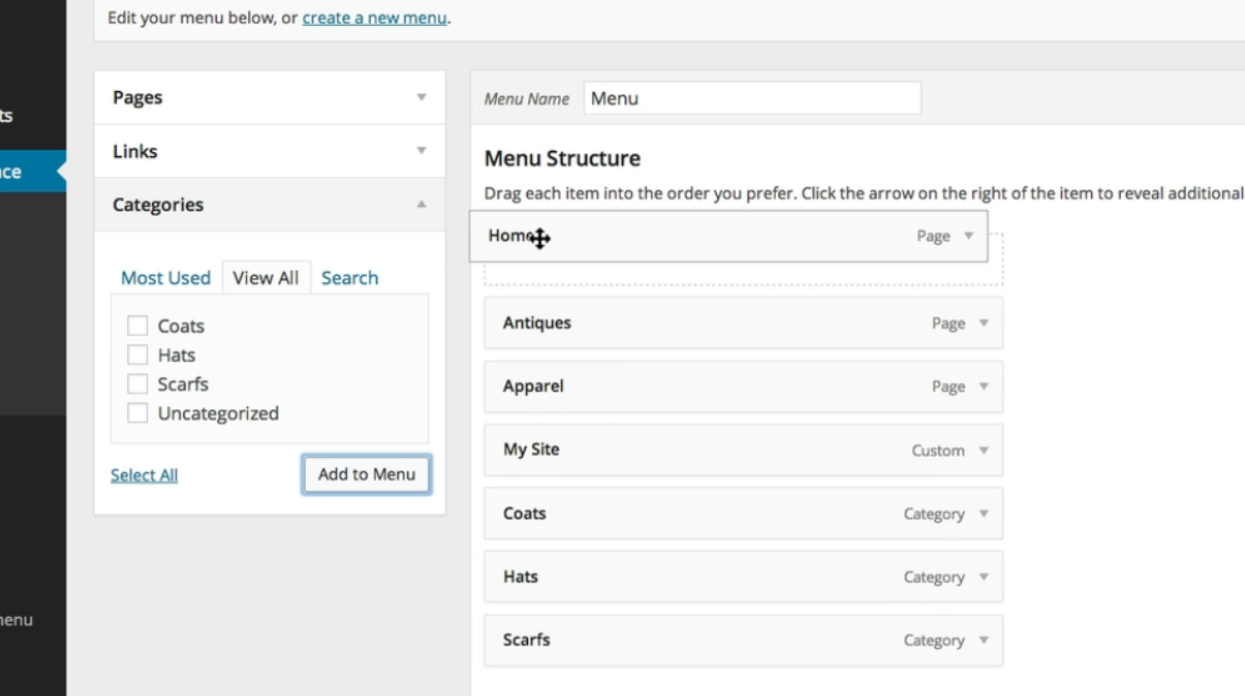
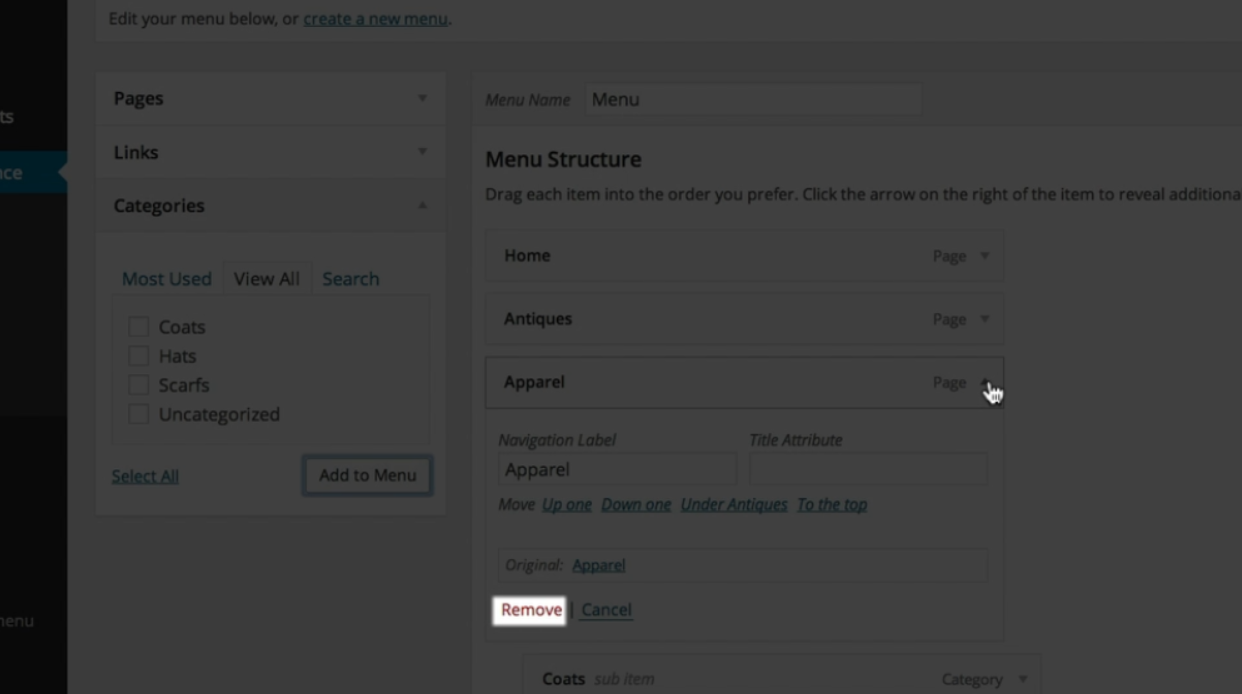
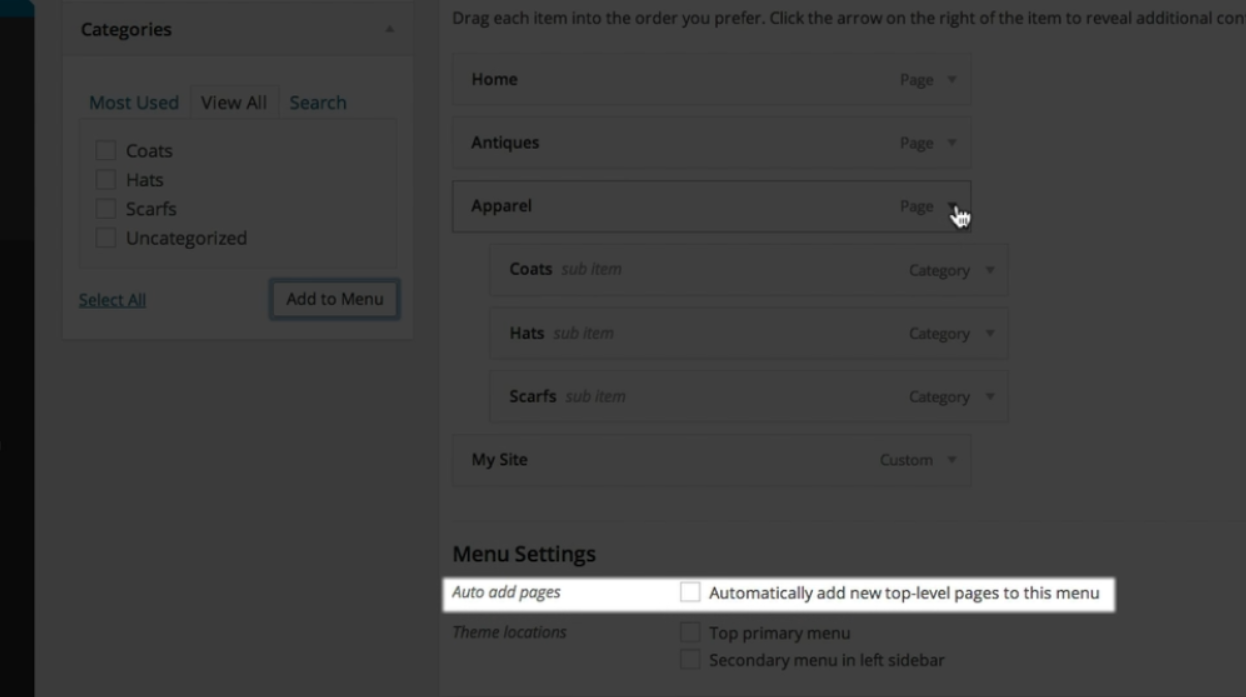
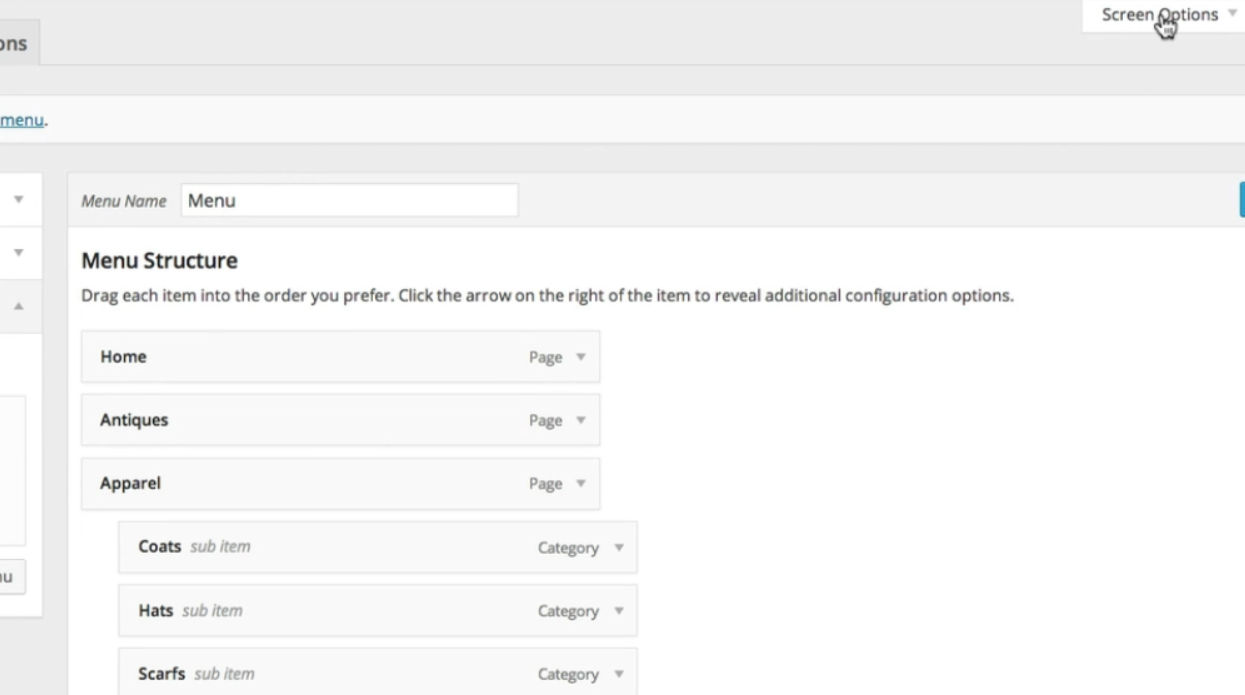
7. After adding items to your menu, you can rearrange their order by clicking and dragging them. Dragging an item slightly to the right creates a submenu for that item. You can also click the drop-down arrow next to each item to reveal more options.
8. To remove an item from the menu, simply click the “Remove” link next to it.
9. If you want the new pages you create in the future to automatically be added to your menu, check the “Automatically add new top-level pages to this menu” option.
10. Depending on your theme, you may be able to choose different locations where your menu will be displayed. Look for a “Theme Locations” section and select the appropriate location from the dropdown menu.
11. For additional menu options, click the “Screen Options” tab at the top of the page. Here, you can choose to display advanced menu properties like CSS classes or link target options.
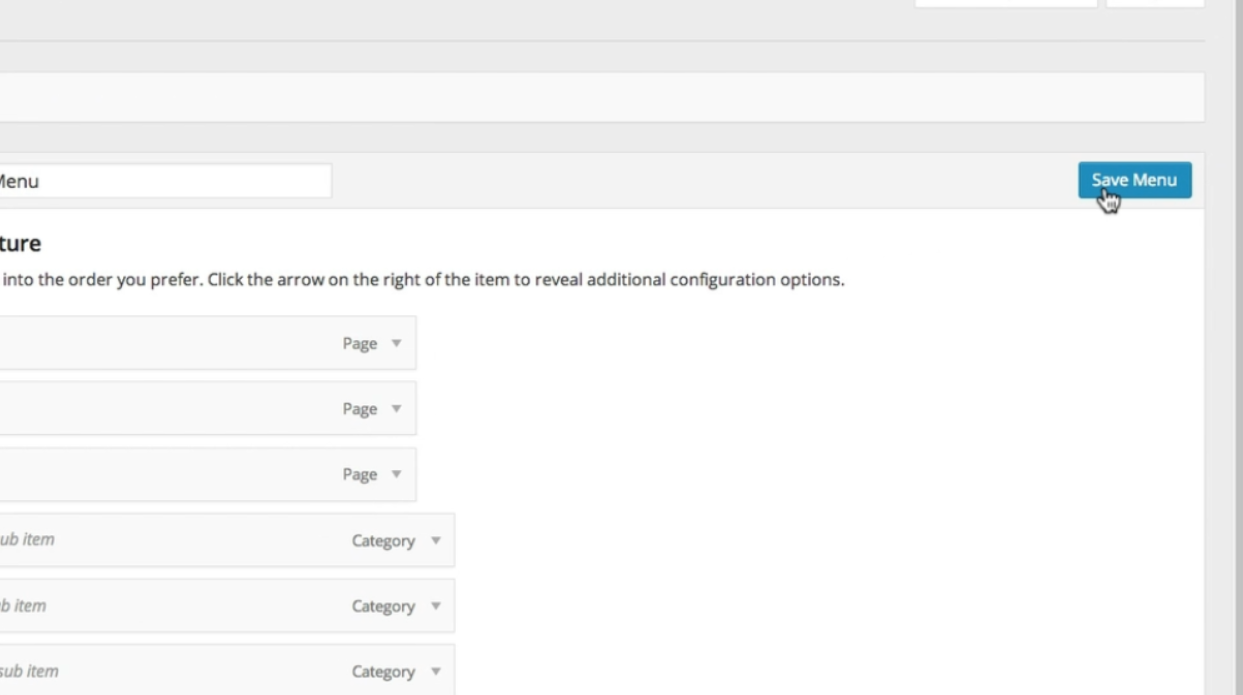
12. Once you’re done customizing your menu, don’t forget to click the “Save Menu” button to save all the changes you have made.
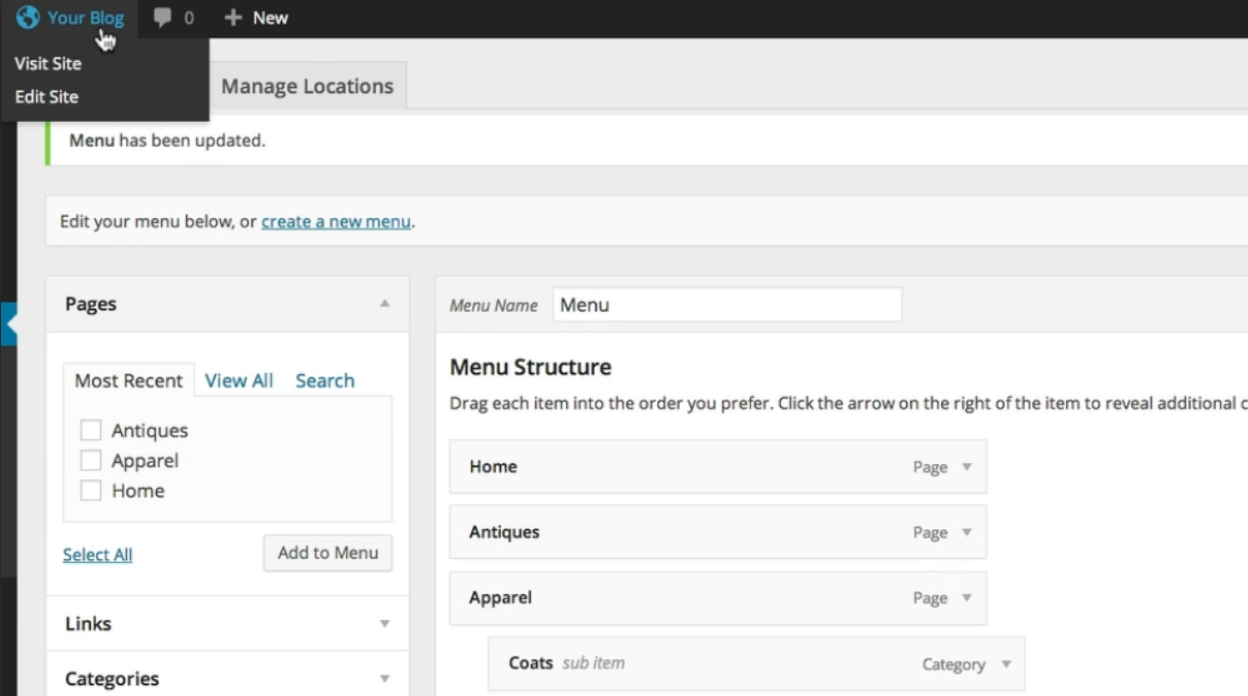
13. To see your changes live on your website, click your website’s name at the top of the page or open a new tab and visit your website as a regular user.
With these easy-to-follow steps, you can create a custom menu for your WordPress website, making it easier for visitors to navigate and enhancing your site’s overall appearance.
Leave a Reply