
You can expand and add new features to your site by adding plugins. Here’s a step-by-step guide on how to use plugins in WordPress:
1. Log in to your WordPress dashboard. This is usually located at www.yourwebsite.com/wp-admin. Enter your username and password to access the dashboard.
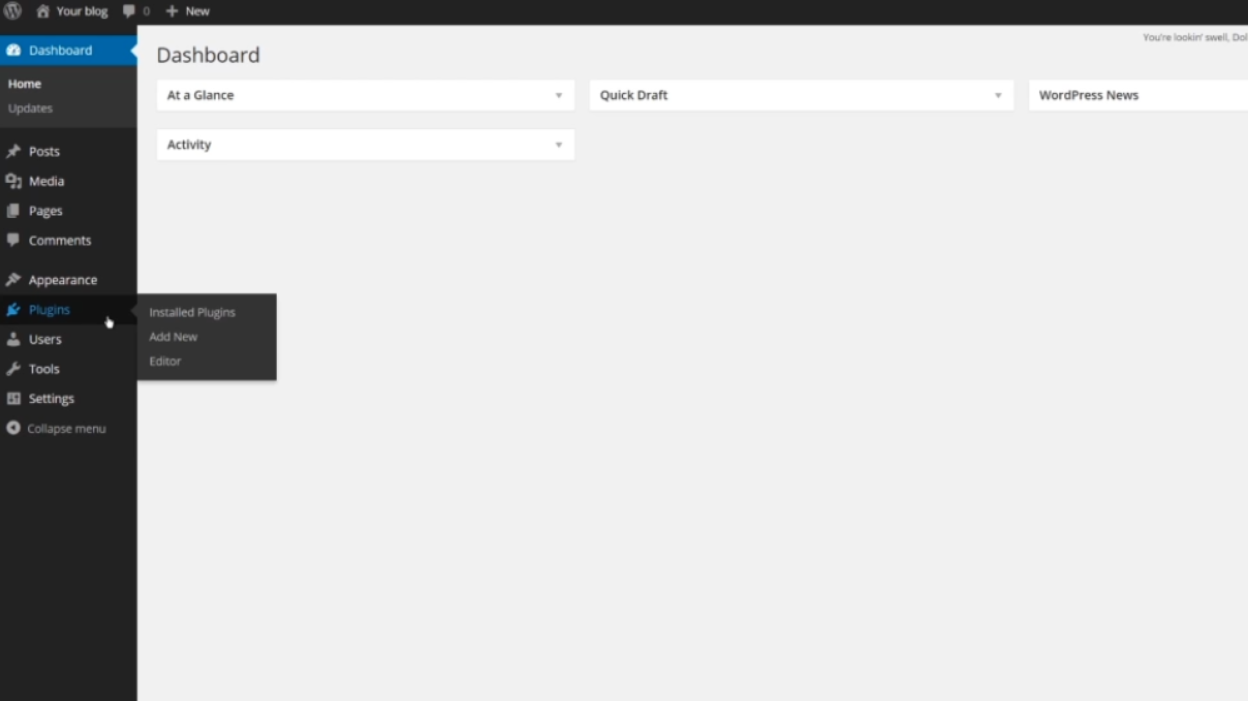
2. Once you’re in the dashboard, look for the “Plugins” tab in the left-hand menu and click on it. This will take you to the plugins page.
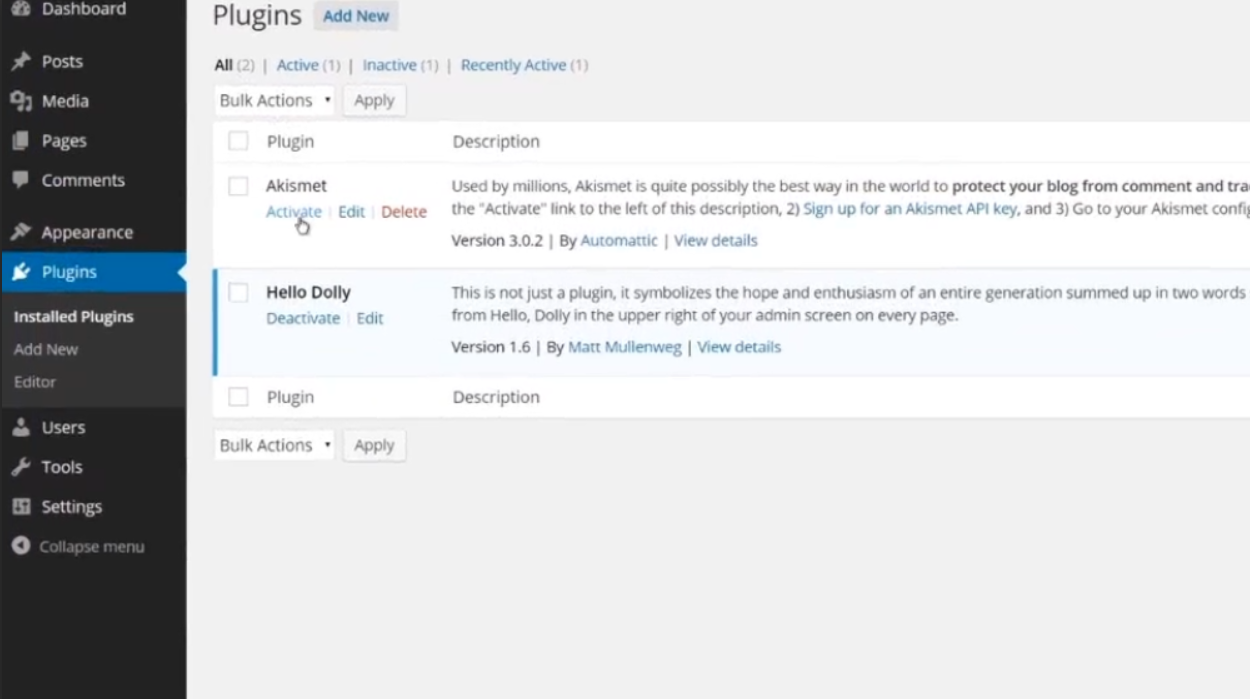
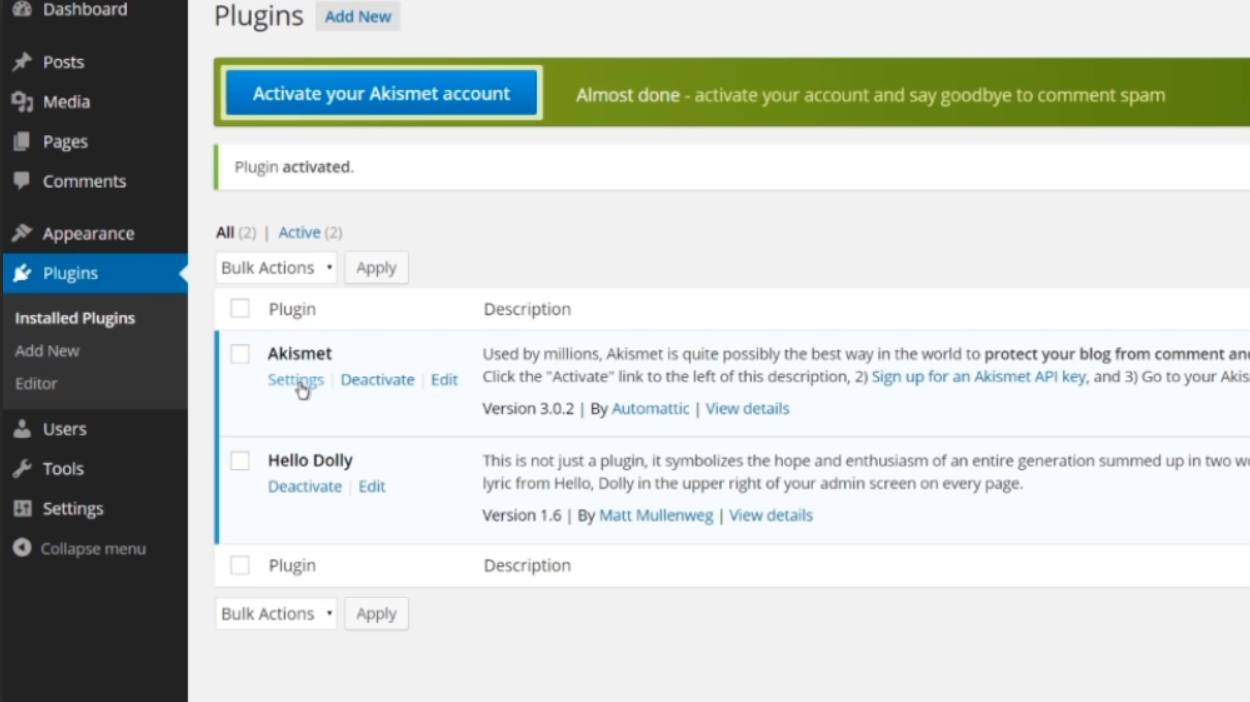
3. On the plugins page, you will see a list of all the currently installed plugins on your site. Inactive plugins will have an “Activate” link next to them. To activate a plugin, simply click on the “Activate” link.
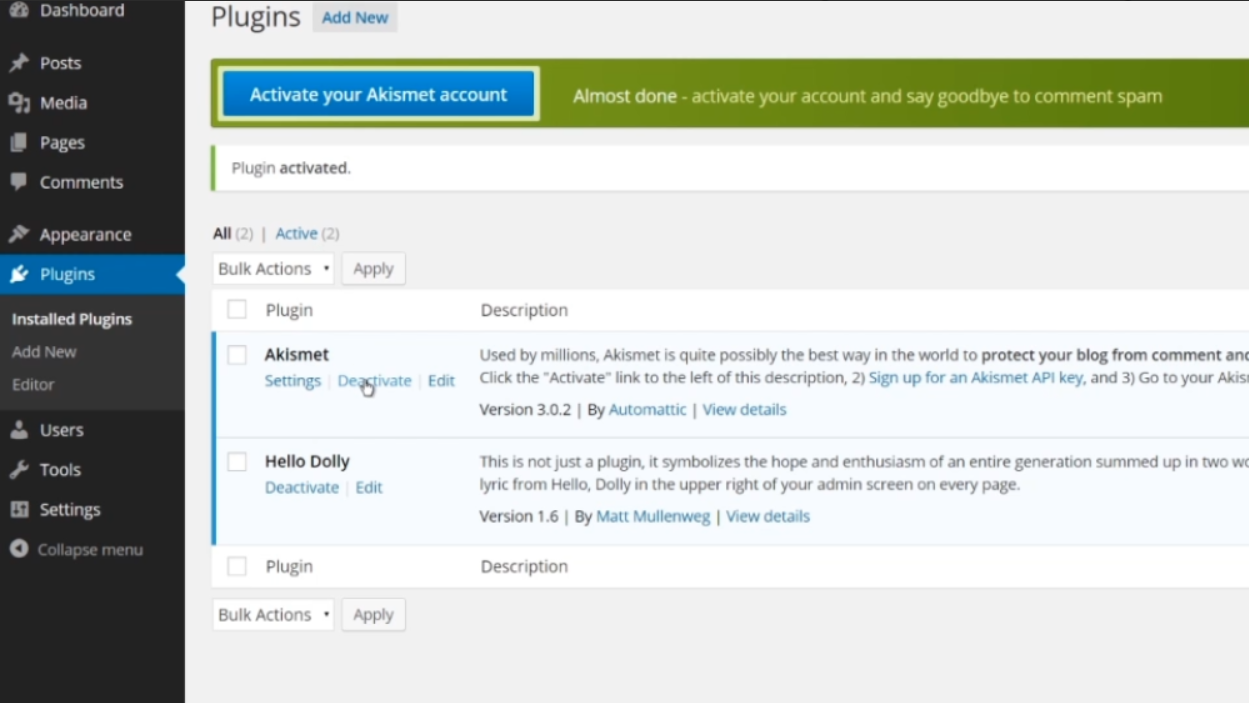
4. After activating a plugin, you will now have the option to deactivate it if needed. Deactivating a plugin will turn off its functionality on your site. To deactivate a plugin, simply click on the “Deactivate” link that appears after activation.
5. It’s a good practice to keep only the necessary plugins active on your site to ensure optimal performance. If you have any unused or unnecessary plugins, you can deactivate and delete them from the plugins page.
6. Some plugins have a “Settings” option that allows you to configure their functionality. To access the settings page of a plugin, click on the “Settings” link that appears below the plugin name on the plugins page.
7. If you want to install a new plugin, navigate back to the plugins page by clicking on the “Plugins” tab in the left-hand menu.

8. On the plugins page, look for the “Add New” button at the top and click on it. If you don’t see this button, it’s possible that your site or network administrator has restricted access to installing new plugins. In that case, contact your administrator for assistance.

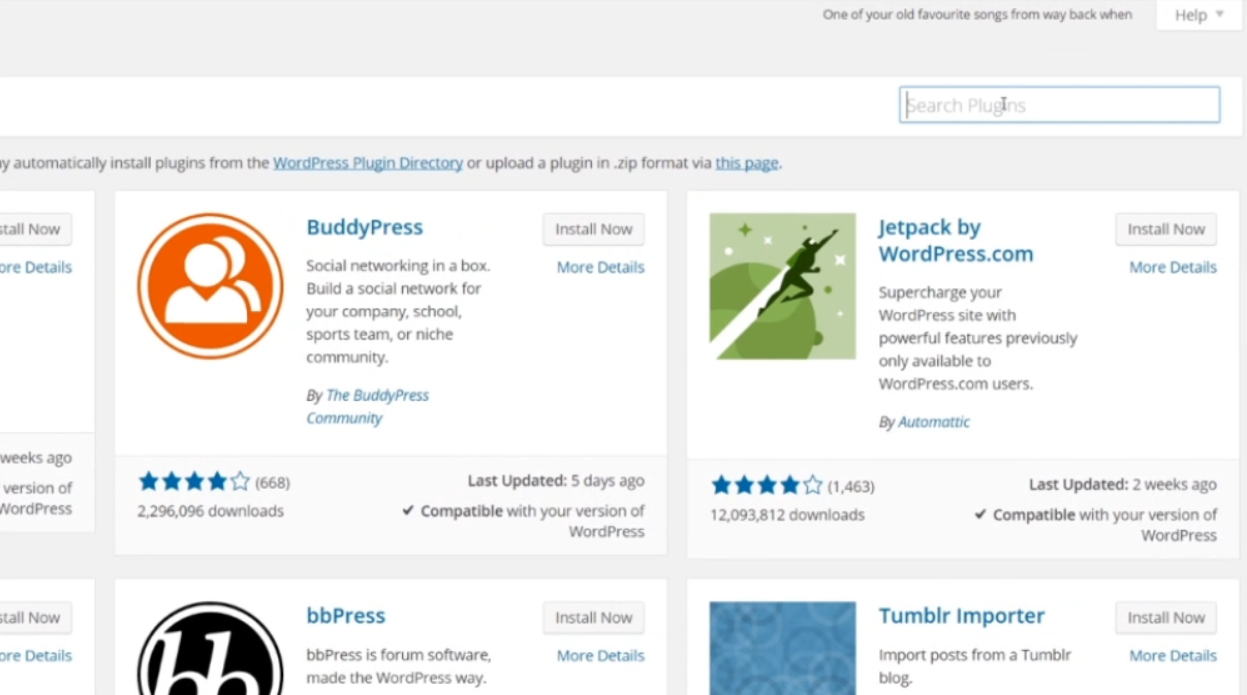
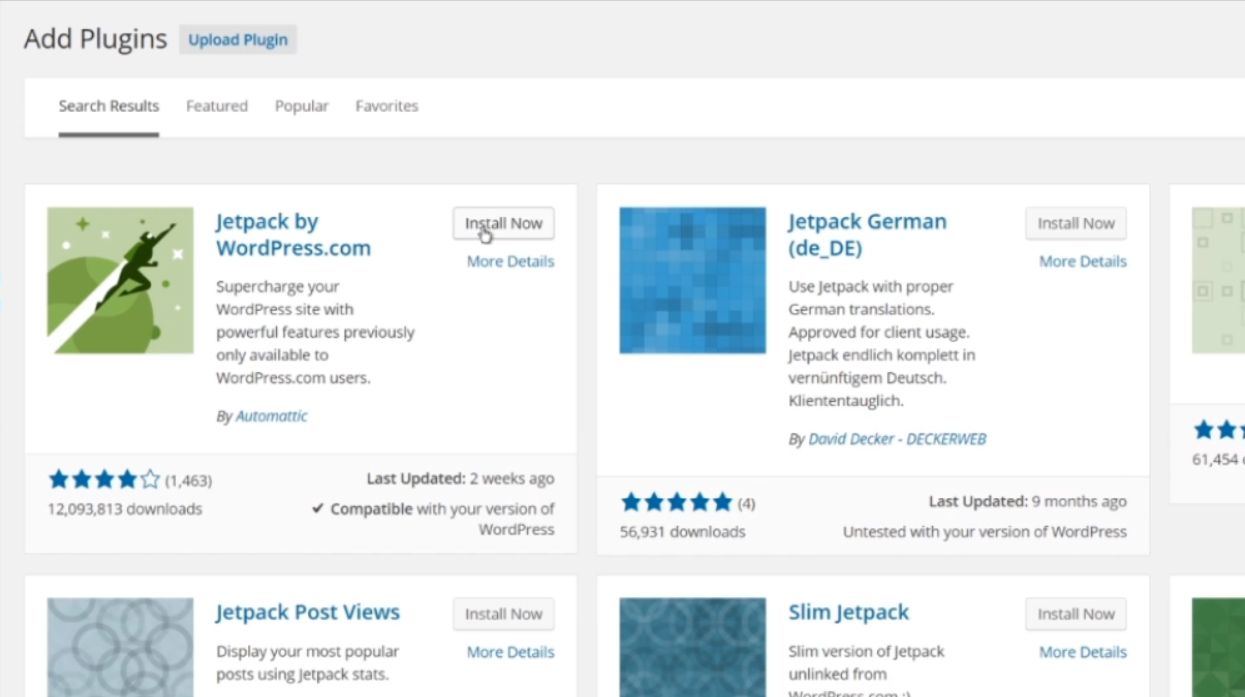
9. On the “Add Plugins” page, you can search for new plugins by entering the name or descriptive words of what you want the plugin to do in the search bar. You can also browse through the featured, popular, and favorites plugins using the filters at the top of the page.
10. Once you find the plugin that you would like to install, click on the “Install Now” button next to it. WordPress will automatically download and install the plugin for you.
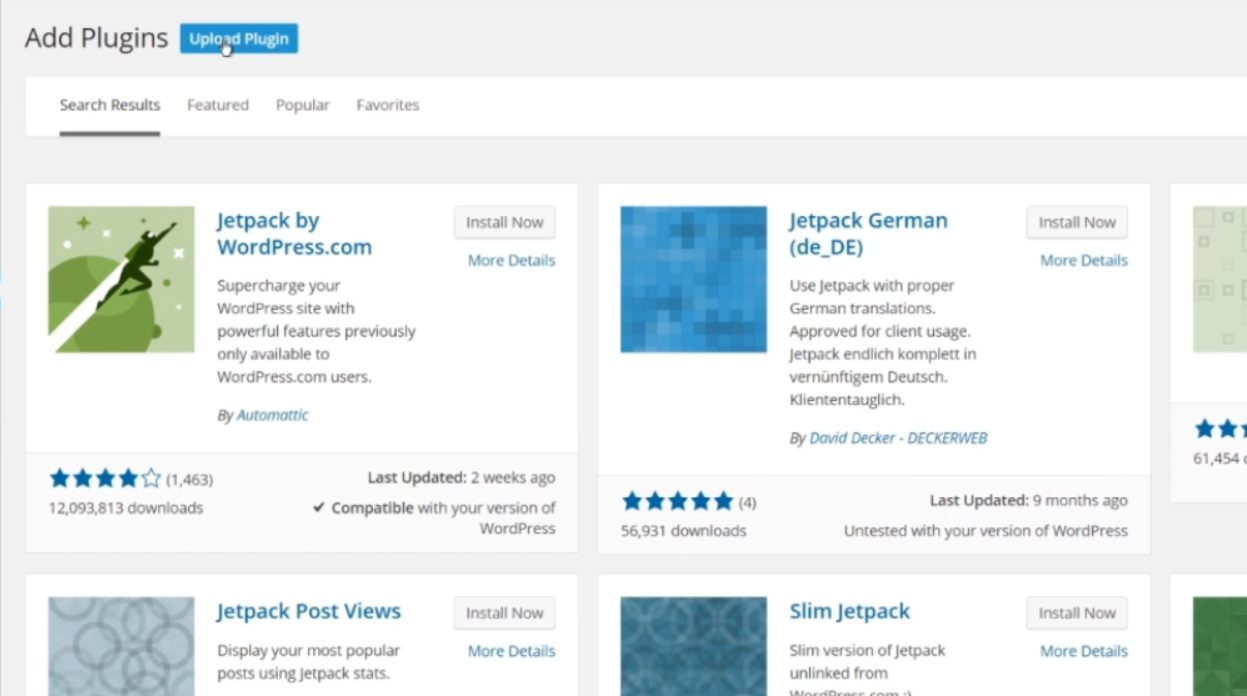
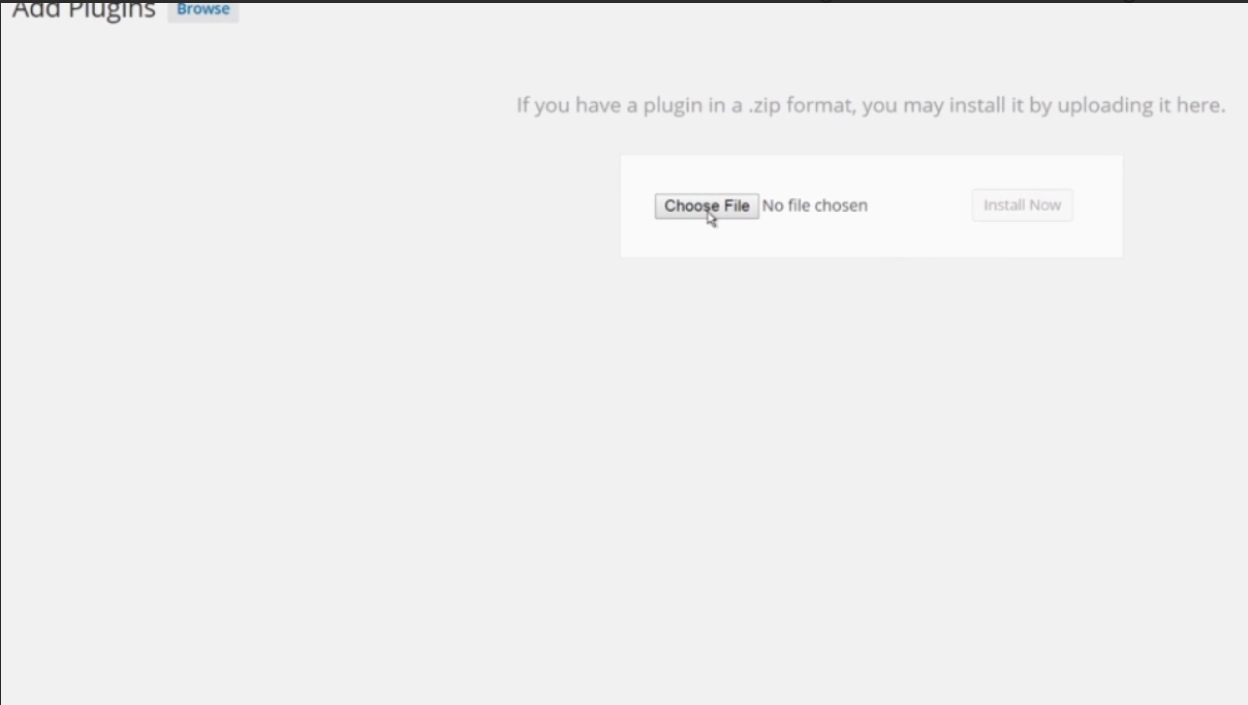
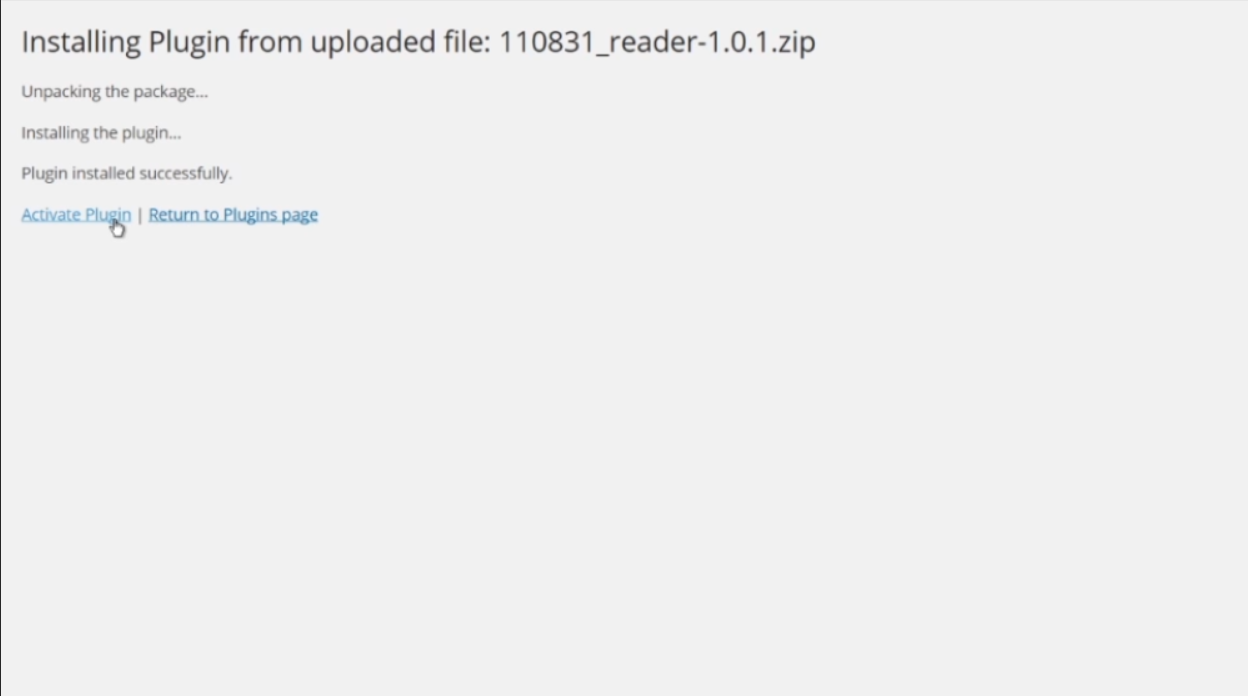
11. If you have a plugin on your computer that you want to install, click on the “Upload Plugin” button at the top of the “Add Plugins” page. Use the file browser to locate the zipped plugin file on your computer and click on the “Install Now” button to upload and install it.
12. After installation, you will be taken to a page where you can directly activate the plugin or return to the plugins page to activate it later. Click on the “Activate” link to activate the plugin and start using its features on your site.
13. If you encounter any issues or need assistance with configuring and setting up your plugins, be sure to contact your site or network administrator, or reach out to the plugin developer for support.
That’s it! You now know how to use plugins in WordPress to expand and enhance the functionality of your website.
Leave a Reply