
Links are an important part of your WordPress website’s navigation and SEO, as well as a way to cite sources of information you want to reference in your content. To add a link to your WordPress website, follow these step-by-step instructions:
1. Log in to your WordPress admin panel. This is usually done by adding “/wp-admin” to the end of your website’s URL (e.g. www.yourwebsite.com/wp-admin).
2. Once logged in, navigate to the post or page where you want to add the link. You can do this by selecting “Posts” or “Pages” from the left-hand menu, then choosing the specific post or page.
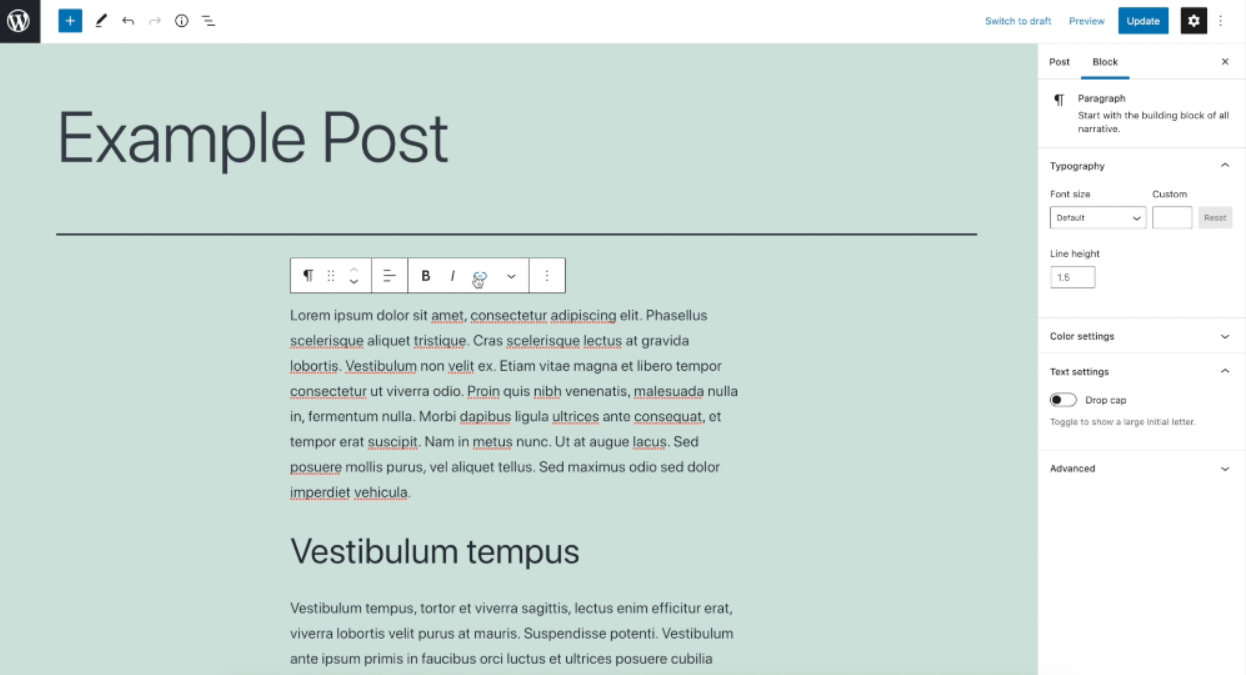
3. In the post or page editor, highlight the text that you want to turn into a link. This text should be relevant to the content you are linking to.
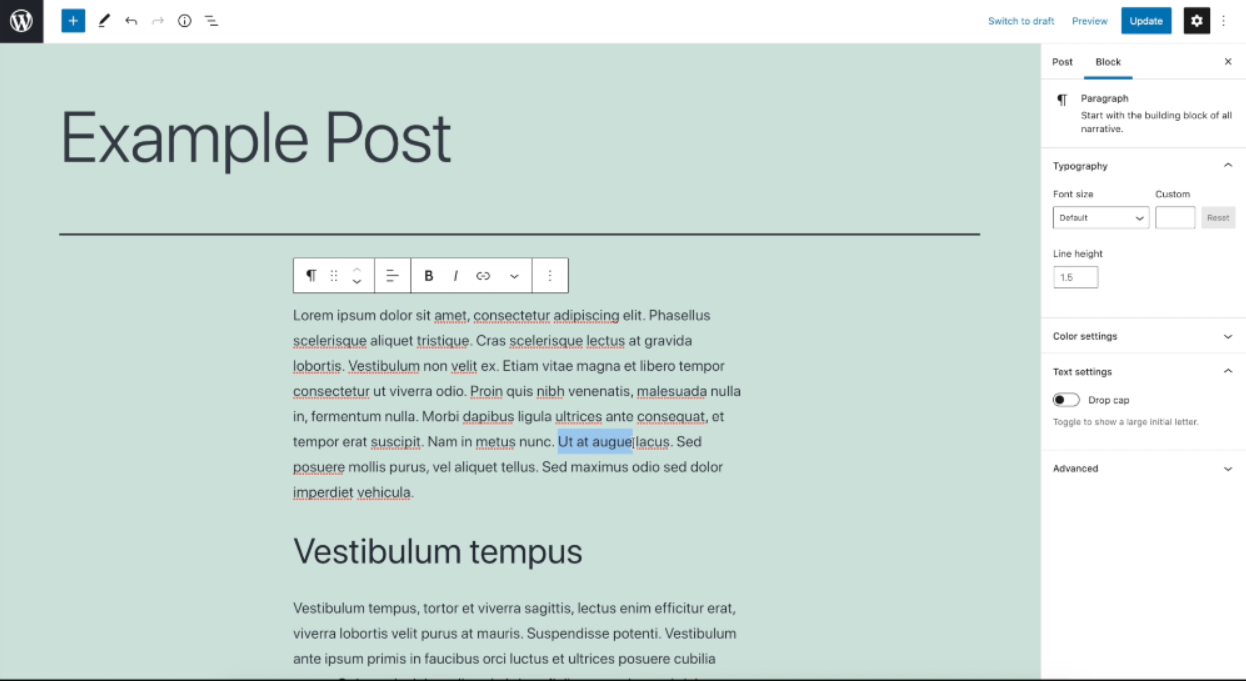
4. After highlighting the text, look for the link icon in the blog toolbar. It usually looks like a chain link.
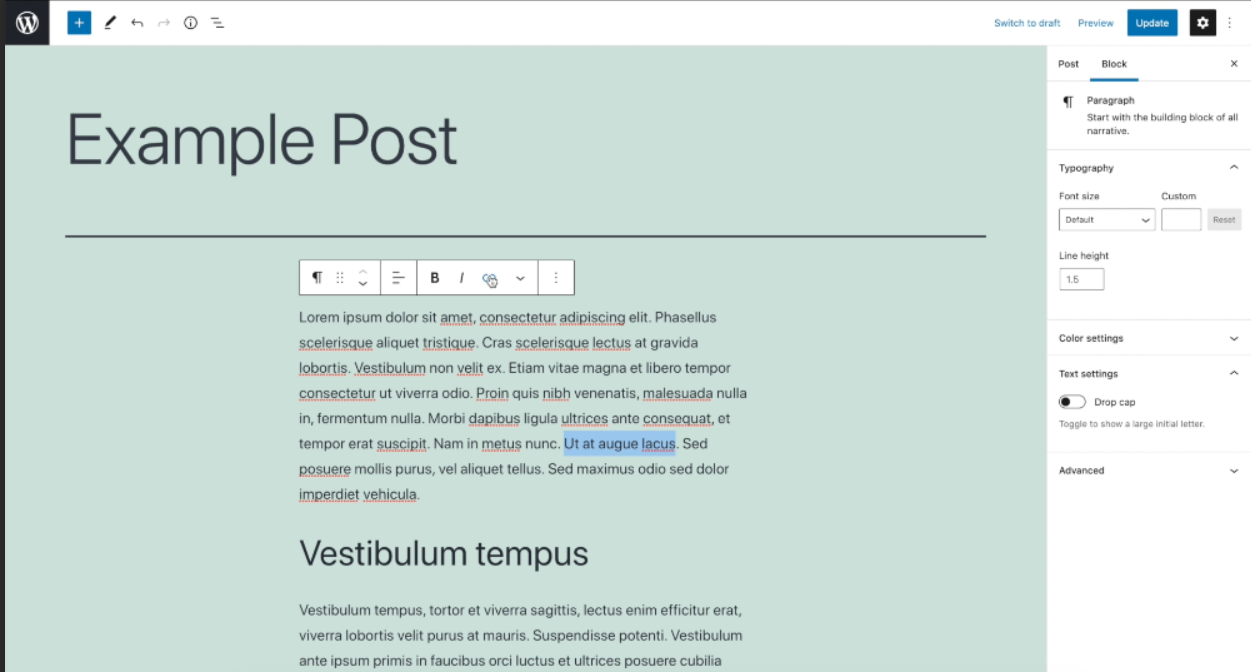
5. Click on the link icon, and a pop-up window will appear.
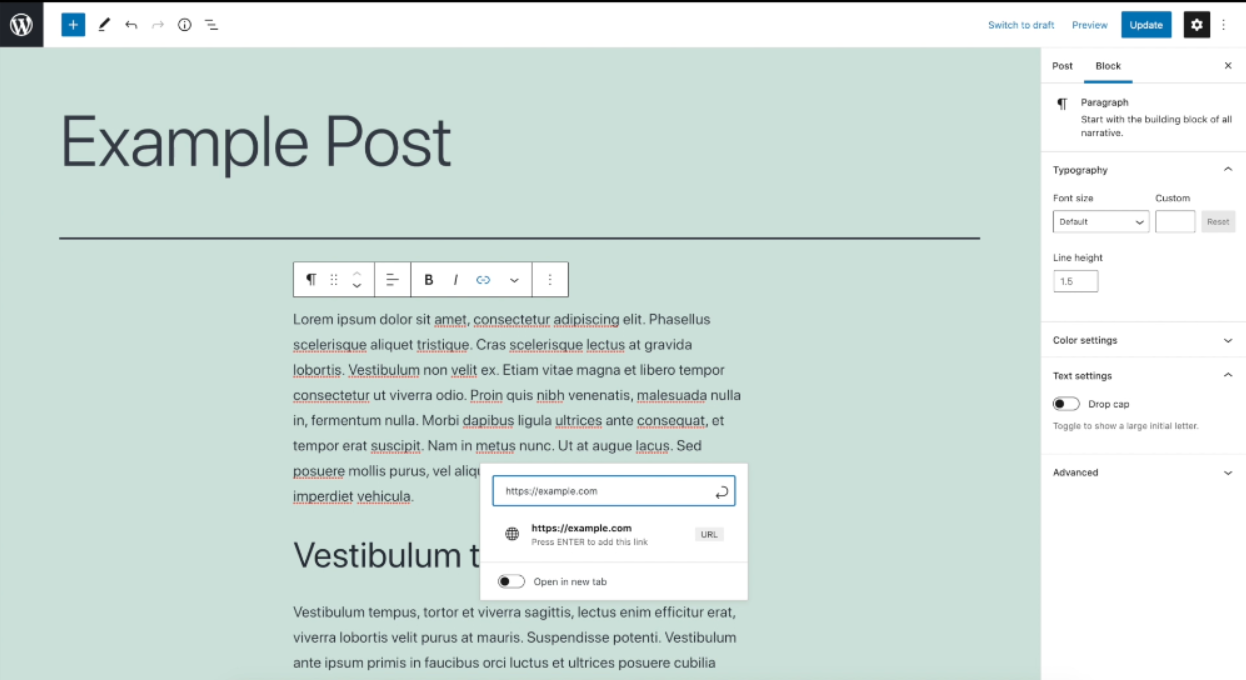
6. In the pop-up window, you can type or paste the URL (web address) of the post or page you want to link to. This can be a page on your own website or another website.
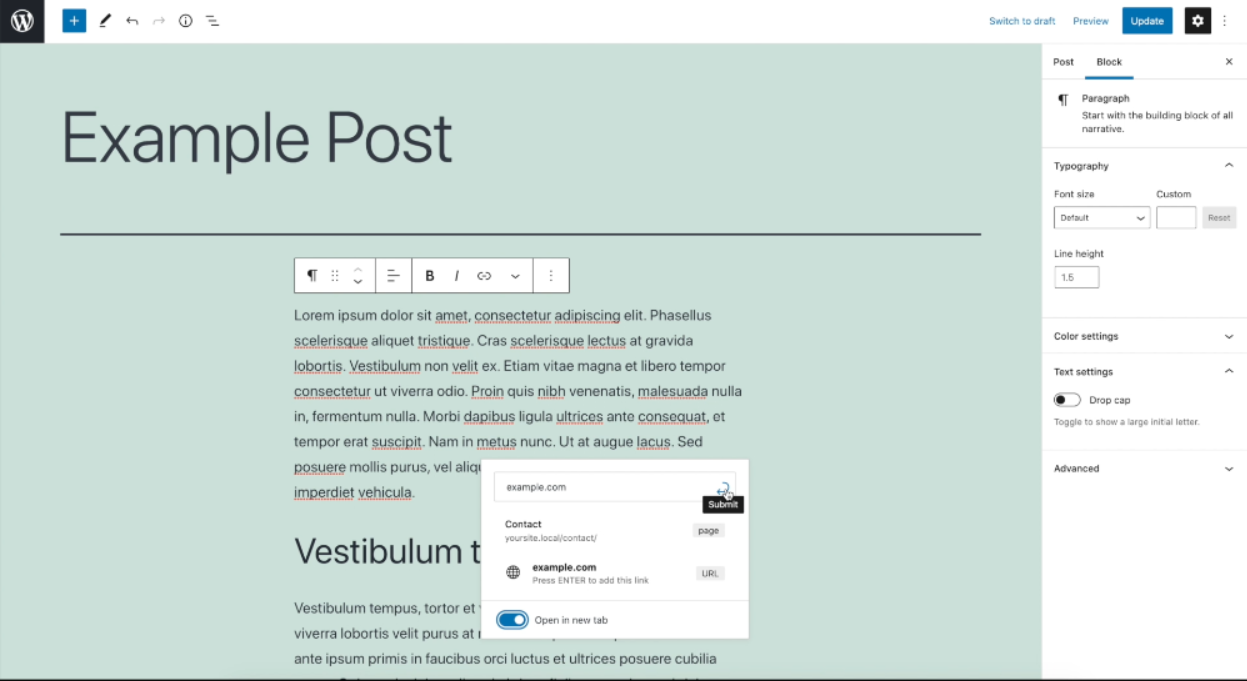
7. If you are linking to a page on your own website, you can also search for it by typing its title or a relevant keyword into the URL field. WordPress will display a list of content that matches your search.
8. Once you have entered or selected the URL, you can choose whether you want the link to open in a new tab when users click on it. This is useful if you want to keep your website open for users while they explore the linked content.
9. If you wish to open the link in a new tab, simply toggle on the switch below the URL field.
10. Finally, click on the submit button to apply the link to your selected text.
To remove a link from your WordPress website, follow these steps:
1. In the post or page editor, locate the anchor text that represents the link you want to remove. This is usually underlined or has a different color from the regular text.
2. Click on the anchor text to select it.
3. Once selected, a block toolbar will appear. Look for the unlink icon, which is usually a broken chain link.
4. Click on the unlink icon, and the link will be removed from your text. The text will return to its regular format.
By following these step-by-step instructions, you can easily add and remove links in your WordPress website’s content. Remember to test your links after adding them to ensure they are working properly.
Leave a Reply