
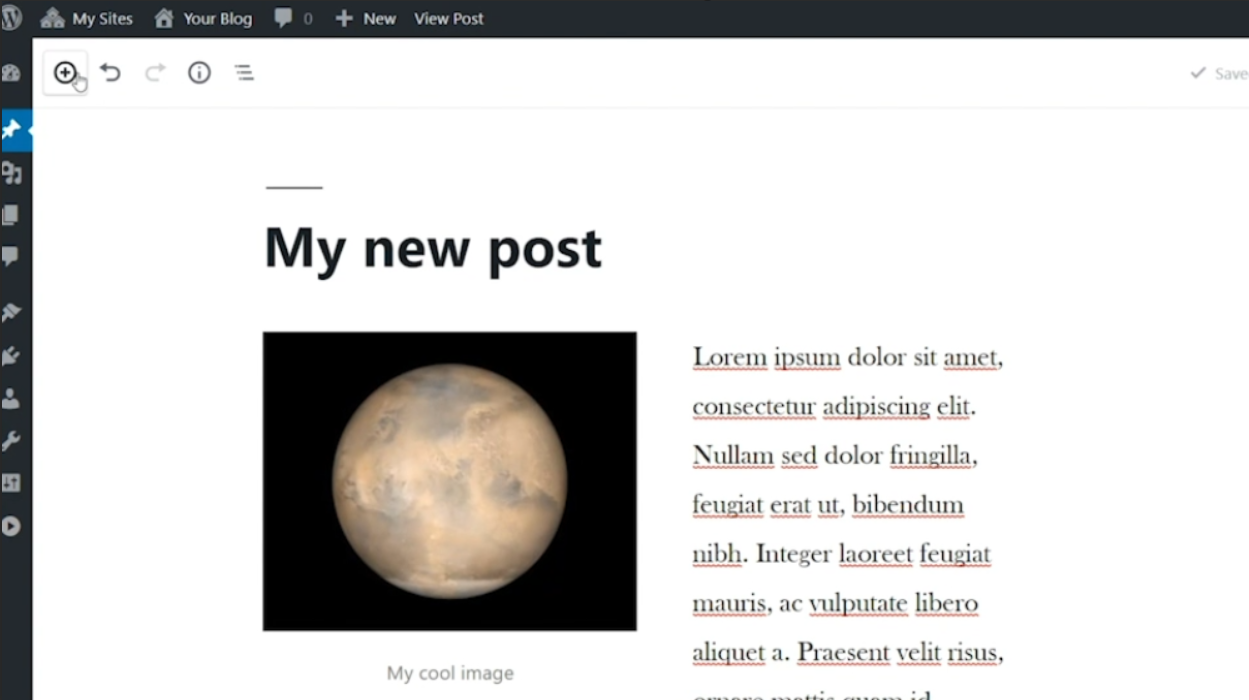
Gutenberg is a live editor that allows you to create posts and pages using blocks of content that can be easily moved around or reused in other places. The top of the editor contains a toolbar for creating new content blocks, undoing and redoing, viewing information about your document, and providing an outline/navigation for all your current blocks.
Here is a step-by-step guide on how to create a WordPress page or post using Gutenberg:
1. Login to your WordPress dashboard. To access your dashboard, type “/wp-admin” after your website URL and enter your login credentials.
2. Once logged in, you will be redirected to your WordPress dashboard.
3. Click on “Posts” or “Pages” in the left-hand menu, depending on whether you want to create a blog post or a static page for your website.
4. On the posts or pages screen, click on the “Add New” button at the top of the page.
5. You will now be taken to the Gutenberg editor. The editor will display a blank content block by default.
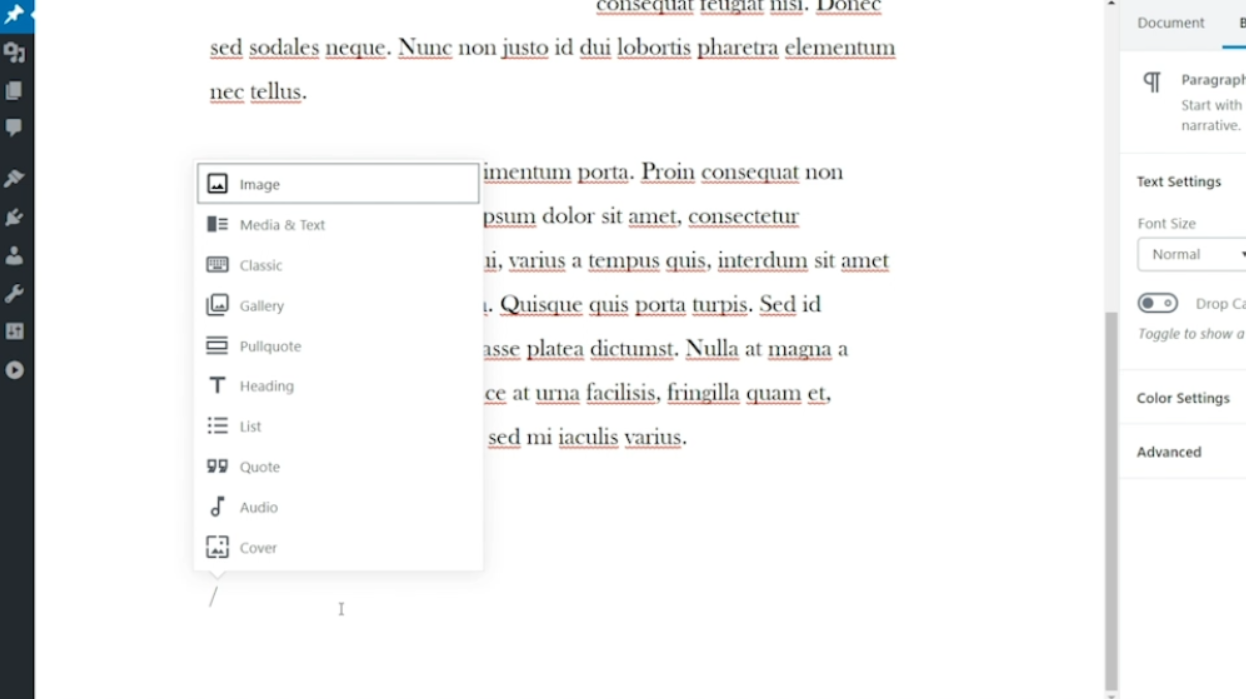
6. To add a new content block, click on the “+ Add Block” icon in the top-left corner of the editor. This will open the block library.
7. In the block library, you can scroll through different block types or use the search bar to find the specific block you want to add. For example, if you want to add an image, you can simply type “image” in the search bar and press “Enter”.
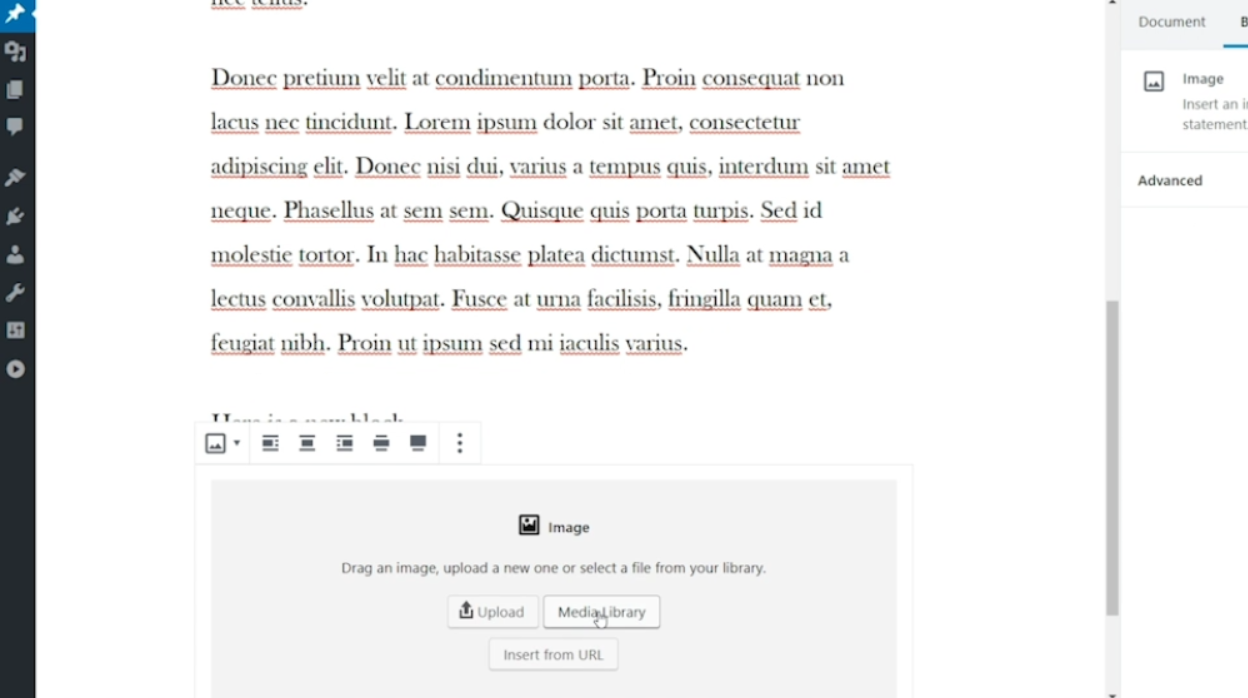
8. Once you have selected the desired block, it will be added to the editor.
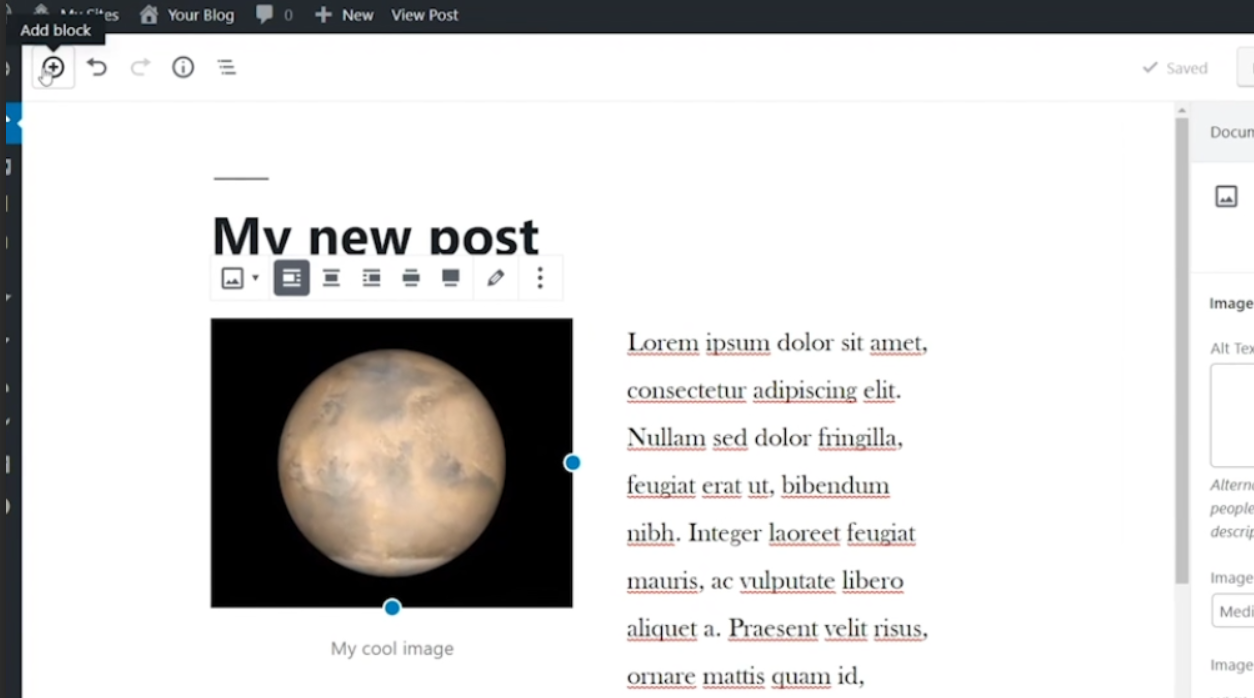
9. Depending on the block type, you may have additional settings and options for customizing your content. You can access these settings by clicking on the block and using the toolbar that appears.
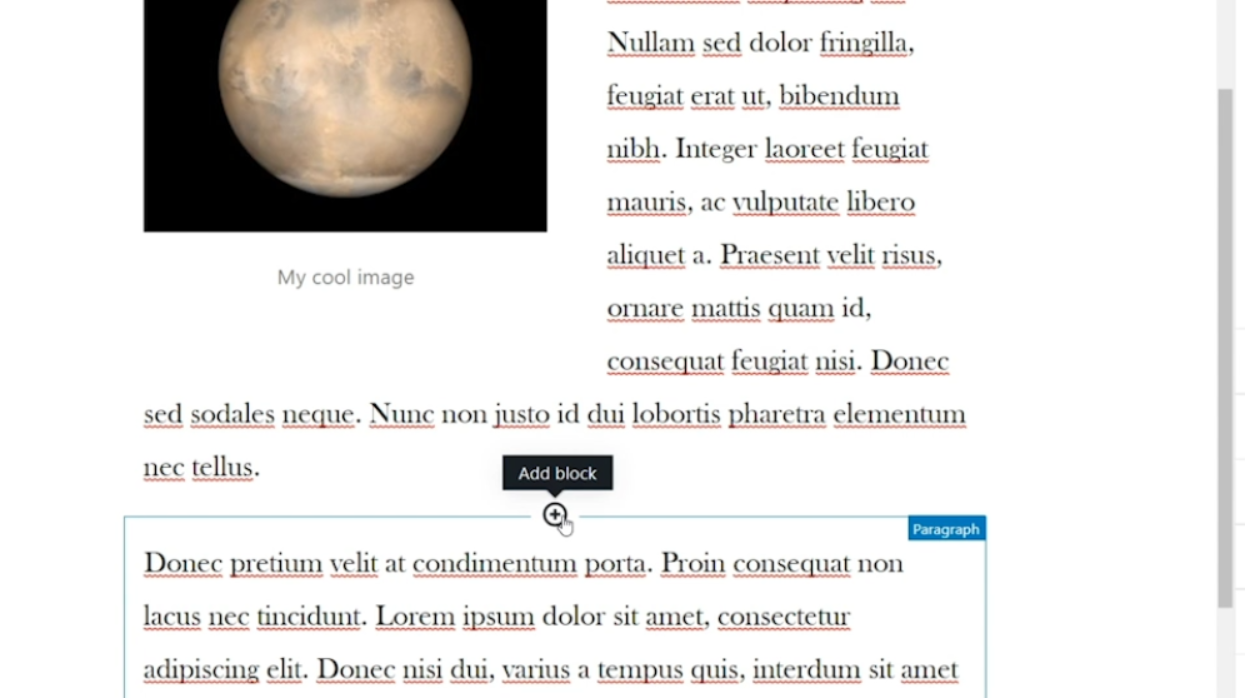
10. To add more blocks, simply repeat steps 6-9. You can add blocks in between existing blocks or at the end of your content.
11. To move a block, click on the block and use the up and down arrows that appear to rearrange its position.
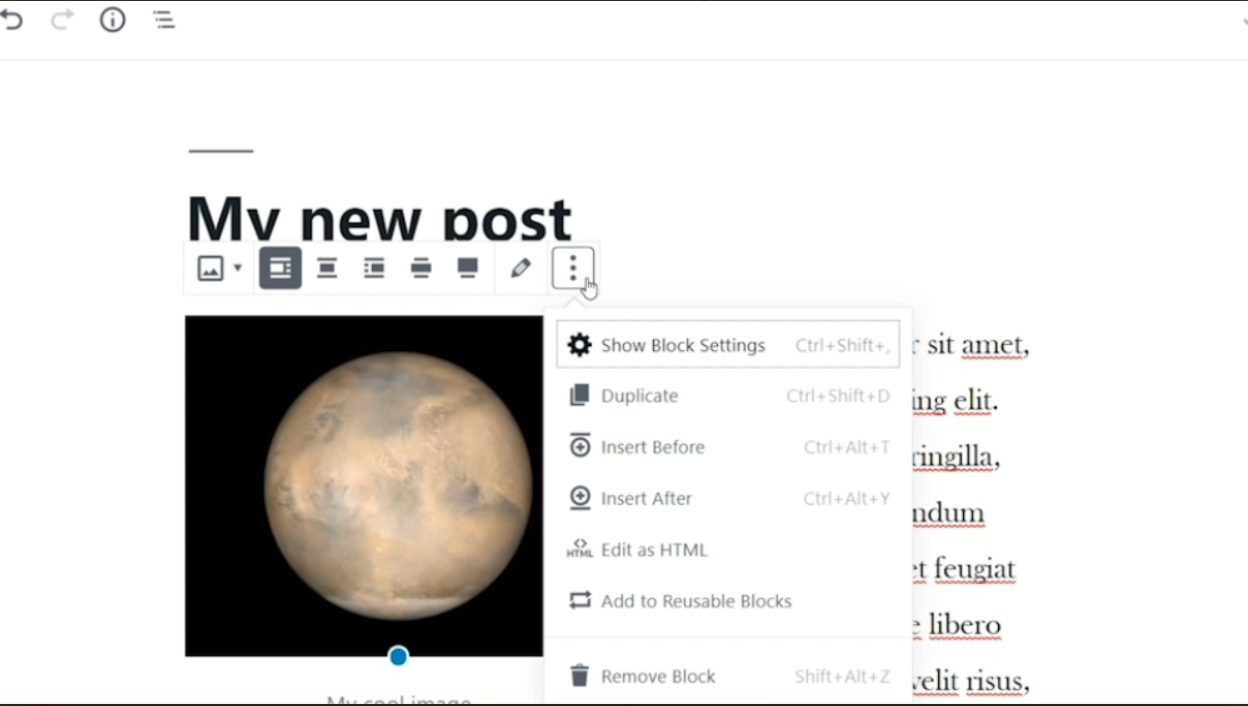
12. To delete a block, click on the block and then click on the three dots in the toolbar that appears. From the options menu, select “Remove Block”.
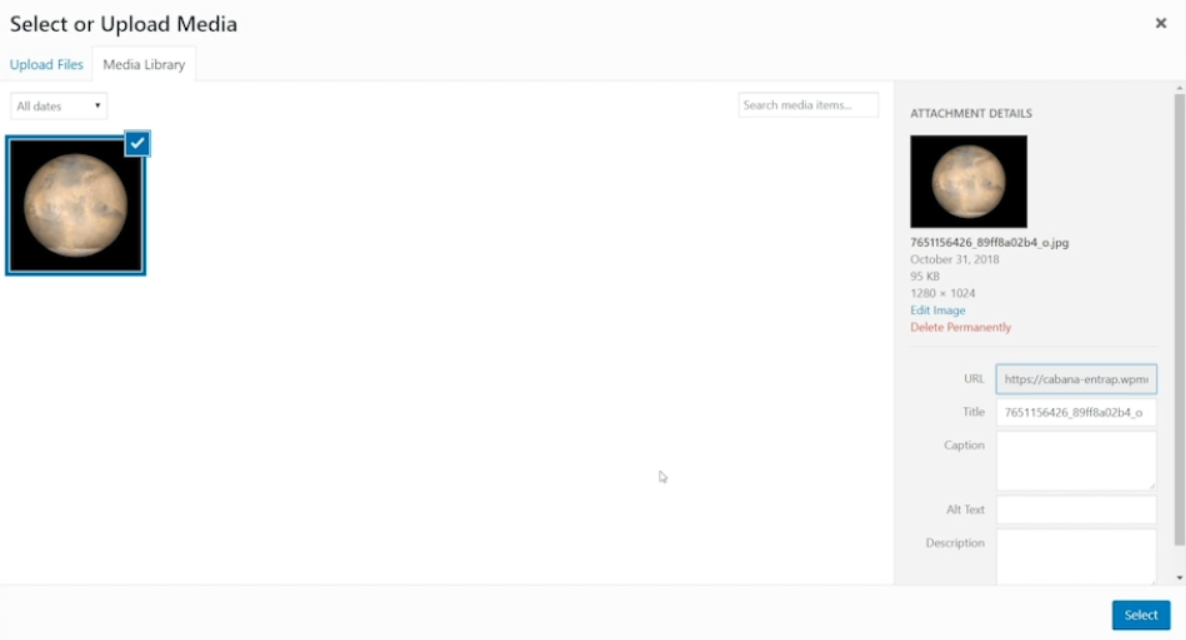
13. As you add content blocks, you can start writing or adding media within each block. Customization options will vary depending on the block type.
14. To save your changes and publish your page or post, click on the “Publish” button in the top-right corner of the editor.
15. You can preview your page or post by clicking on the “Preview” button next to the “Publish” button.
16. If you need to make any further edits after publishing, you can always go back to the editor by clicking on “Edit” next to your published page or post.
Gutenberg offers a wide variety of block types and features, making it easy to create engaging and visually appealing pages or posts. Take some time to explore the different options and experiment with creating your desired content.
Leave a Reply