
WordPress categories are a great way to organize your posts by subject and make it easier for users to browse your content. In this step-by-step guide, we will walk you through how to create a WordPress page or post and assign it to a category.
Step 1: Log in to your WordPress Dashboard
Go to the login page of your WordPress site and enter your username and password. Once logged in, you will be taken to the WordPress Dashboard.
Step 2: Create a New Page or Post
To create a new page or post, click on the “Pages” or “Posts” tab in the left-hand menu, depending on whether you want to create a page or a post.
Step 3: Enter the Title and Content
Give your page or post a title by typing it into the designated field. Then, enter your content in the main text editor area below the title.
Step 4: Adding Categories in the “Post Categories” Section
In the right-hand column of the page or post editor, you will find the “Post Categories” section. Click on the link that says “Add New Category” to start creating a new category.
Step 5: Fill in Category Details
In the Add New Category form, enter the name of your category in the field provided. This will be the name that appears on your site. You can also create a slug for the category, which will appear in the URL for the category’s archive page. If you want to create a subcategory, select its parent category from the drop-down menu. Additionally, you can add a description of what this category includes.
Step 6: Click “Add New Category”
Once you have filled in all the required information, click on the “Add New Category” button to create your category.
Alternatively, you can use the Block Editor to create new categories:
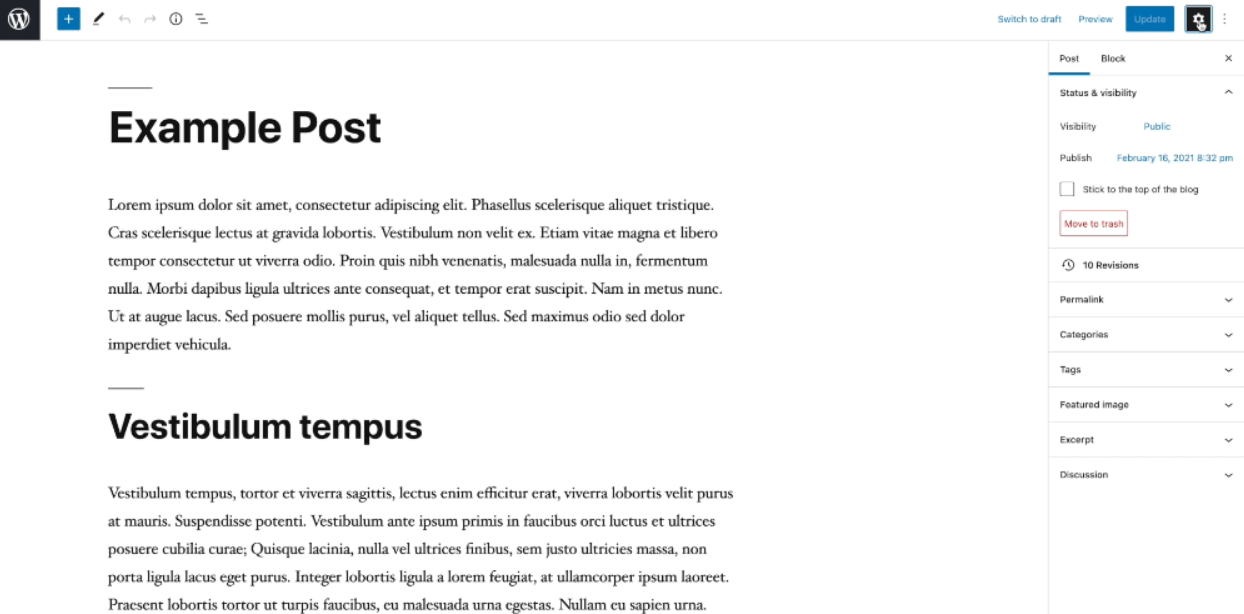
Step 1: Click on the Gear Icon
In the category section of the block editor options menu, click on the “Gear” icon to open the settings.
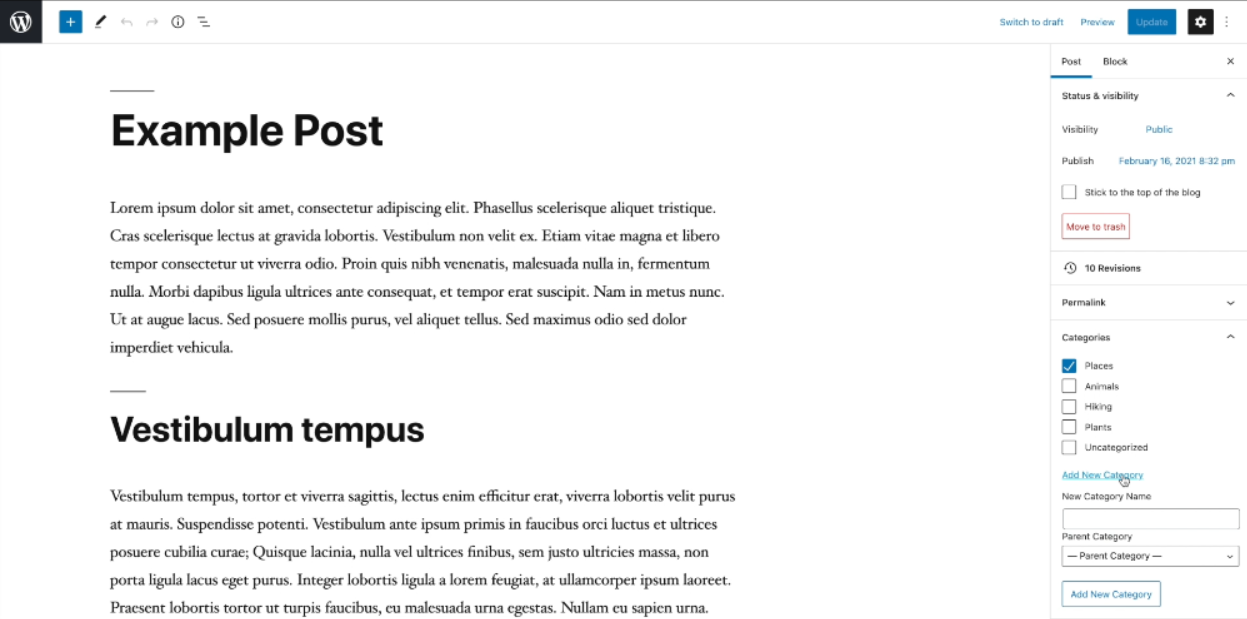
Step 2: Expand the Category Section and Add New Category
Within the settings menu, find the category section and expand it. Then, click on the “Add New Category” button.
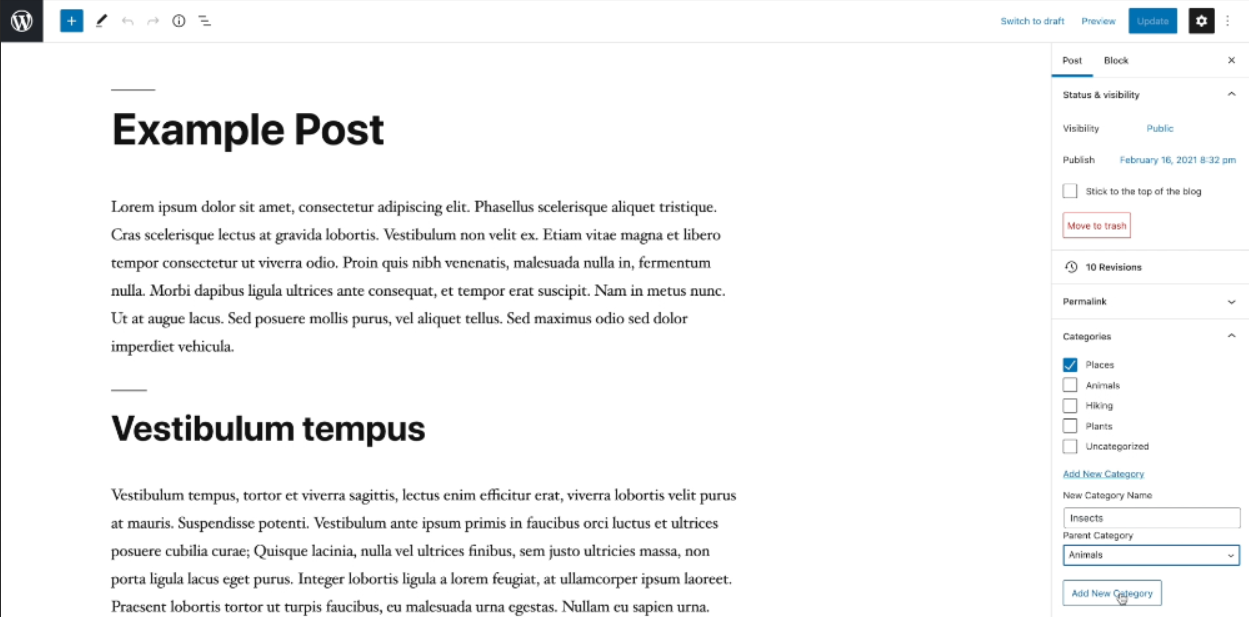
Step 3: Enter Category Details and Hit “Add New Category”
In the new category form, enter the name of your category and select a parent category if needed. Once you have filled in the details, click on the “Add New Category” button to create the category.
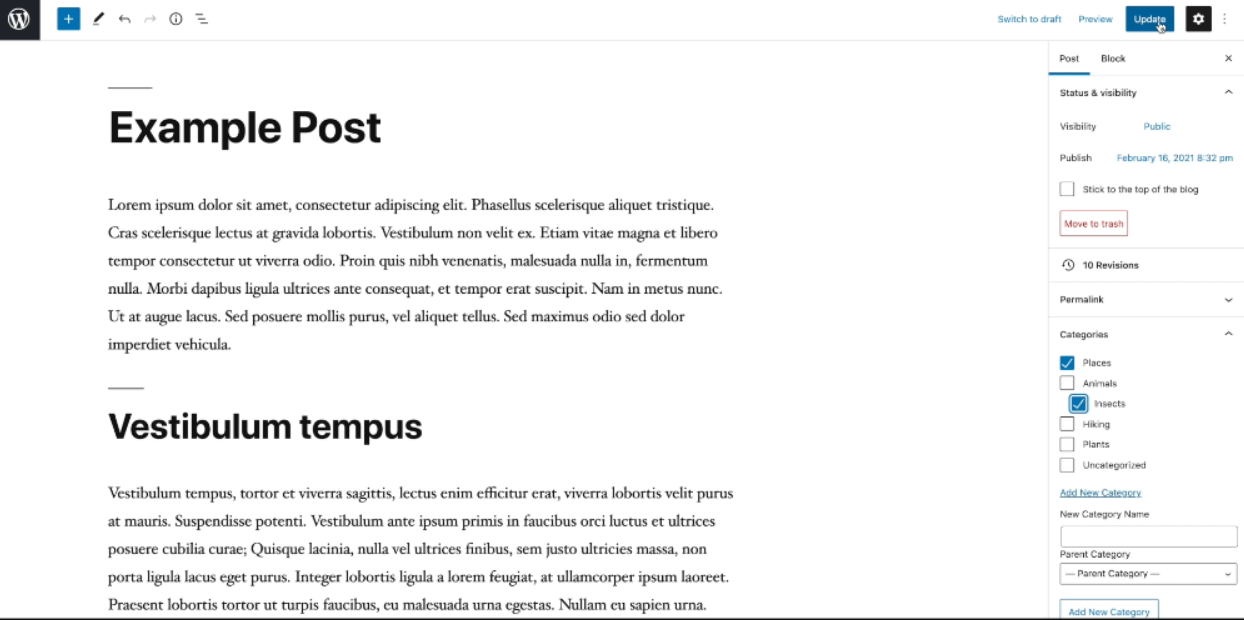
Step 7: Assign a Category to Your Page or Post
To assign your page or post to a category, go back to the page or post editor. In the right-hand column, you will find the “Categories” section. Simply select the relevant category from the list.
Step 8: Save or Update Your Page or Post
After selecting the category, click on the “Save Draft” or “Publish” button to save or update your page or post.
Congratulations! You have successfully created a WordPress page or post and assigned it to a category. Your content is now organized and ready for users to browse.
Leave a Reply