
To create a new post, follow these steps:
1. Log in to your WordPress website using your username and password. This will take you to the WordPress dashboard.
2. On the left-hand sidebar, click on “Posts.” This will expand the options related to posts.
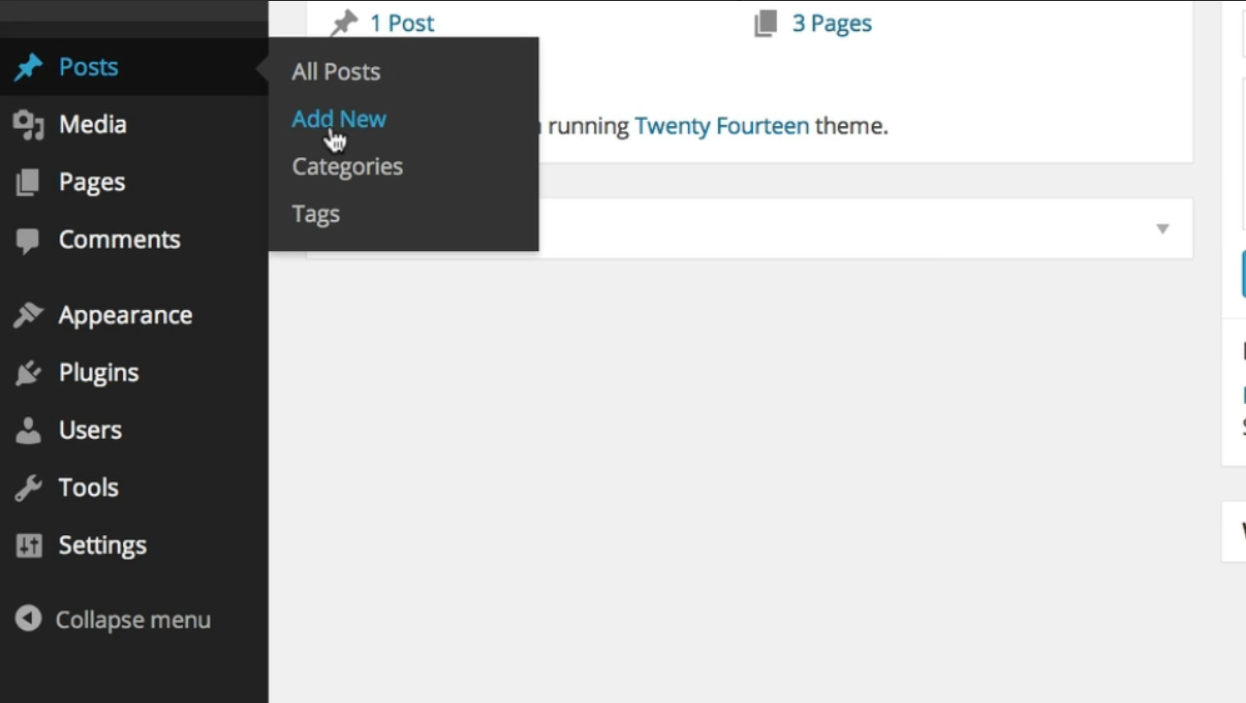
3. From the expanded options, click on “Add New.” This will take you to the post editor screen where you can create your new post.

4. In the title box at the top of the editor, enter a name for your post. This will be the title that appears on your website.
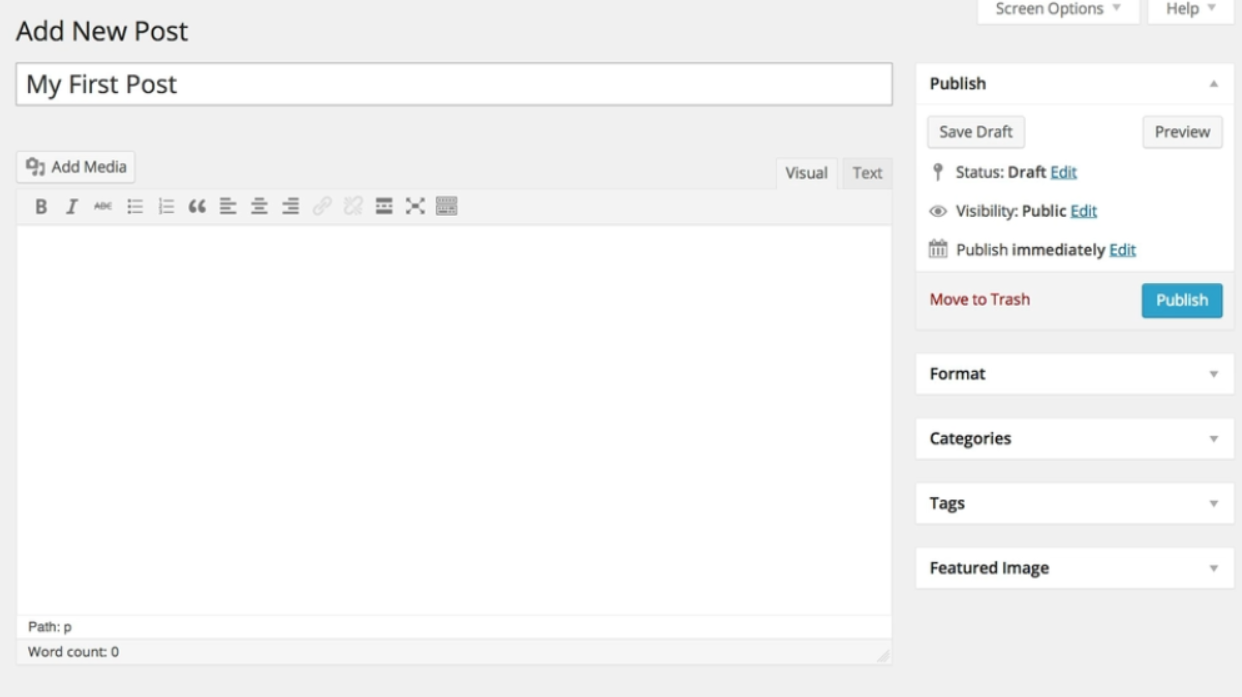
5. Below the title box is the text editor, where you can start writing your post’s content. You can type directly into the editor or paste content from another document.
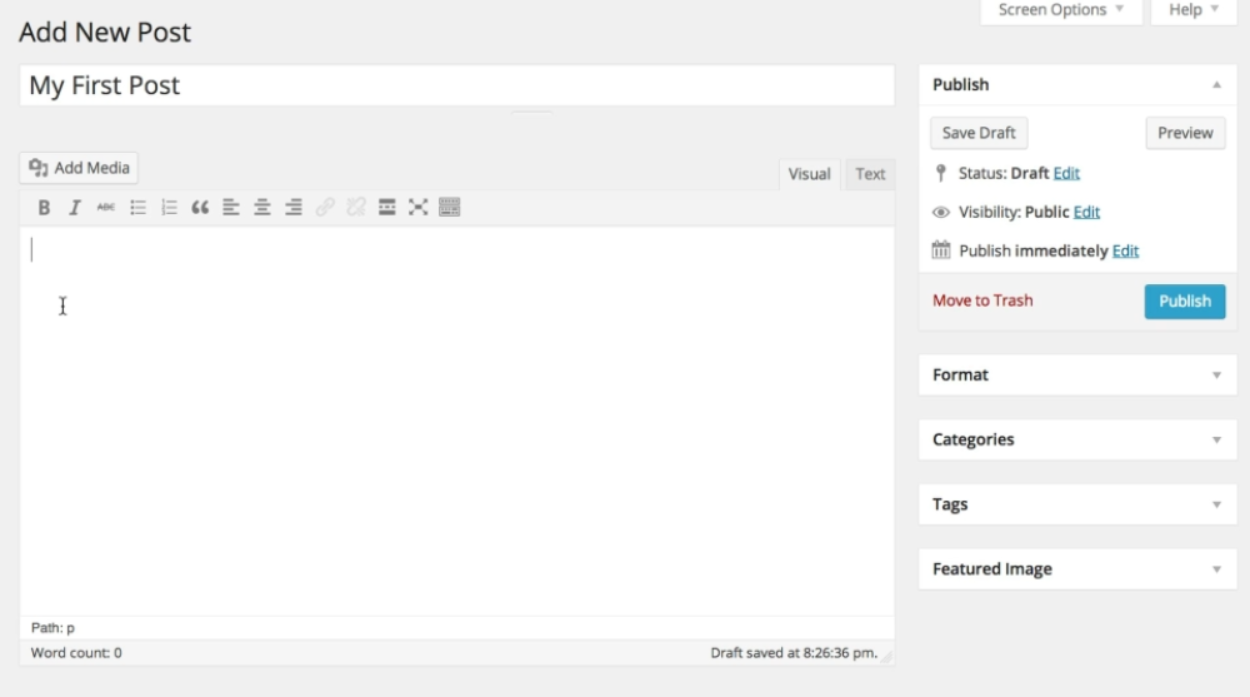
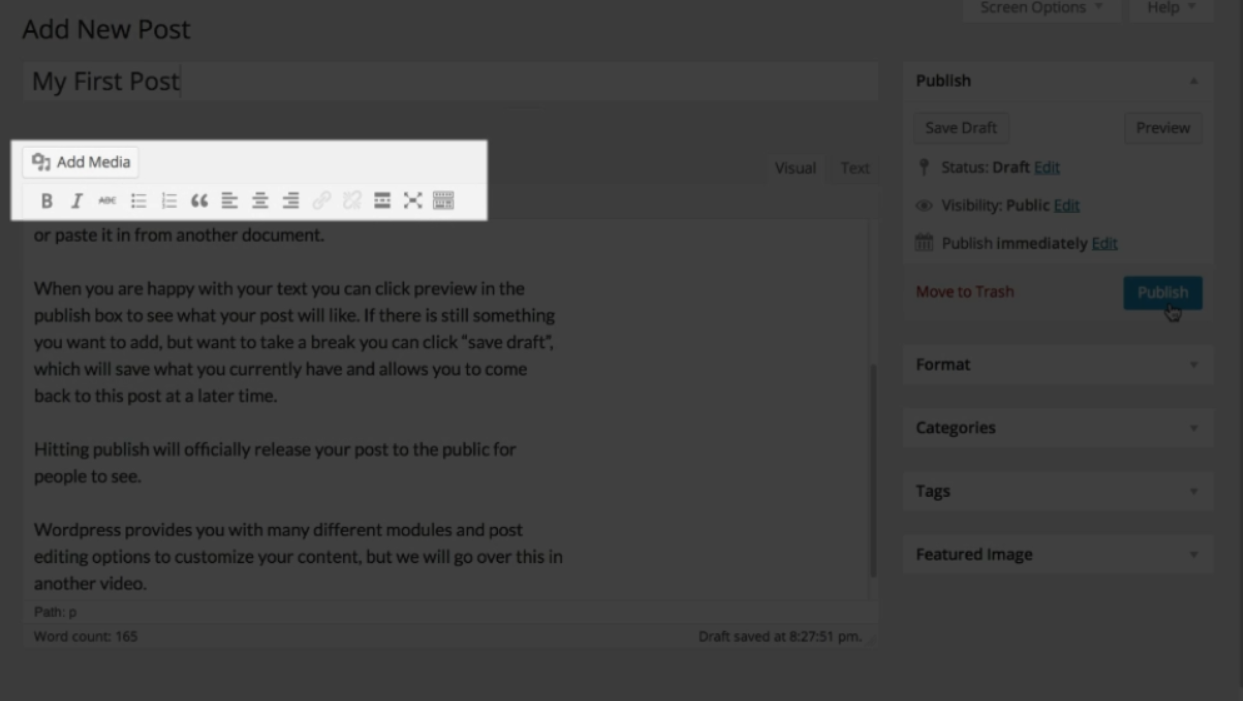
6. As you write, you can use the formatting options in the toolbar to format your text, such as making it bold, italic, or adding headings.
7. If you need to add images, videos, or other media to your post, click on the “Add Media” button above the text editor. This will allow you to upload files or choose media from your media library.
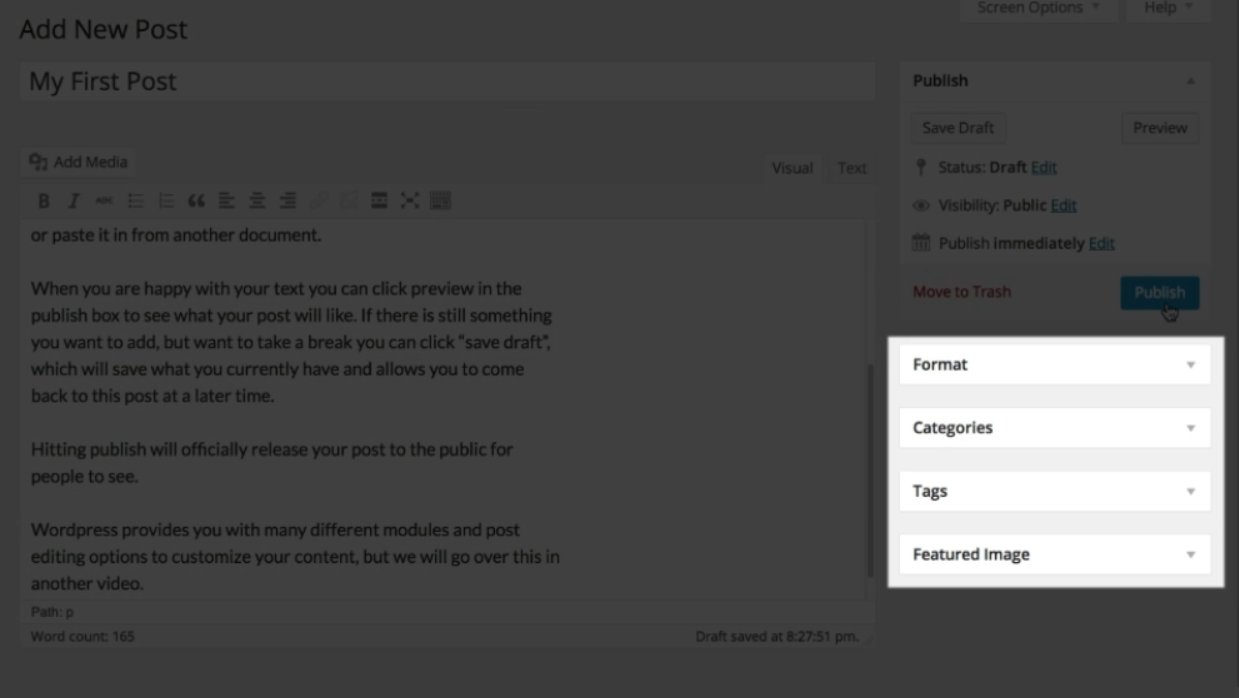
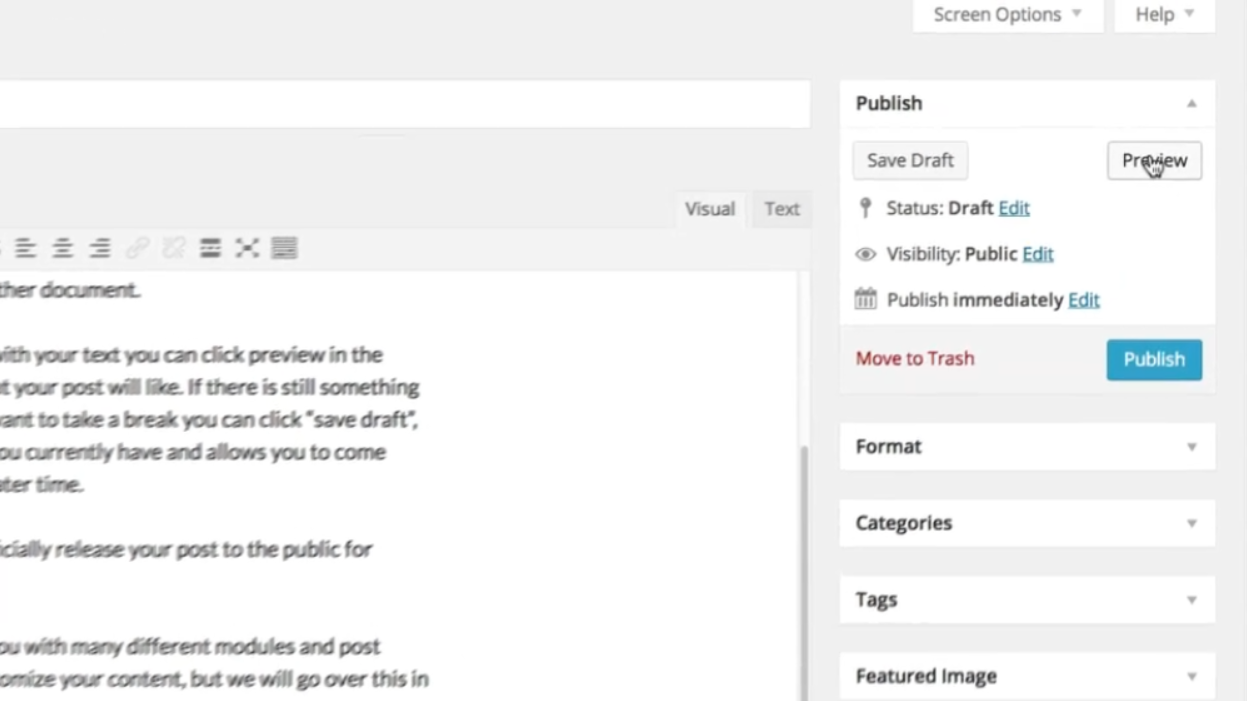
8. Once you are satisfied with your text and media, you can click the “Preview” button in the publish box on the right side of the screen. This will show you a preview of how your post will look on your website.
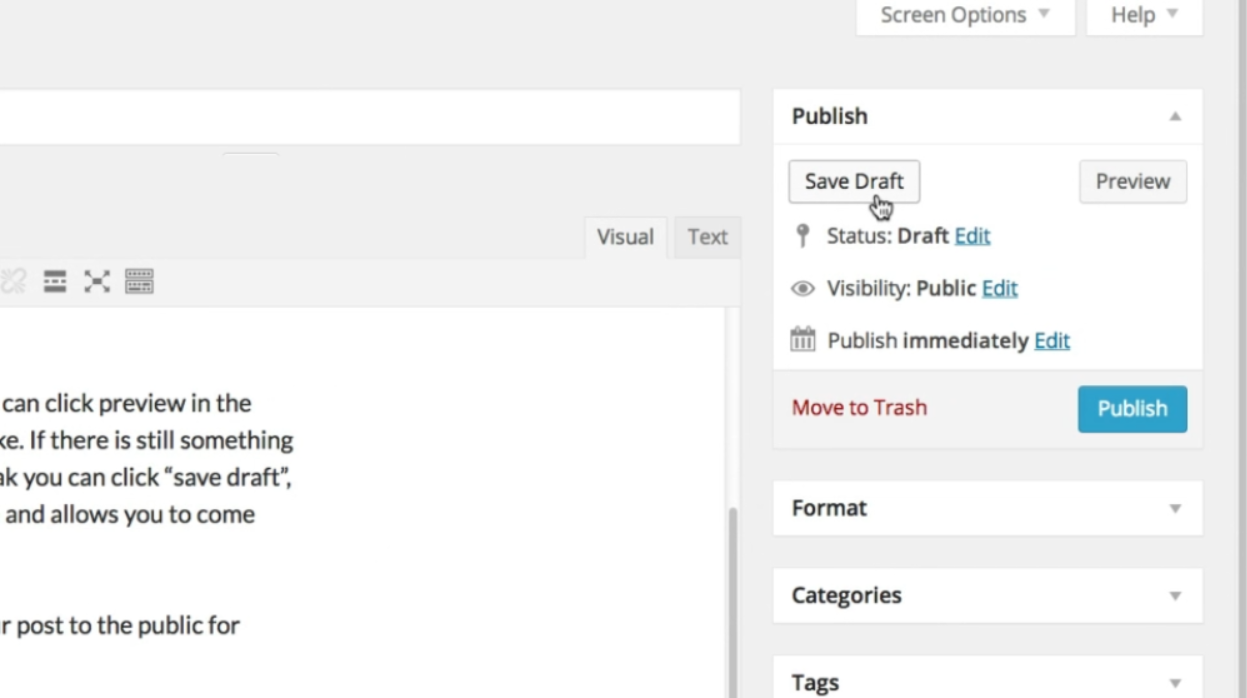
9. If you are not ready to publish your post yet but want to save your progress, click the “Save Draft” button. This will save your post as a draft, allowing you to come back to it later and continue editing.
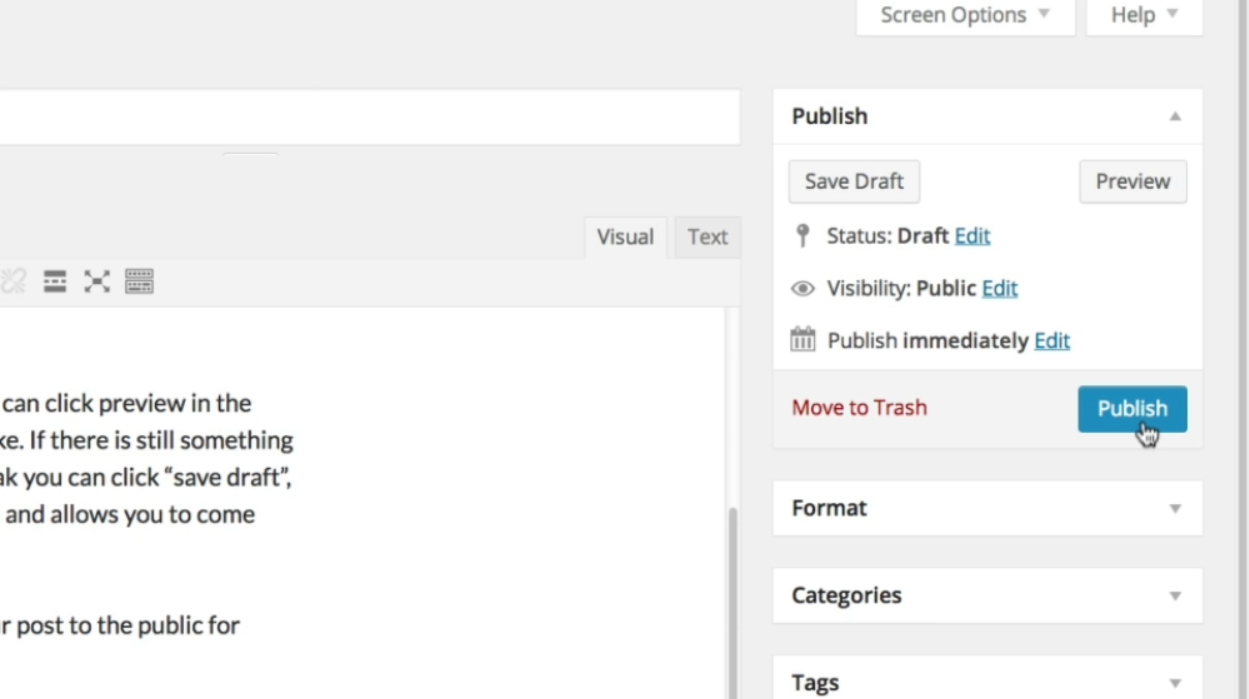
10. When you are ready to publish your post and make it visible to the public, click on the “Publish” button in the publish box. Your post will now be live on your website and accessible to your visitors.
Please note that while WordPress offers various modules and post editing options to further customize your content, those will be covered in another video or tutorial.
Leave a Reply