
To create a page in WordPress, follow these step-by-step instructions:
1. Log in to your WordPress dashboard by entering your username and password.
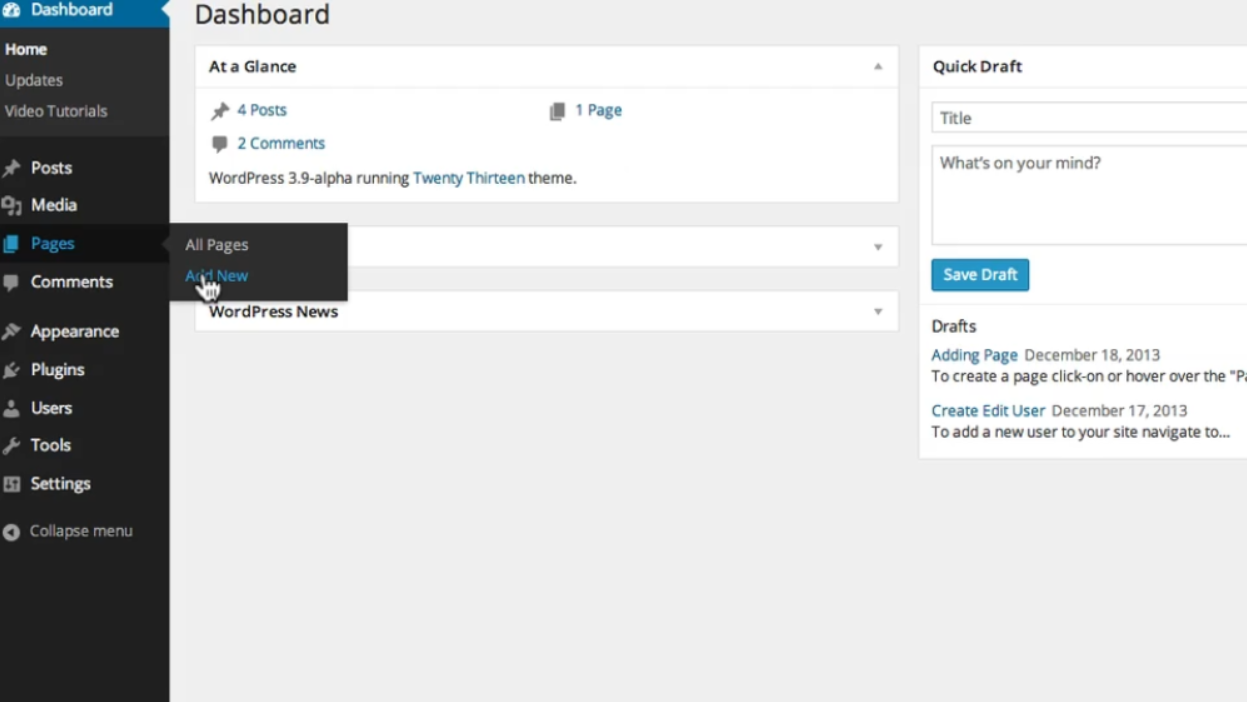
2. Once logged in, you will be on the admin dashboard.
3. On the left-hand side, you will see a sidebar menu. Locate the “Pages” button and either click on it or hover over it to reveal the sub-menu.

4. From the sub-menu, click on “Add New”.
5. You will now be on the page editor screen.
6. First, create a title for your new page in the provided field at the top of the page editor screen.
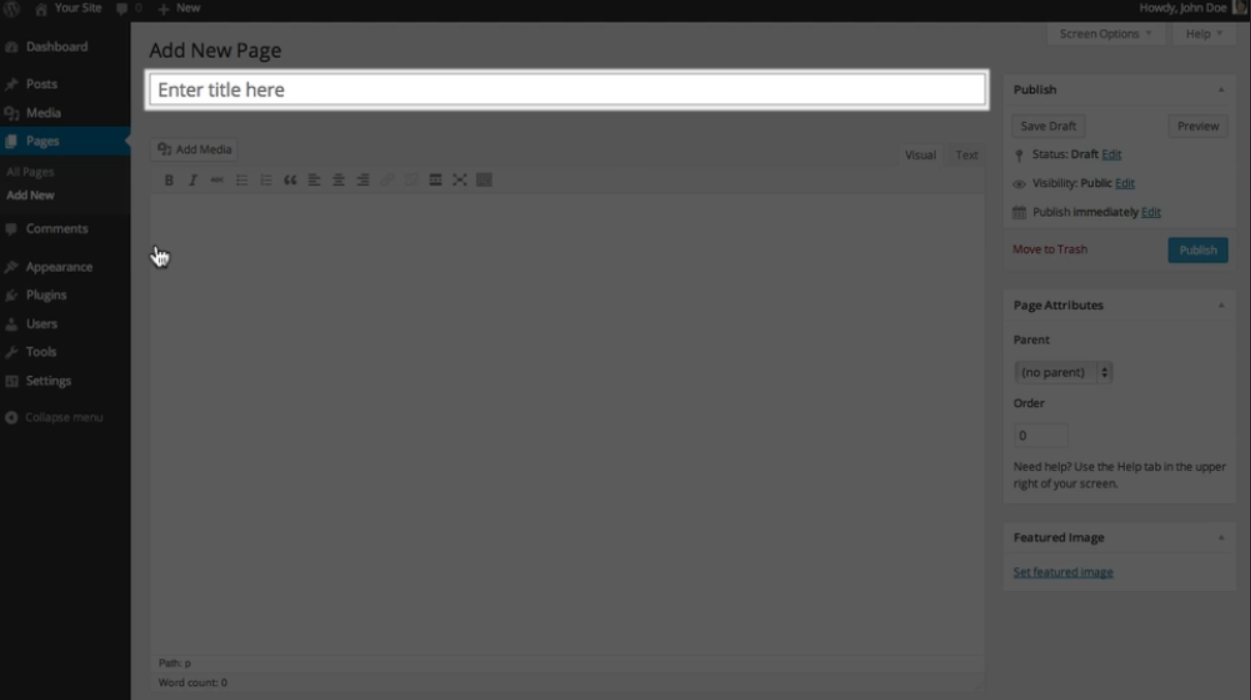
7. To add content to your page, move your cursor to the text editor area below the title. You can press “Tab” on your keyboard to jump to the editor or click within the editor using your mouse.
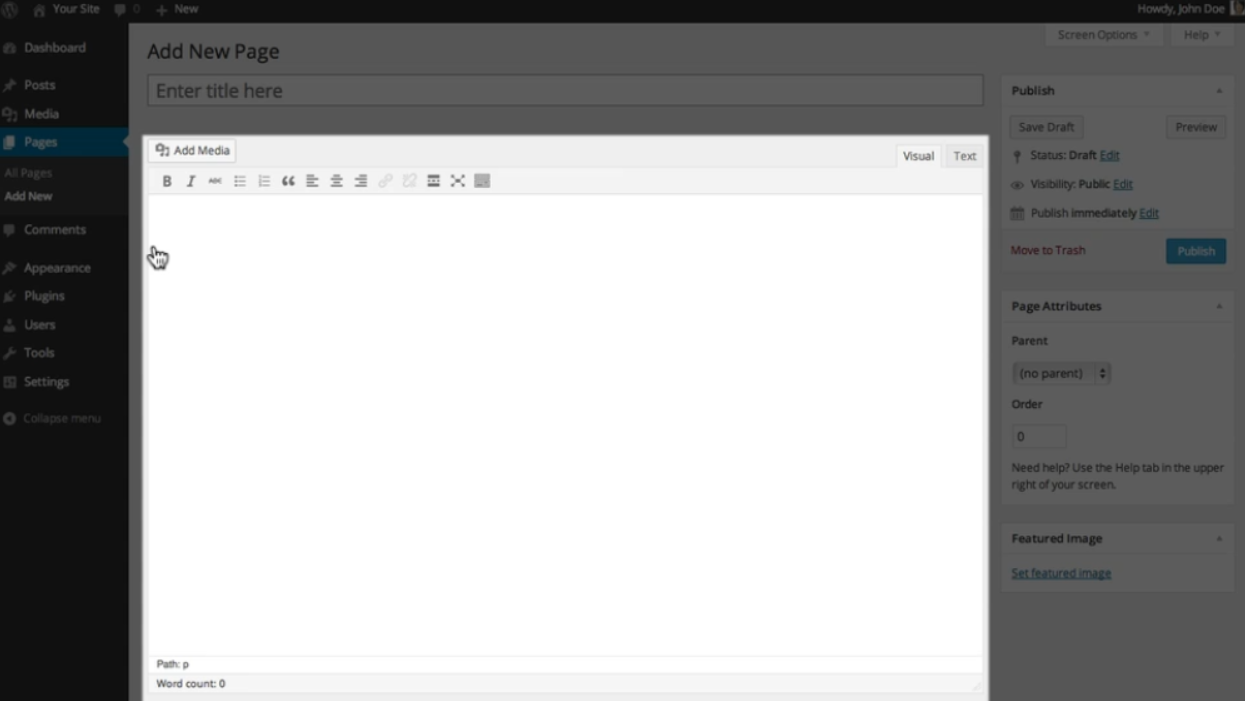
8. In the text editor, you can type or paste the content you want to display on your page, which can include text, images, videos, and more. You can use the formatting options at the top of the editor to style your content.
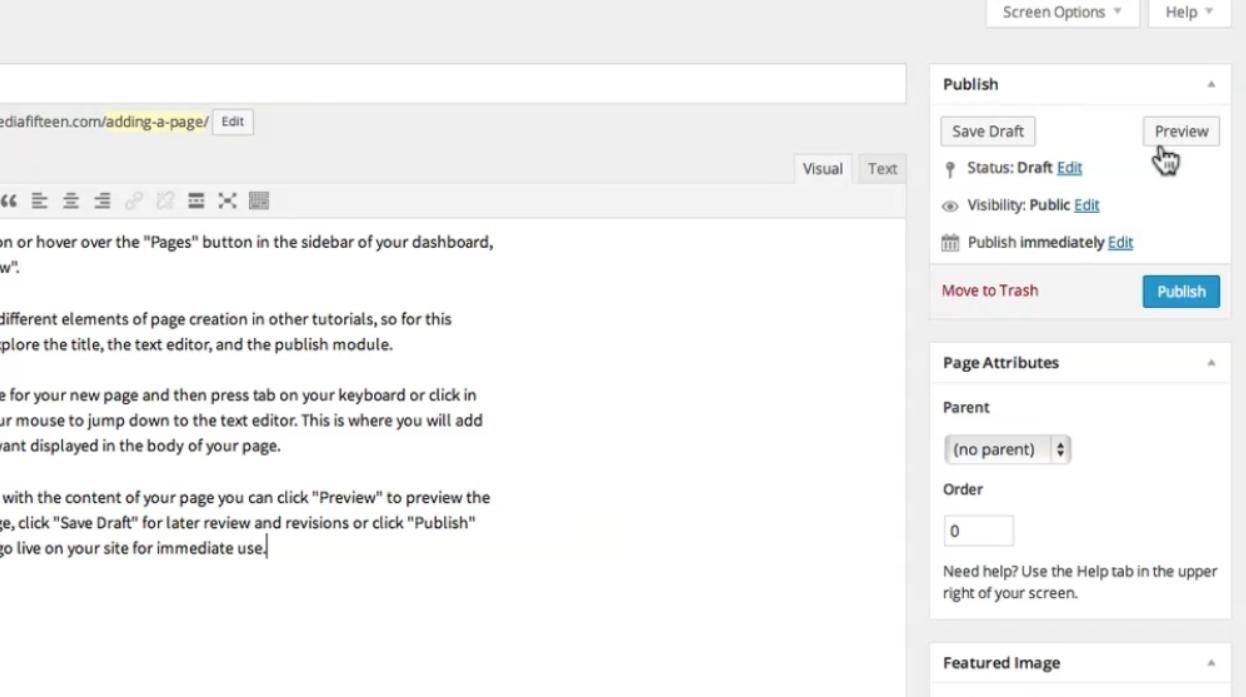
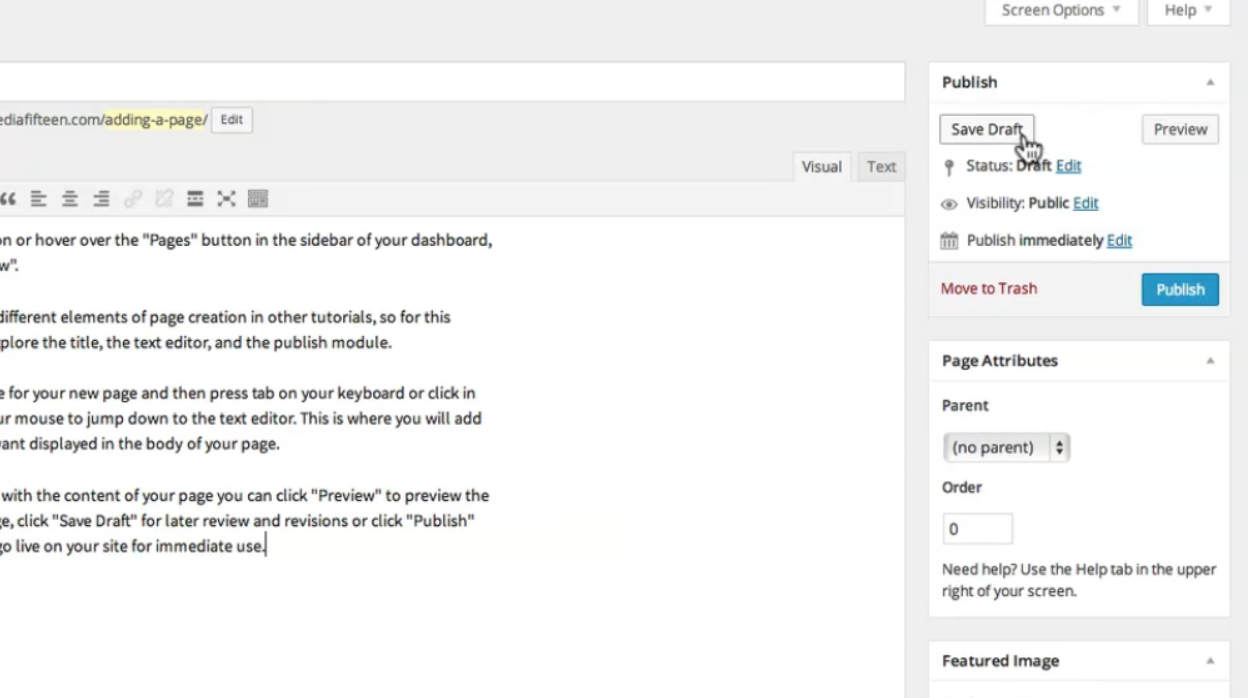
9. While adding content, you can save your progress by clicking the “Save Draft” button on the right side of the screen. This will save your page but won’t publish it live.
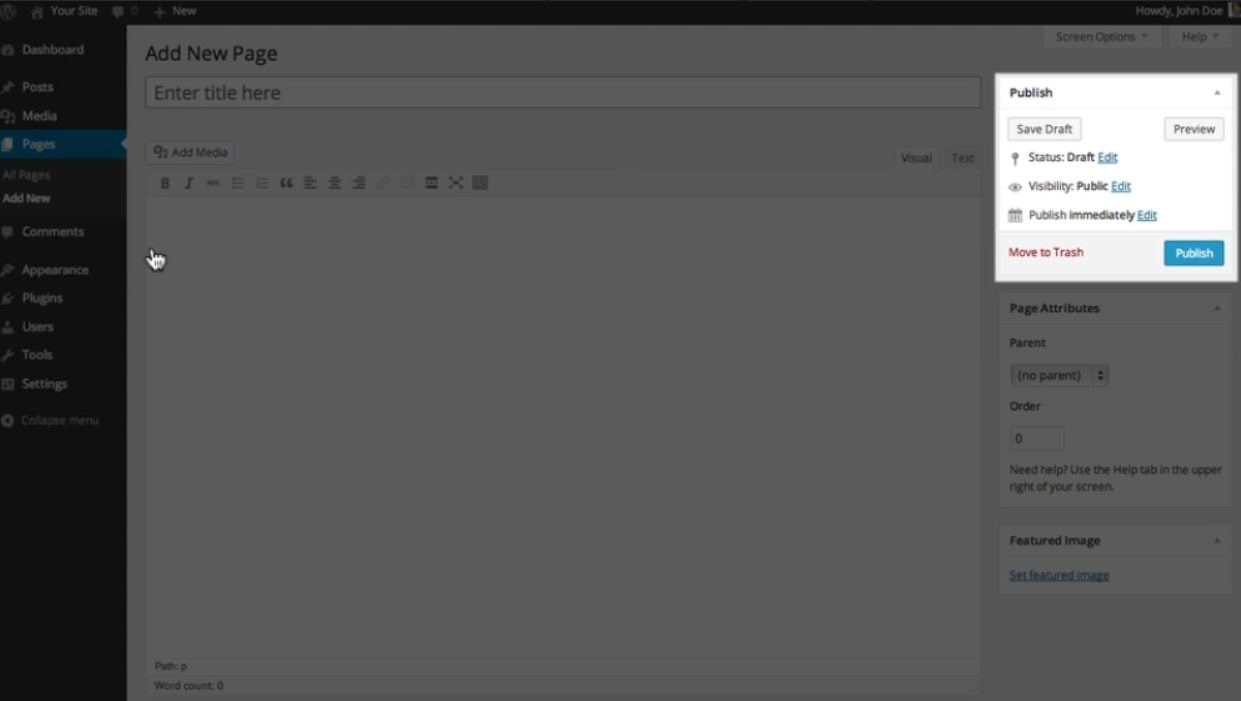
10. Once the page is ready to go live, you can click the “Preview” button to see how it will appear to your visitors. This allows you to review the layout and make any necessary adjustments before publishing.
11. If you want to make any revisions later, click the “Save Draft” button to save your changes and come back to it at a later time.
12. To publish your page immediately, click the “Publish” button on the right side of the screen. Your page will go live on your website for immediate use.
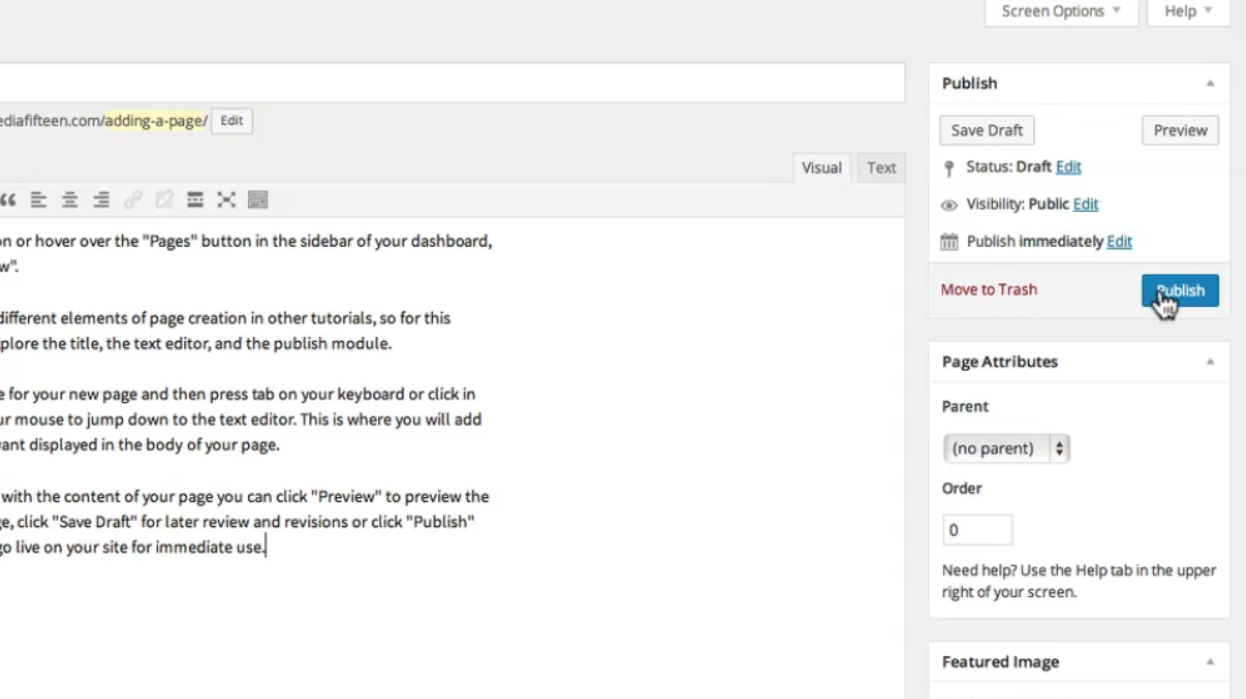
Congratulations! You have successfully created a WordPress page. You can access your page by going to your website’s URL and adding “/your-page-slug” at the end. Replace “your-page-slug” with the slug or permalink you want for your page.
Leave a Reply