
To upload new files such as images and videos to your media library, follow these step-by-step instructions:
1. Log in to your WordPress website and access the admin dashboard.
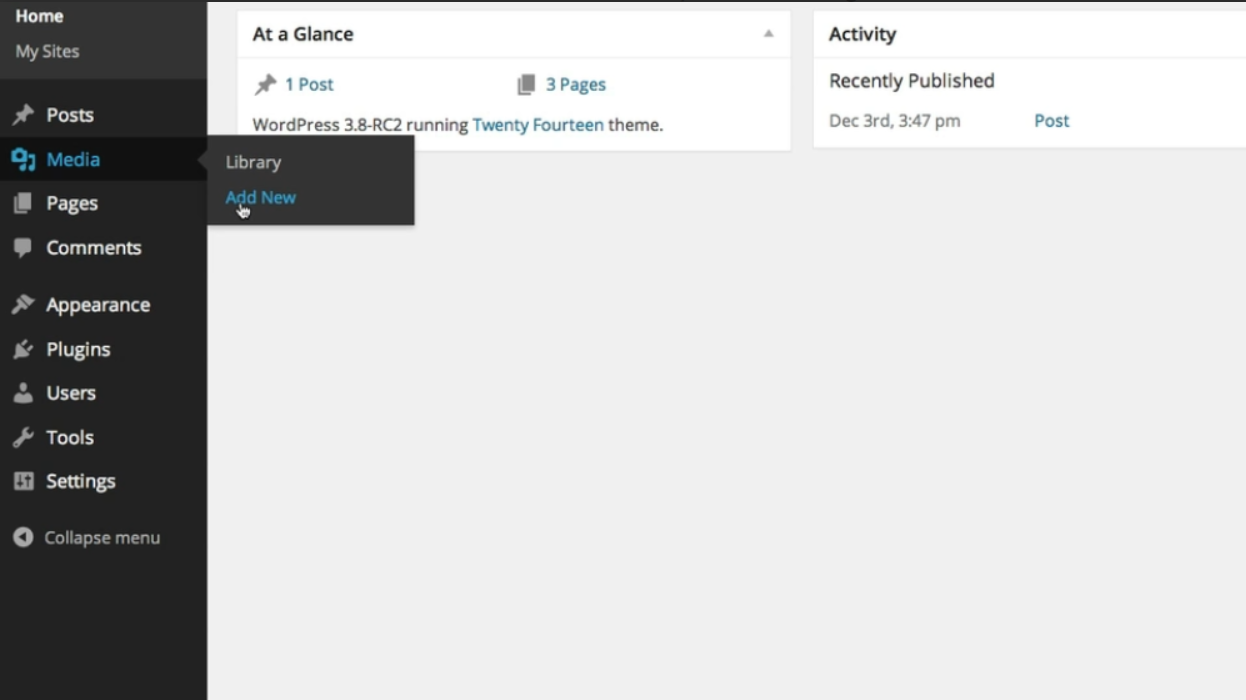
2. In the sidebar on the left-hand side, scroll down to find the “Media” option. Click on it to expand the menu.
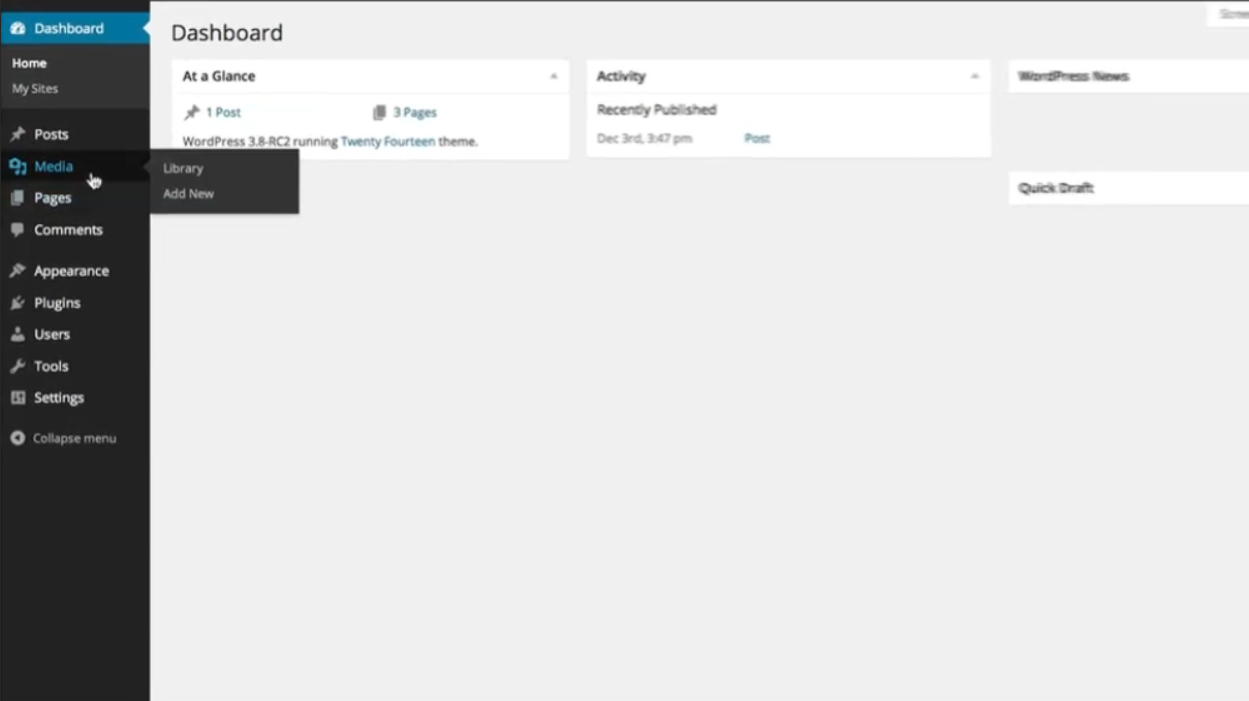
3. From the expanded menu, select “Add New”. This will take you to the multi-file uploader screen.
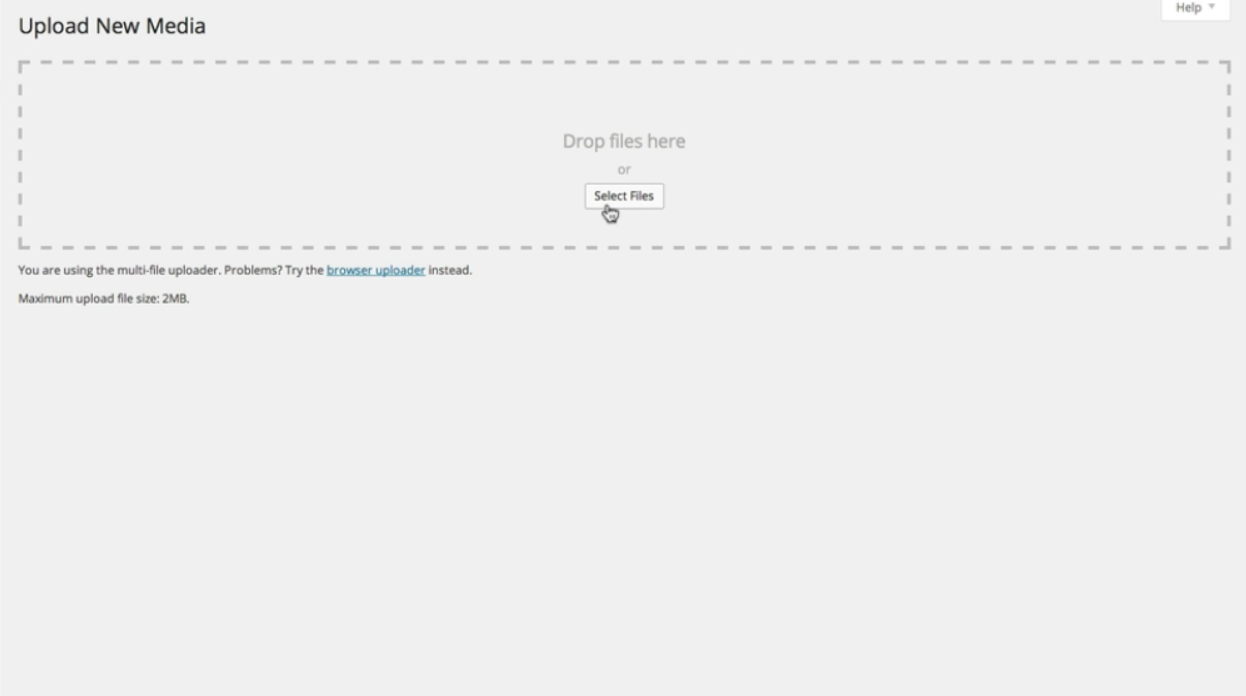
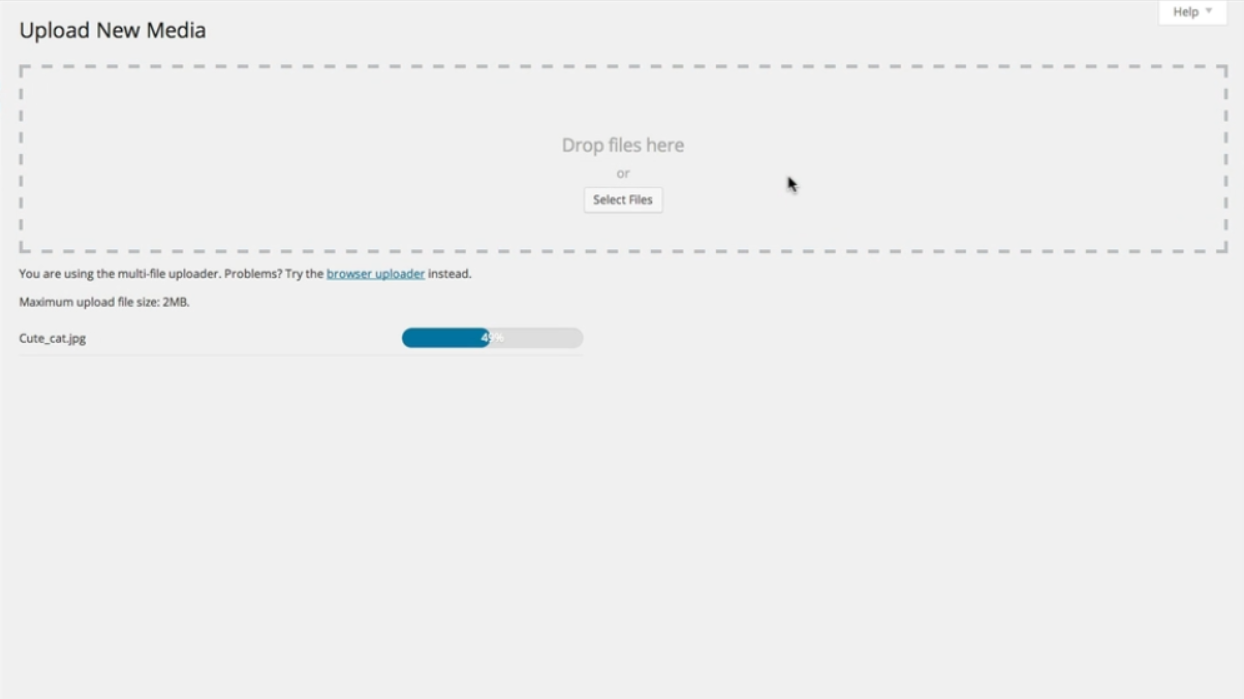
4. On the multi-file uploader screen, you have two options to upload files:
a. Drop Files: Simply drag and drop the files you want to upload from your computer onto the designated area on the screen.

b. Select Files: Click on the “Select Files” button. This will open a file explorer window, allowing you to browse and select the files you want to upload.
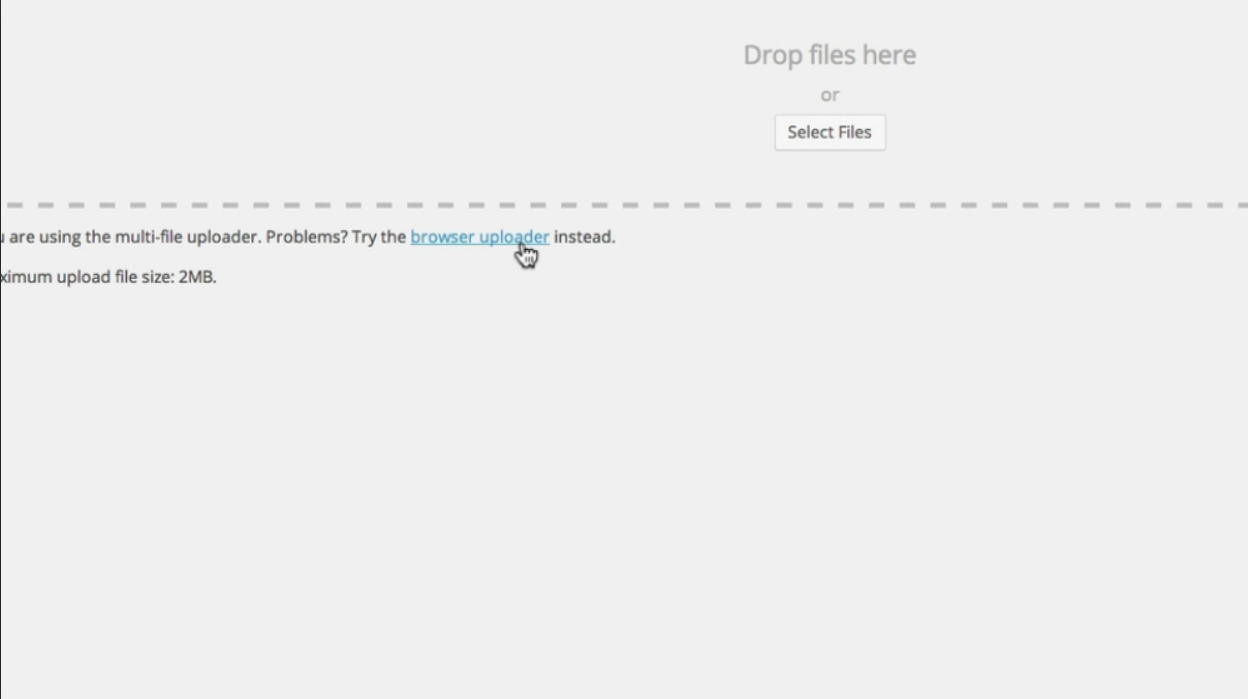
5. If your browser is having compatibility issues with the multi-file uploader, WordPress provides an option to use an older version. To access the older version, click on the “Browser uploader” link located at the bottom of the screen.
6. Once you drop or select your files, a progress bar will appear, indicating the upload progress for each file. Wait for the progress bar to reach 100% for each file.
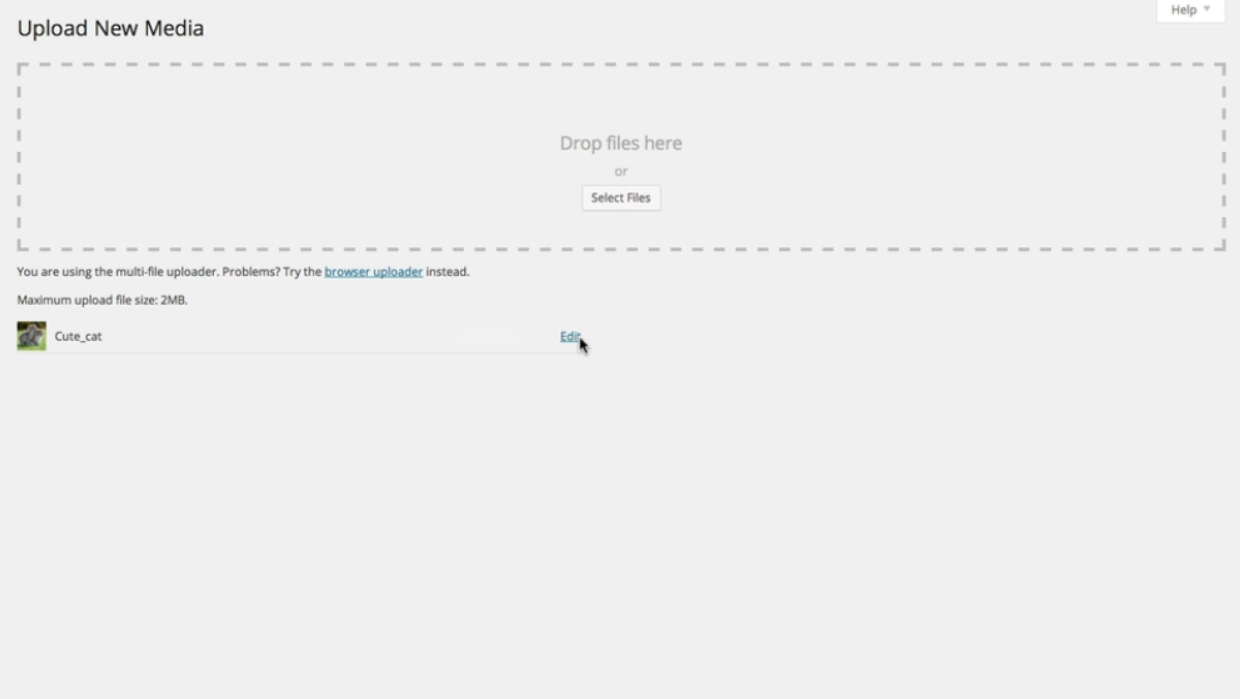
7. After the upload is complete, you can click on the “Edit” button next to each uploaded file. This will redirect you to the media editor, where you can make any desired modifications, such as adding a title, caption, alt text, or description to the file.
8. In the media editor, you can also choose additional options, such as linking the file to a specific page or post, selecting its alignment, or even setting it as a featured image.
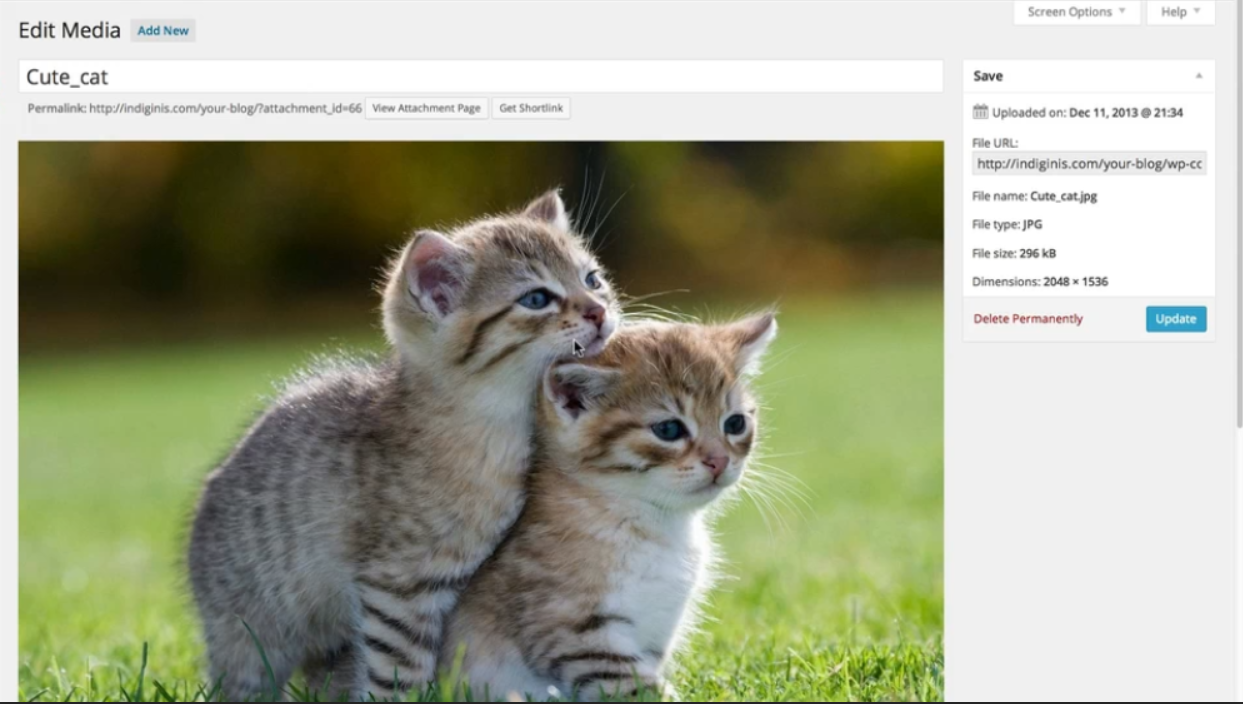
9. Once you have made all the desired modifications, click the “Update” button to save your changes. You can also click the “Delete Permanently” option if you wish to remove the file from your media library entirely.
10. Congratulations! You have successfully uploaded and edited files in your WordPress media library. Repeat these steps whenever you need to add more files to your website.
Remember to optimize your images and videos for web use to ensure faster loading times and a seamless user experience.
Leave a Reply