So you’ve decided you want a blog our your website. That’s actually a really good idea. Blogs offer a great way to interact with your customers in a public way to provide input for their needs. If you don’t want a traditional blog, the post features can be a great way to keep people “in the loop” on things like upcoming events, monthly newsletters, and general updates. Now you want to write your first blog post. I’d suspect your first post would probably be something that introduces you and your new site. So my first post is going to be called “Welcome to our new home!”. Follow along and you can learn how simple it is to update your customer base with new information.
As with all the how to guides, just click on an image to see it larger.
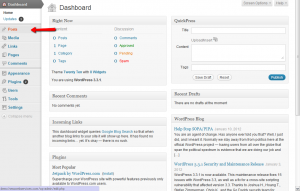
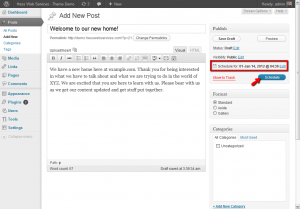
- Open a new post by logging in to the admin page and going to Posts -> Add New.
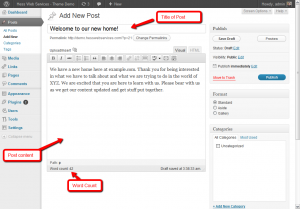
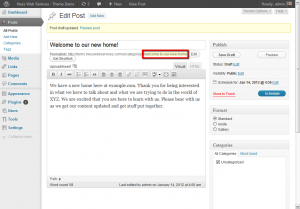
- Much like with pages you have a title and a content box
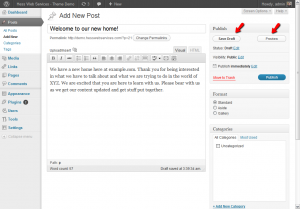
- As you are working on the post you can save it as a draft or you can preview it. If you preview the post it will open the post in a new window/tab with the content in your theme so you can see how it will look. This is a great feature if you are trying to test formatting of images or links.
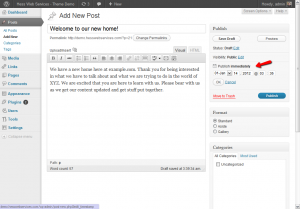
- When you are ready to publish the article you can hit the publish button. Alternatively you can click the “edit” link next to “Publish immediately” and it will open the option to schedule the post out in the future.
- If you choose to set a date the Publish button becomes a Schedule button and rather than publish it live right now it will go live when you want it. This is a great feature that can be used to take a few hours on one day and write a bunch of posts and have them scheduled to go out periodically throughout the week so you can worry about creating new content on your schedule.
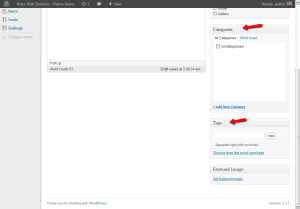
- With posts you can use both Categories (Structured) and Tags (Unstructured) to classify posts. If you were selling clothes you might have categories of say “Pants”, “Shirts”, and “Shoes” but your tags might be things like a brand, color, or something else that describes the post. Tags and Categories can be used to help people find the posts when they are looking for something in particular.
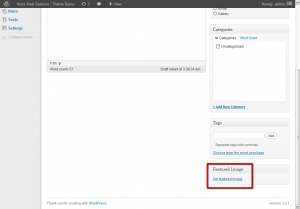
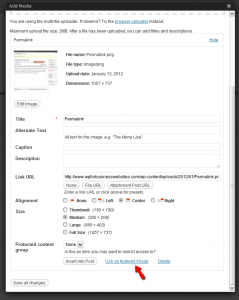
- If you want you can also add a “Featured Image”. Some themes and plugins will use this when they display the posts on your website. You can either do this by clicking the “Set featured image” link on the bottom right, or if you upload an image into the post when you are writing it, you can click “Use as featured image” and it will put that image there.
- One final (more advanced) think to note is that on each post when you are creating them you can specify the url. By default it puts in the post name, but you can click edit and it will open a box to type in a name.
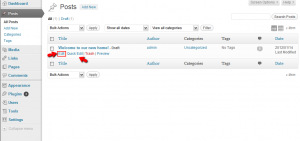
Once you publish your article you should have a new post on your website. If you made any mistakes you can go back in and edit them. Just pull up the list of all the posts and click on the post name (or click edit when you hover over it.) Quick edit allows you to make simple changes to the title, categories, and tags, the date it was published, as well as turn off comments.

Leave a Reply